
Table of Contents
- This guide will walk you through extracting related reports in HR.
- 1. Click "HR"
- Step 2. Employee Export
- Step 3. Employee General Details Fields
- Step 4. Employees general details to exclude
- Step 5. Turn on toggle
- Step 6. Click "Generate"
- Step 7. Click here
- Step 8. Click here
- Step 9. Click "Download"
- Step 10. Report downloaded
- Step 11. Custom tabs report
This guide will walk you through extracting related reports in HR. #
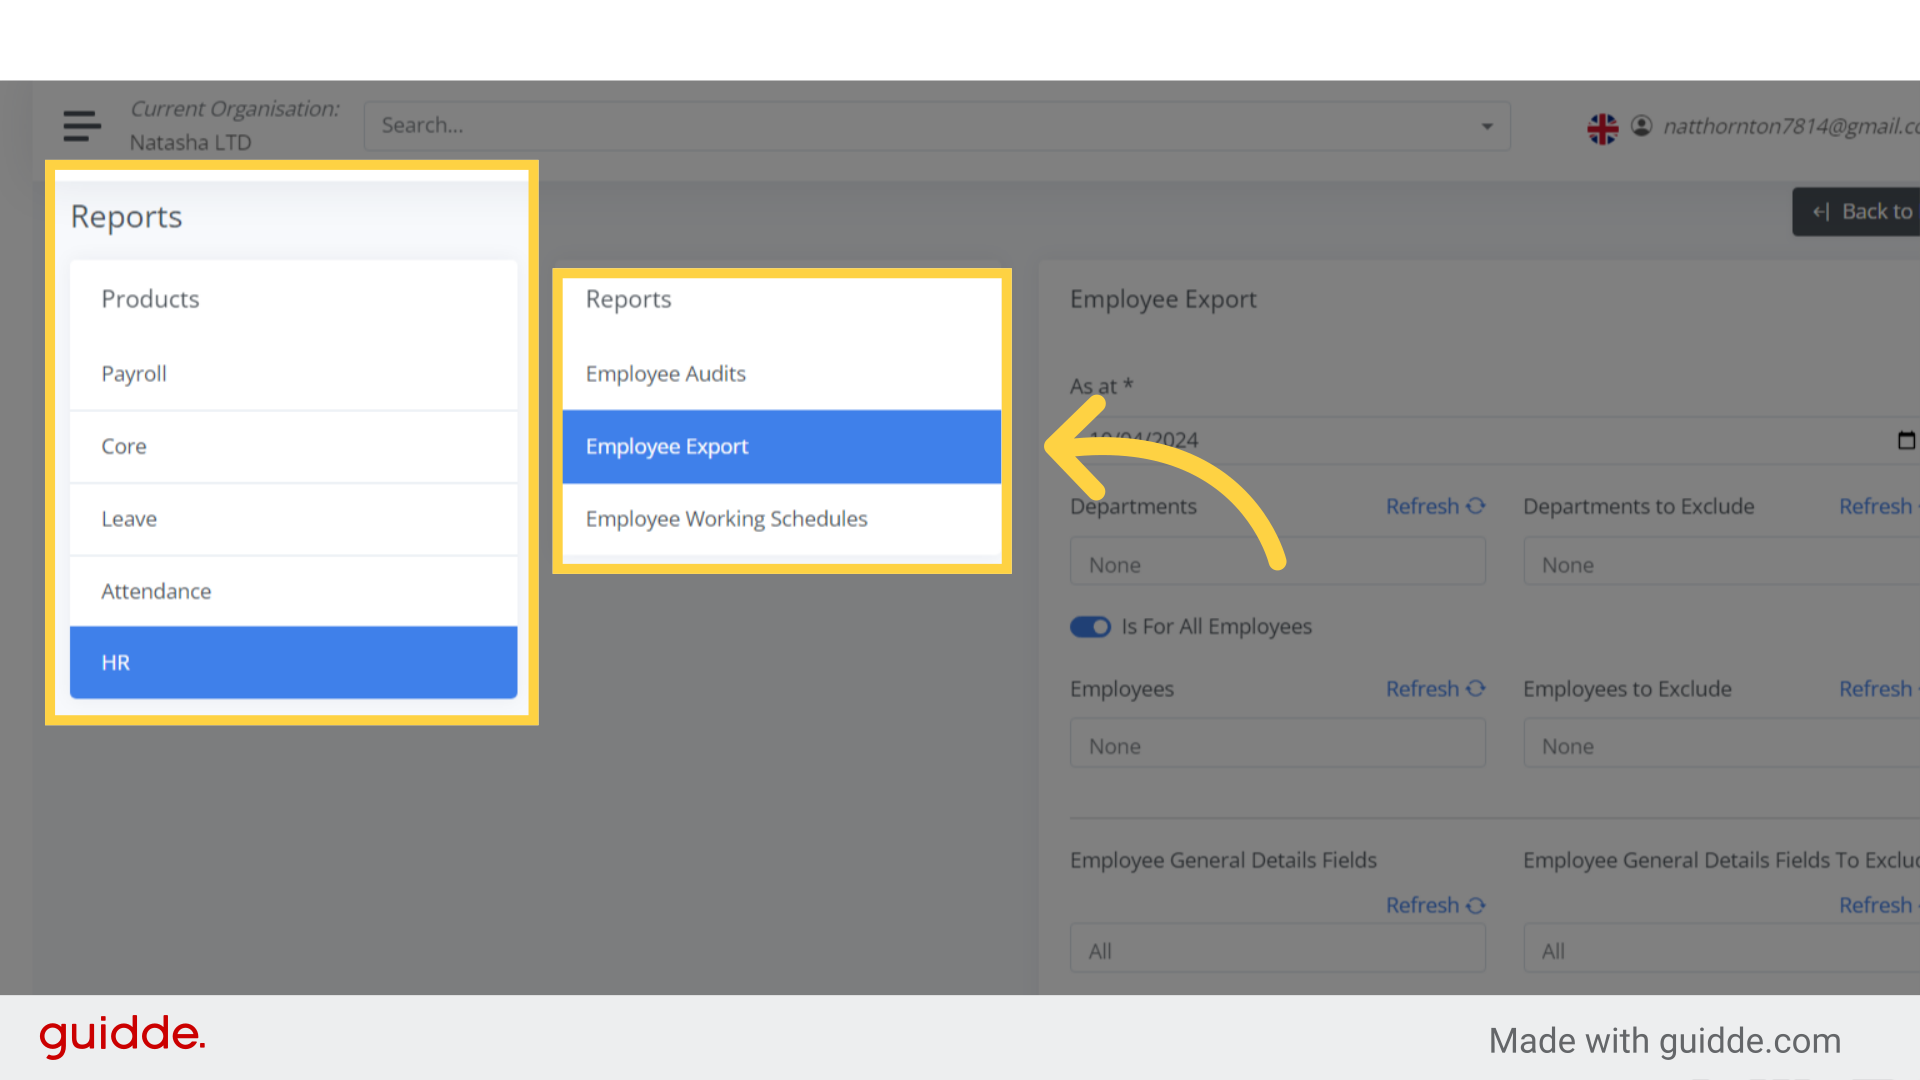
1. Click “HR” #
In the HR product report, the employee export feature, you can customize your report in several ways.
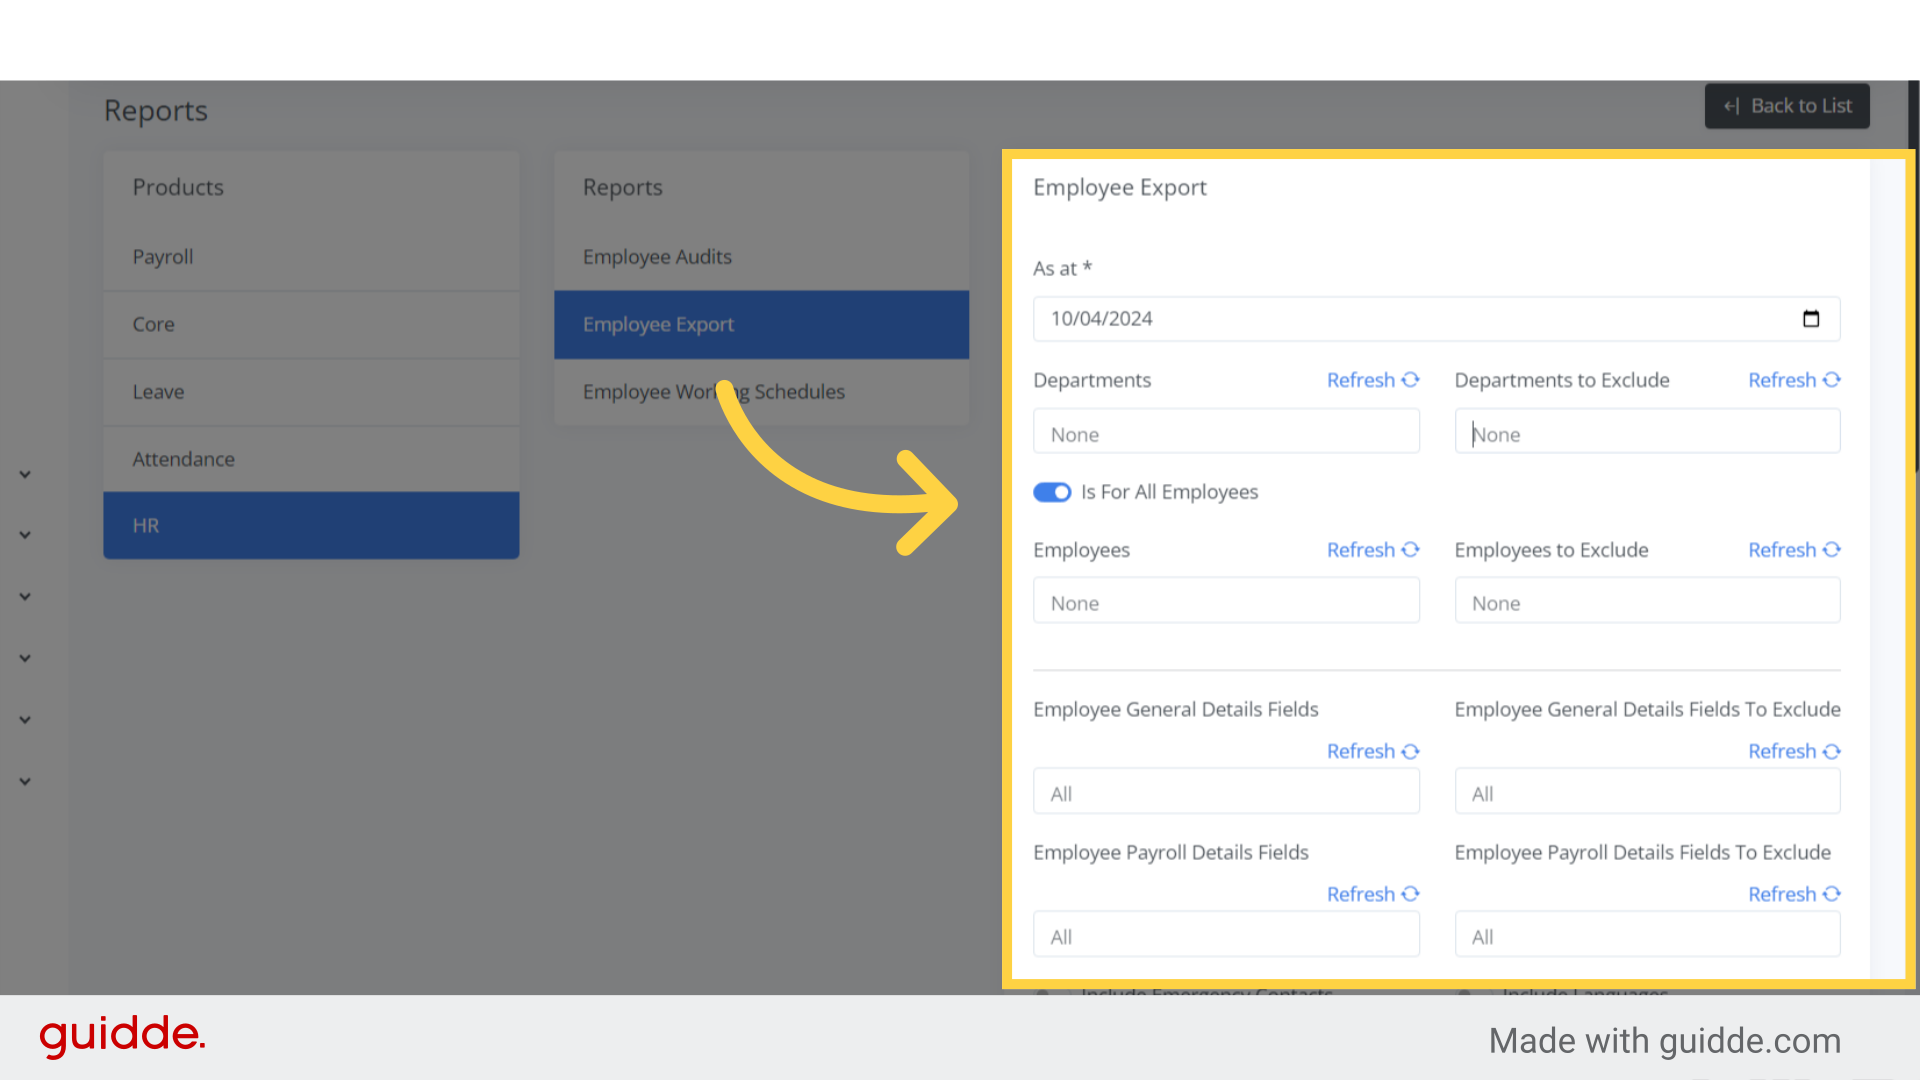
Step 2. Employee Export #
- Date Range: Select the date range for the report.
- Detail Level: Choose to generate detailed reports for individual employees or by department.
- Employee Selection: Include or exclude specific employees from the report.
- Field Selection: Choose from all general fields and toggle on the specific information you want to appear in the report.
- This flexibility allows you to tailor the report to your specific needs, ensuring you get the most relevant data.
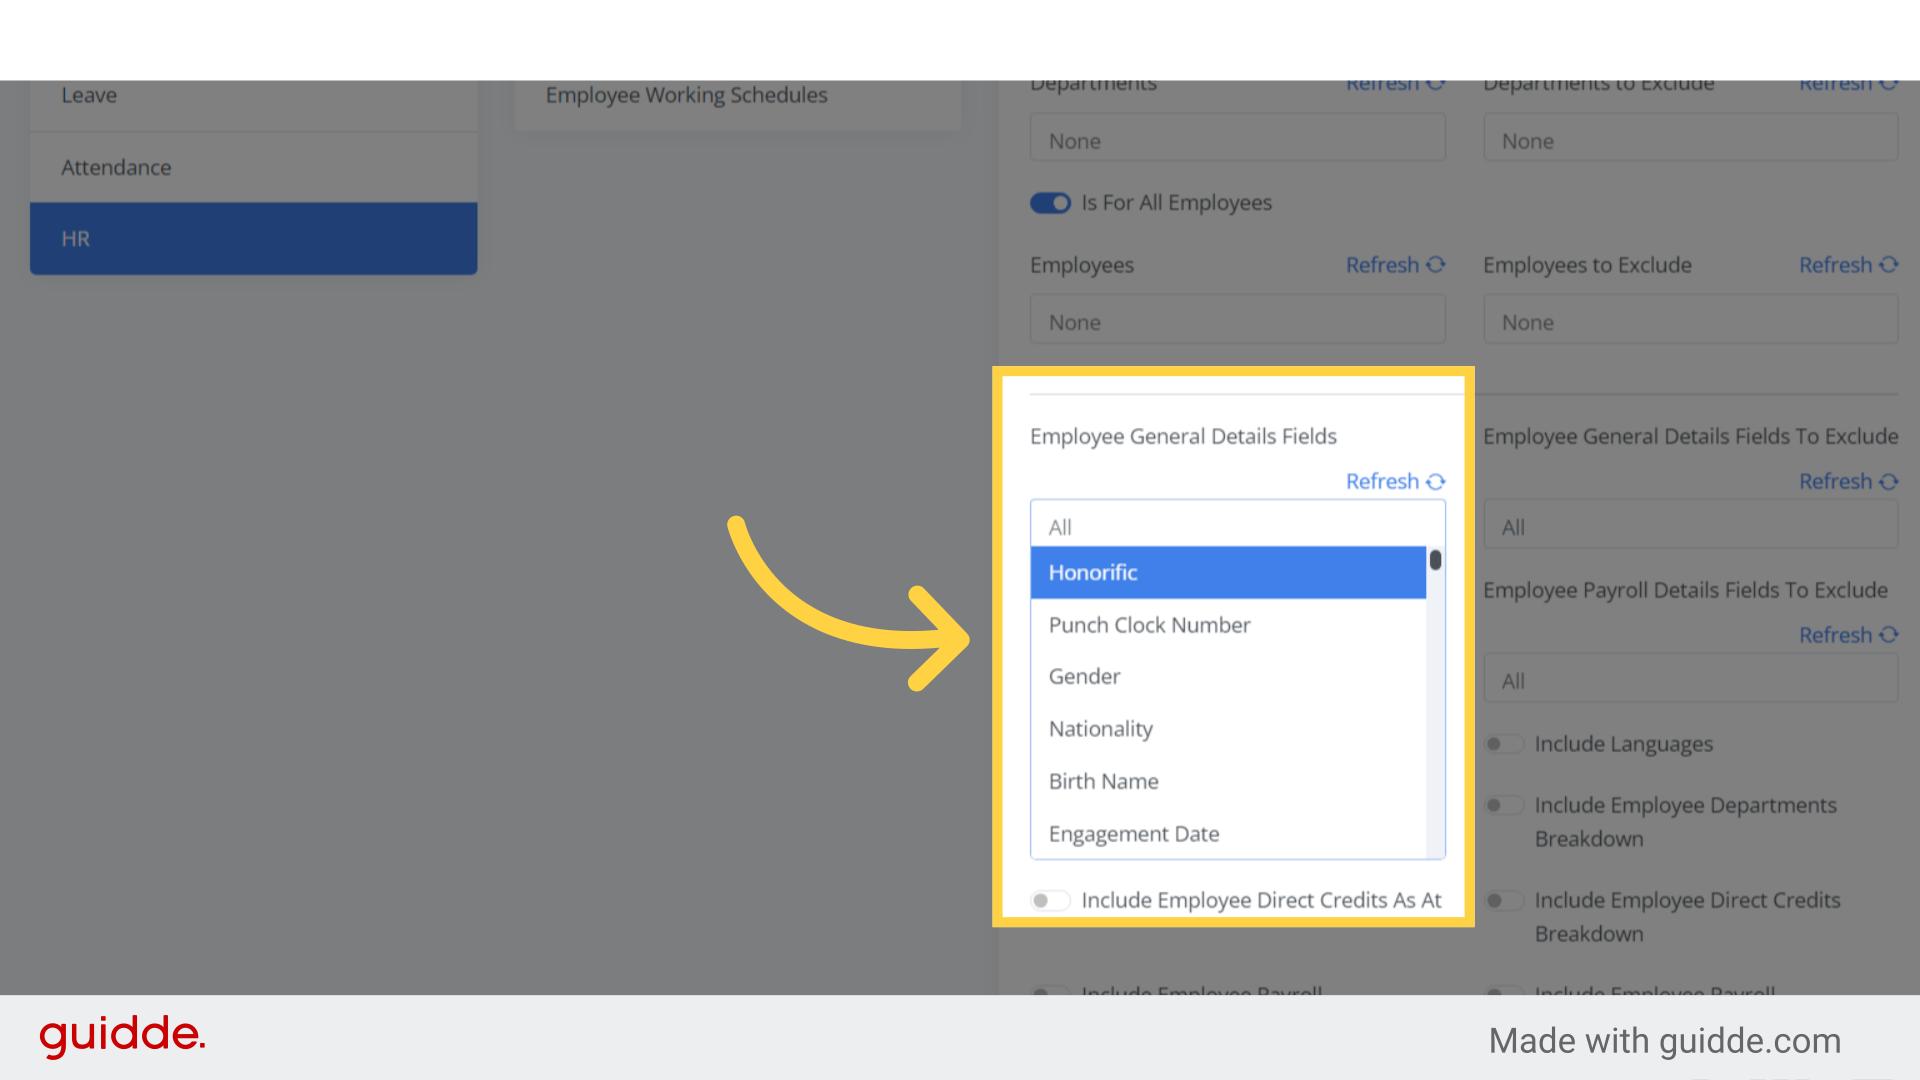
Step 3. Employee General Details Fields #
From the employee general details field, you can select the type of report you want to generate by choosing the required fields.
The report will be customized based on the fields you have selected
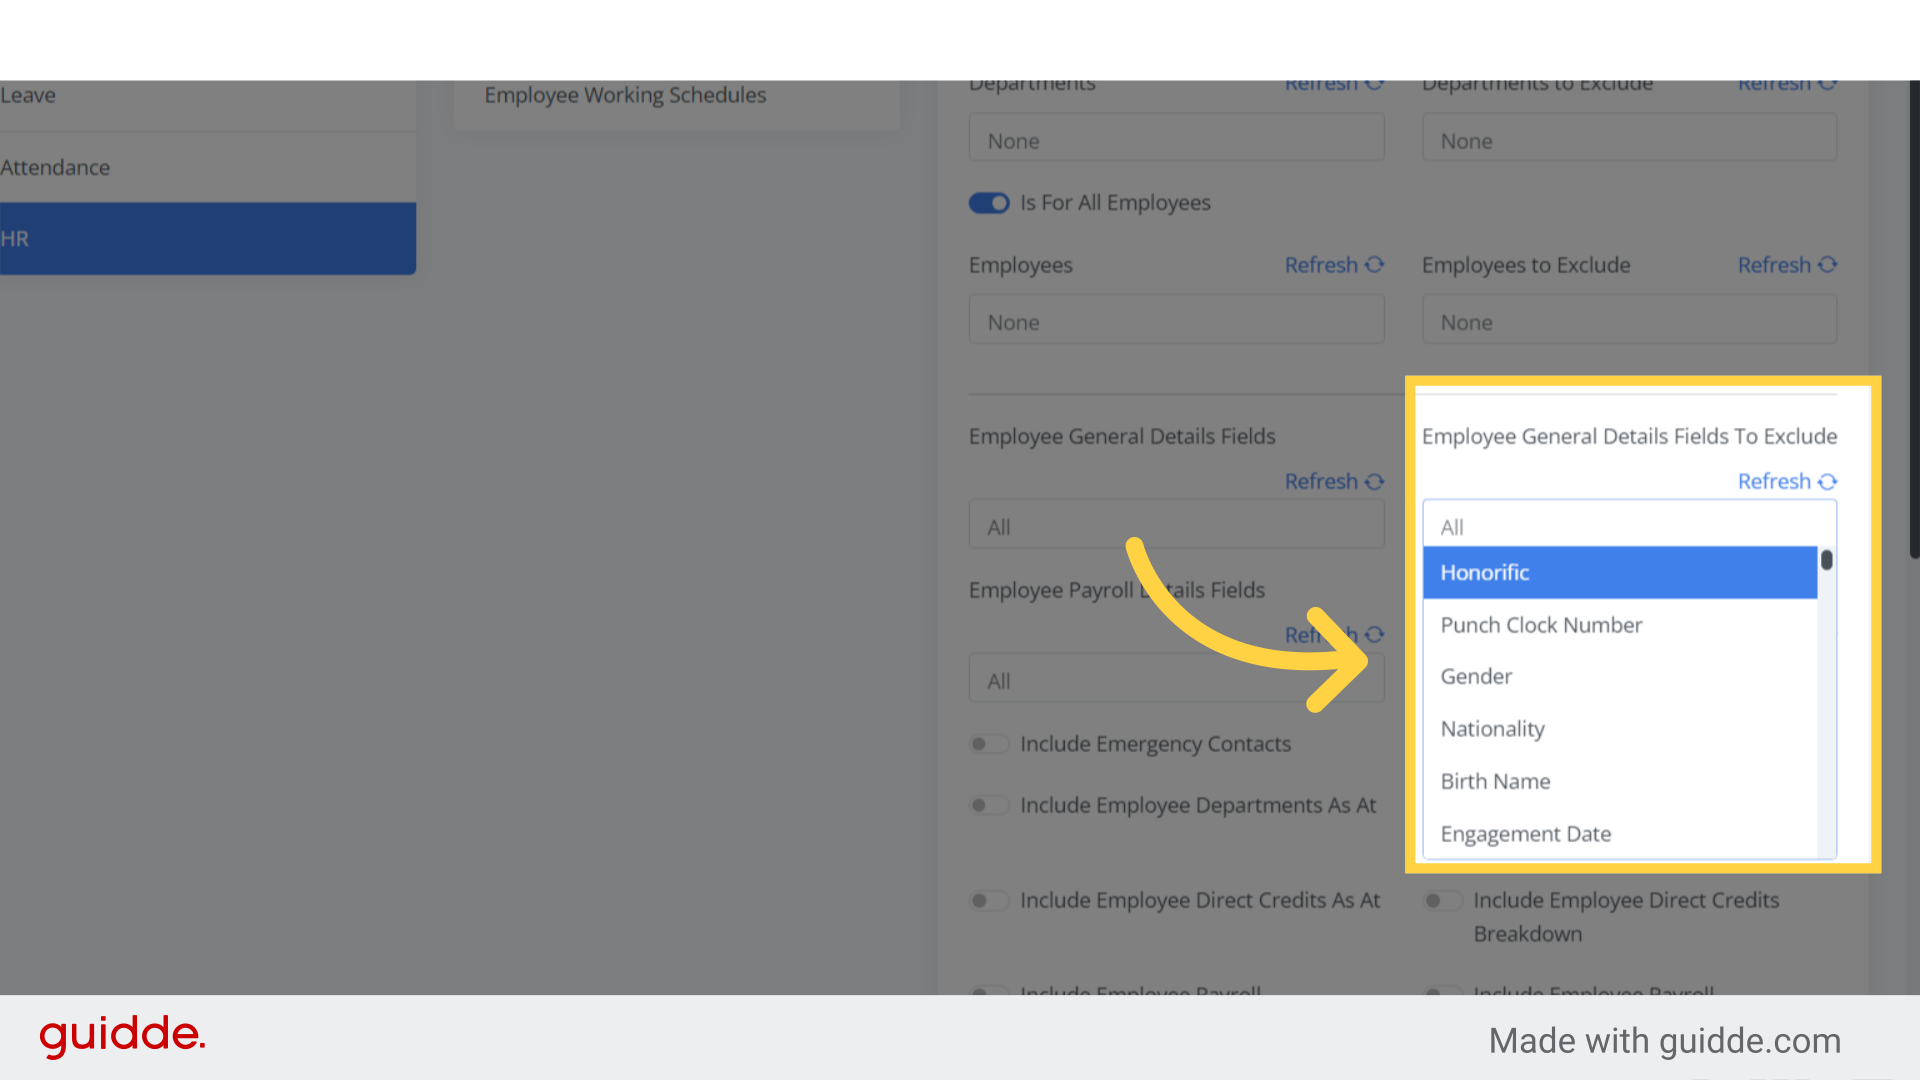
Step 4. Employees general details to exclude #
In addition to selecting what you want to include in the report, you also have the option to exclude specific items from the report.
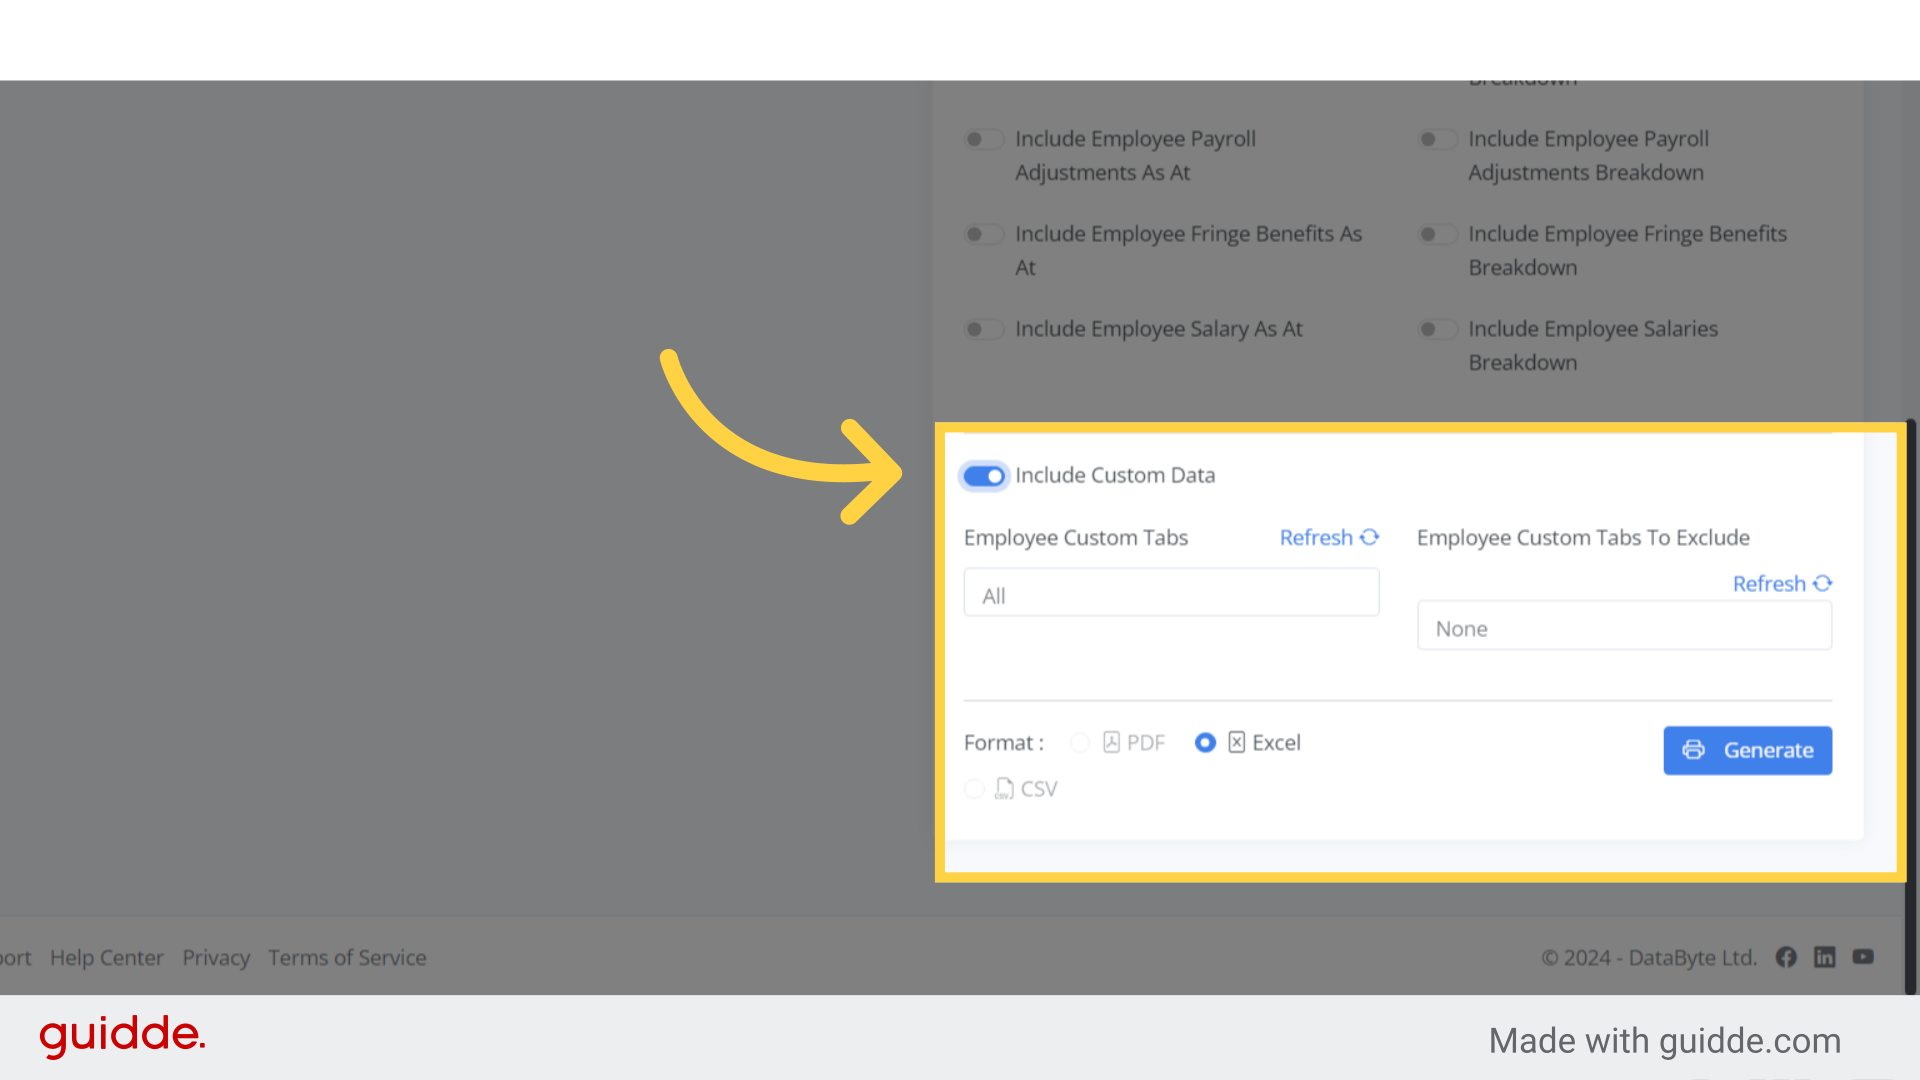
Step 5. Turn on toggle #
In addition to customization, if you have the HR Advanced subscription and have created custom tabs, you can include these custom tabs in your reports.
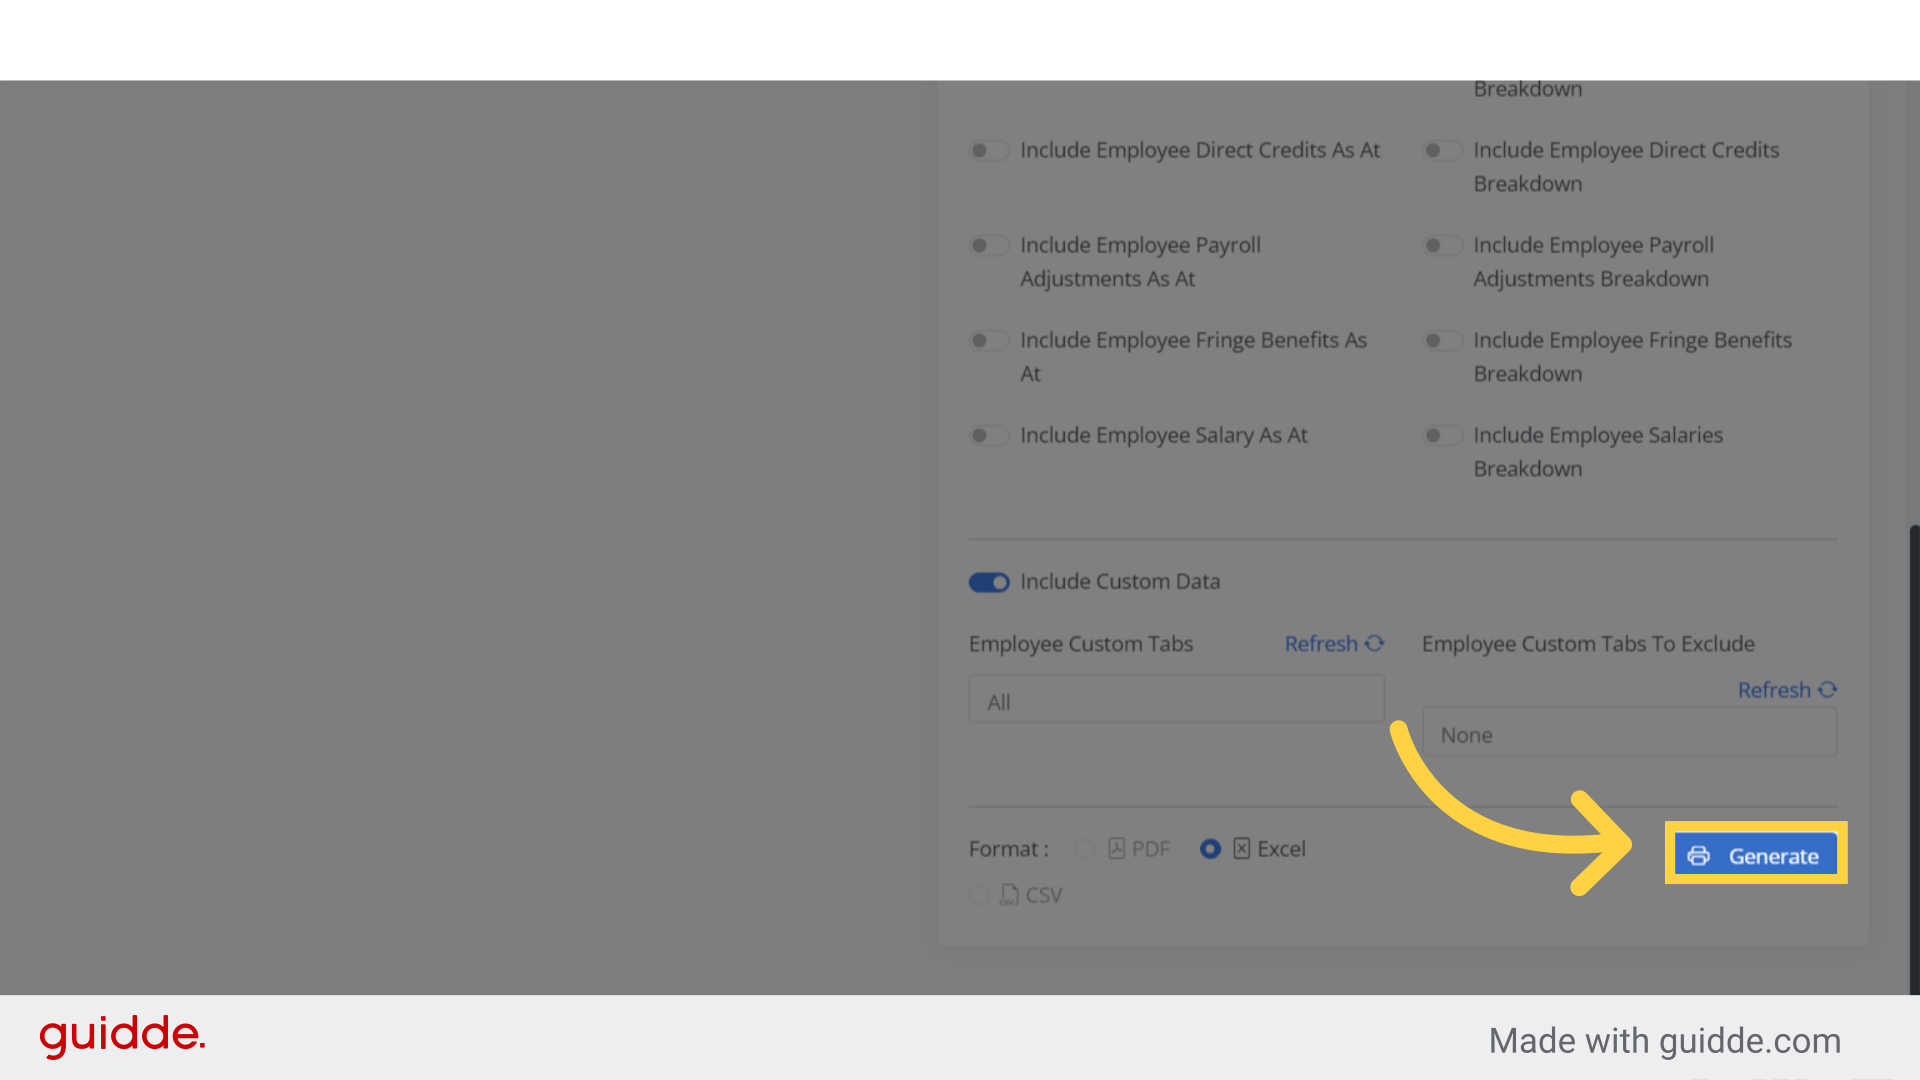
Step 6. Click “Generate” #
To generate a report based on the specified criteria, simply click on “Generate“.
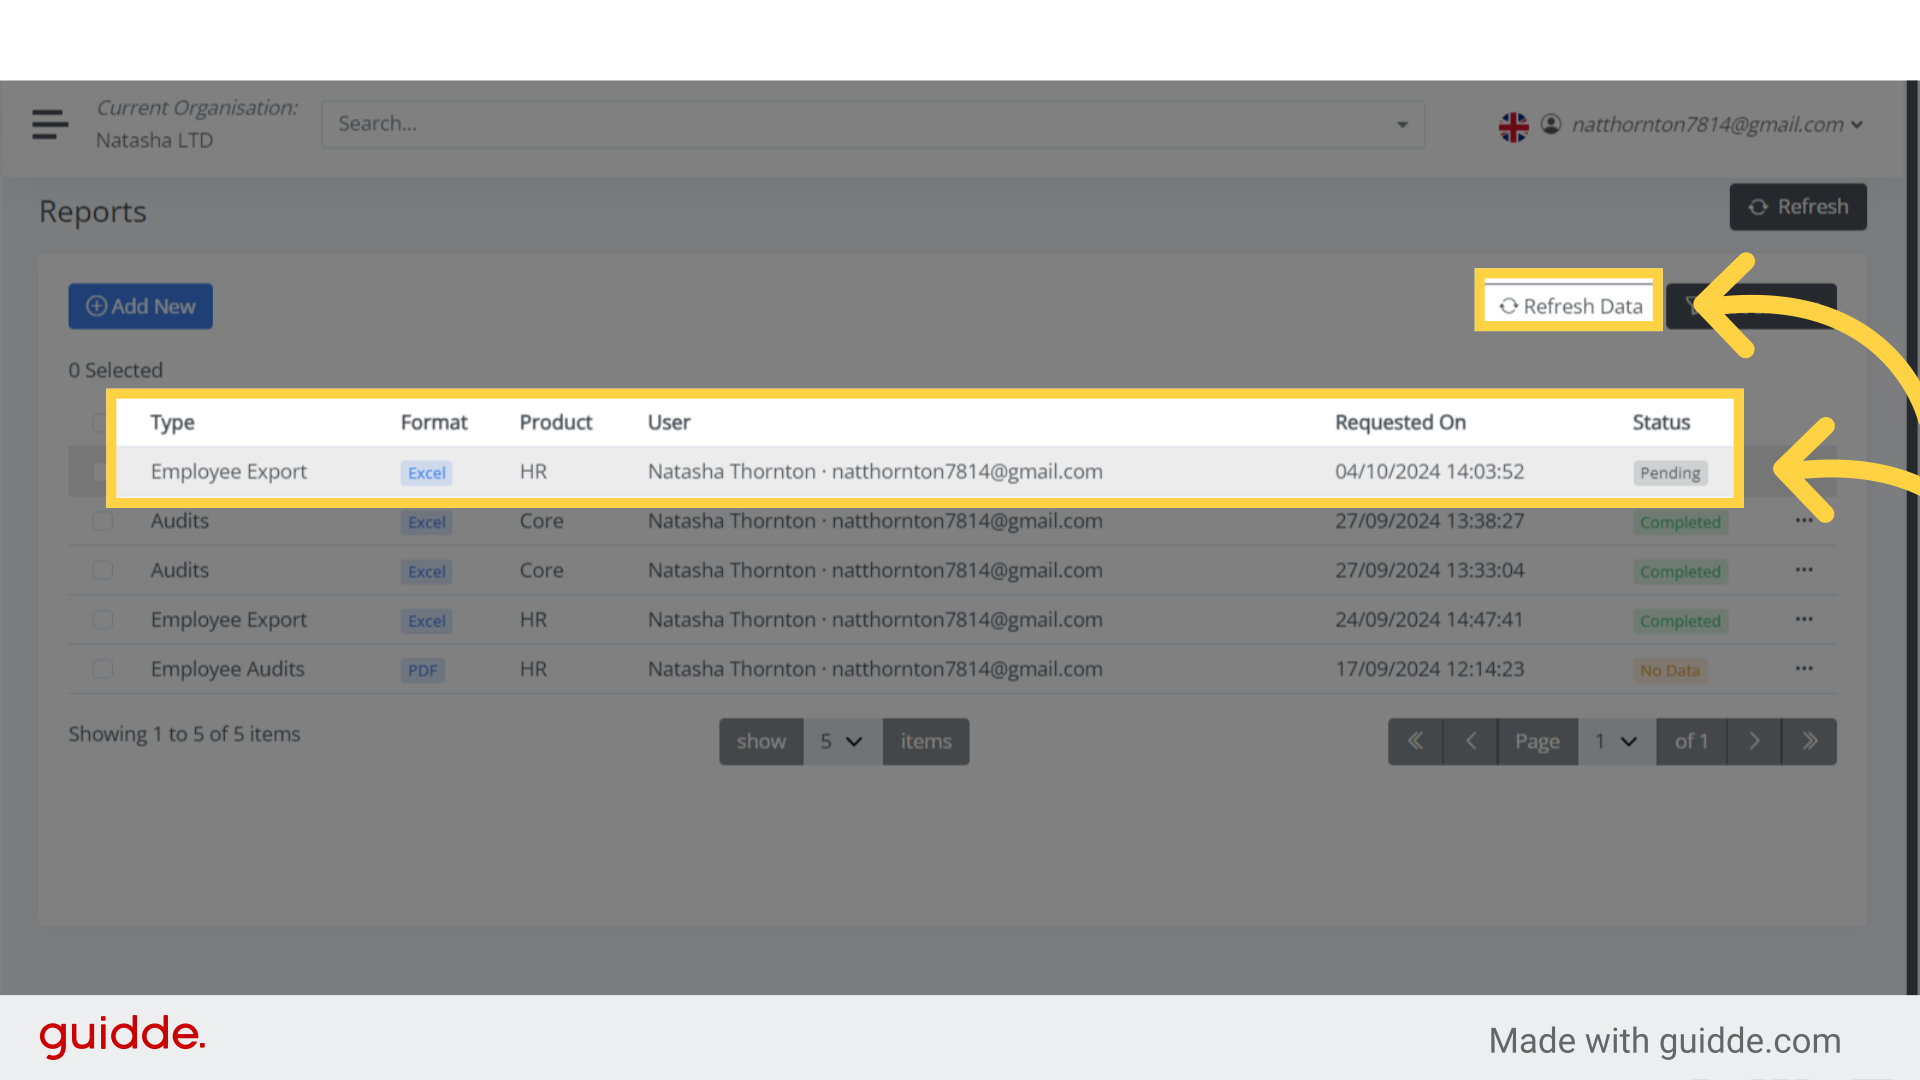
Step 7. Click here #
At this stage, once you have generated the report, it will show a pending status while processing.
Please allow some time for it to load, or click on the “Refresh Data” field.
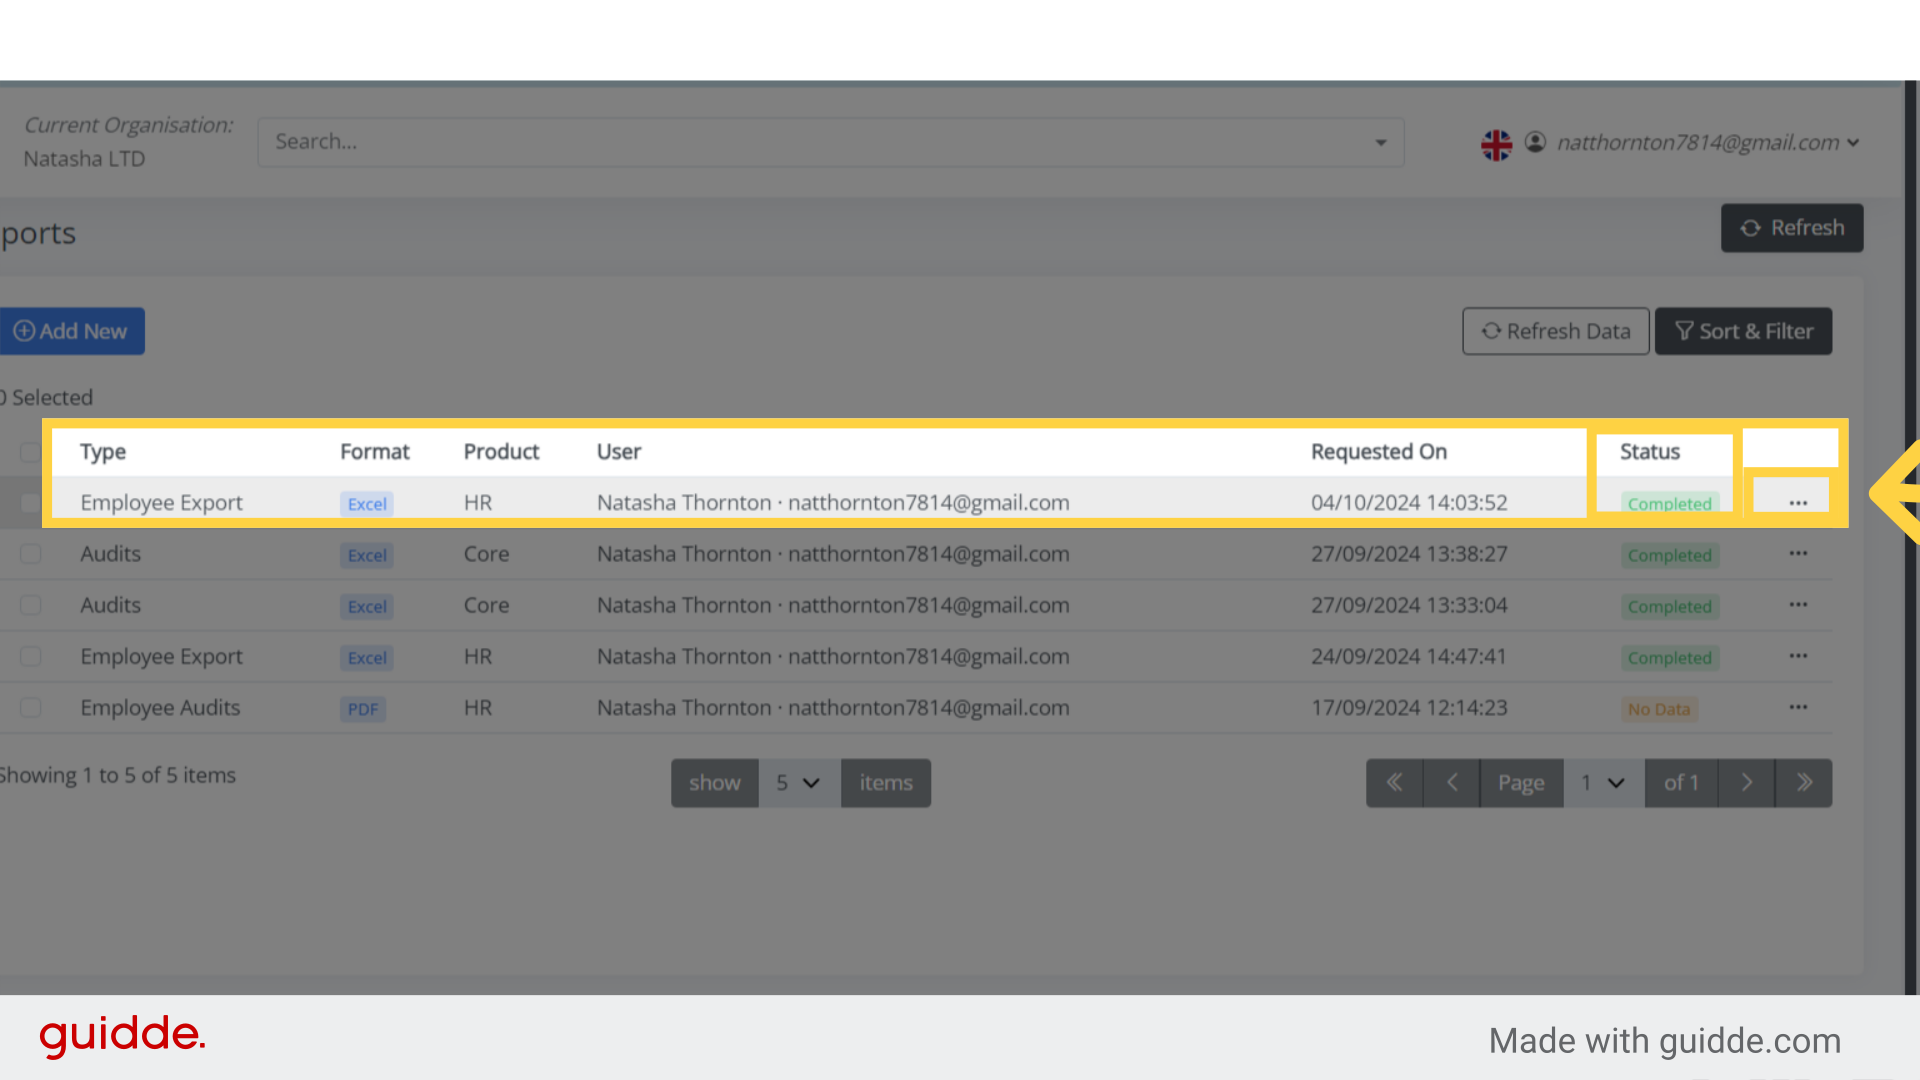
Step 8. Click here #
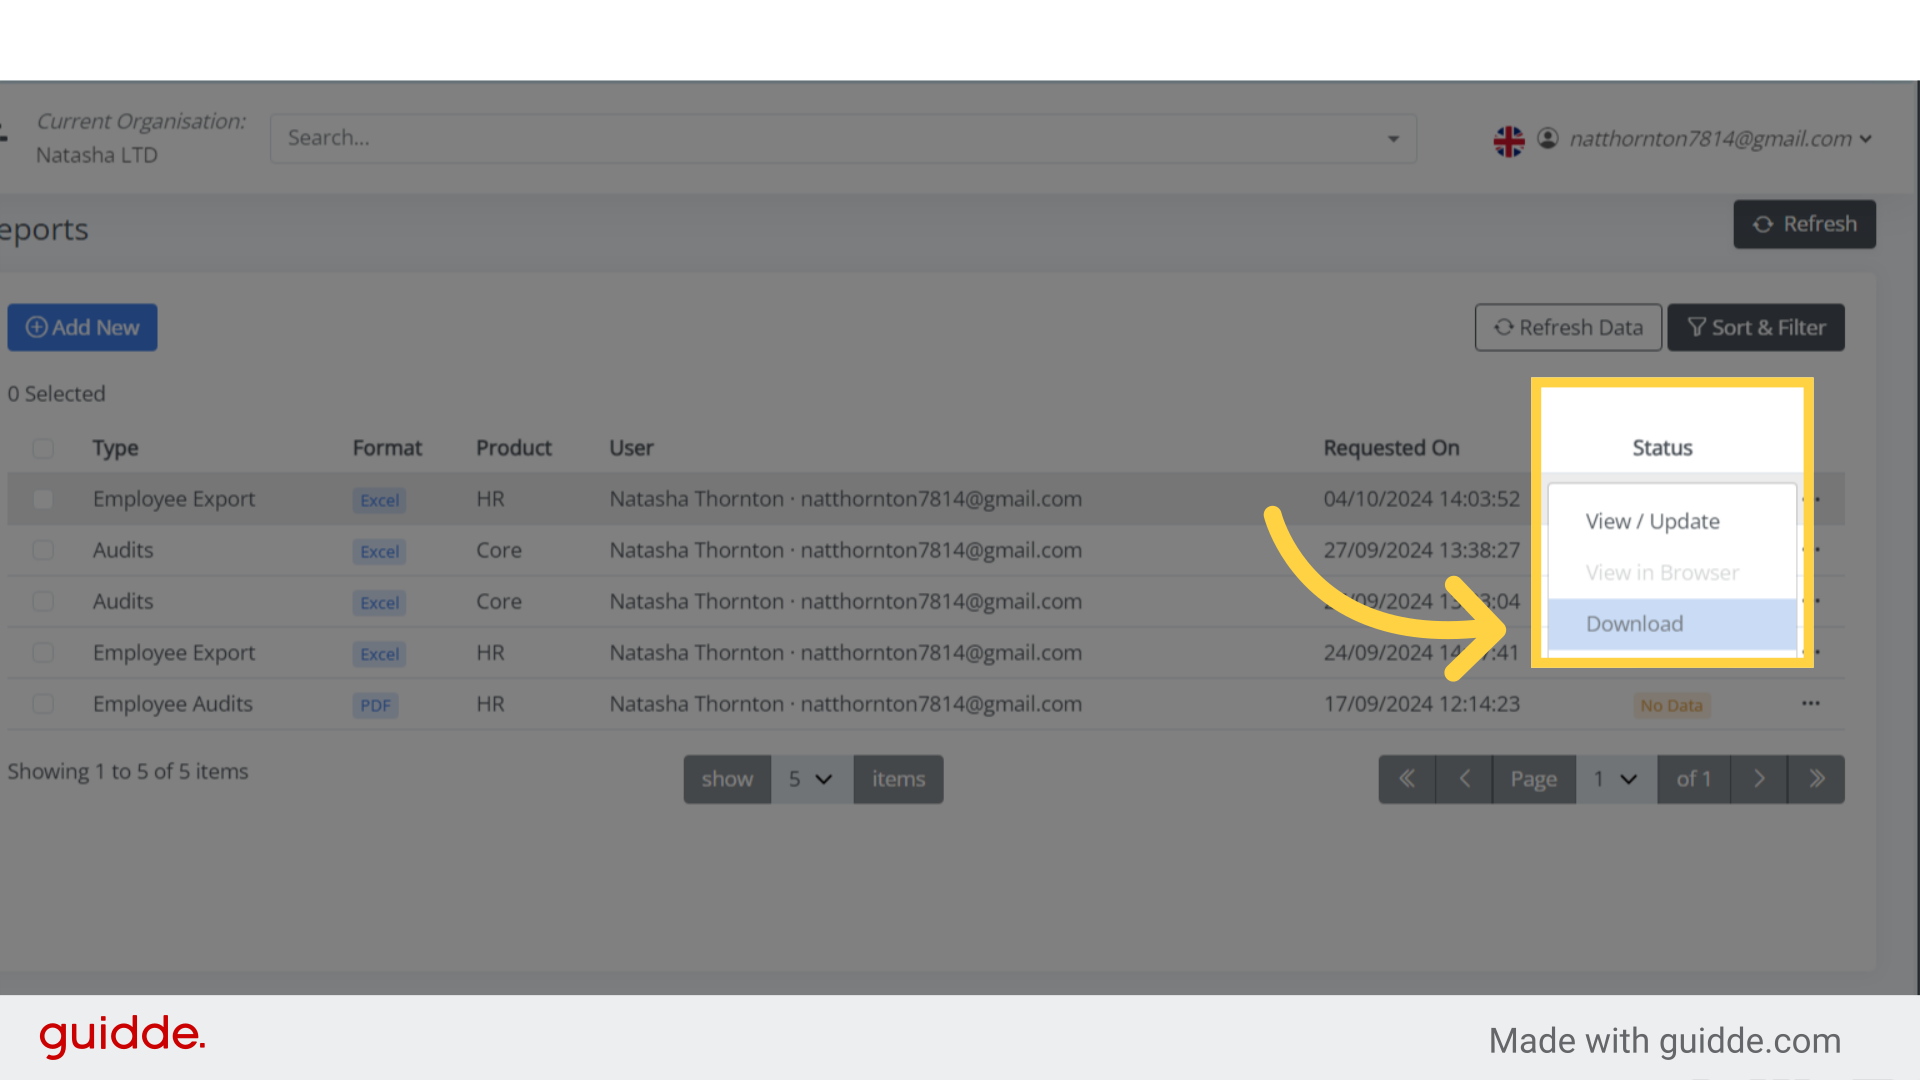
Once the status shows as completed, the report is ready to be downloaded in Excel format.
Simply click the three dots next to the completed status to proceed.
Step 9. Click “Download” #
Select “Download” to save the Excel sheet report to your PC or laptop.
It will be saved in your Downloads folder by default, or you can choose any folder and give it a name if you prefer.
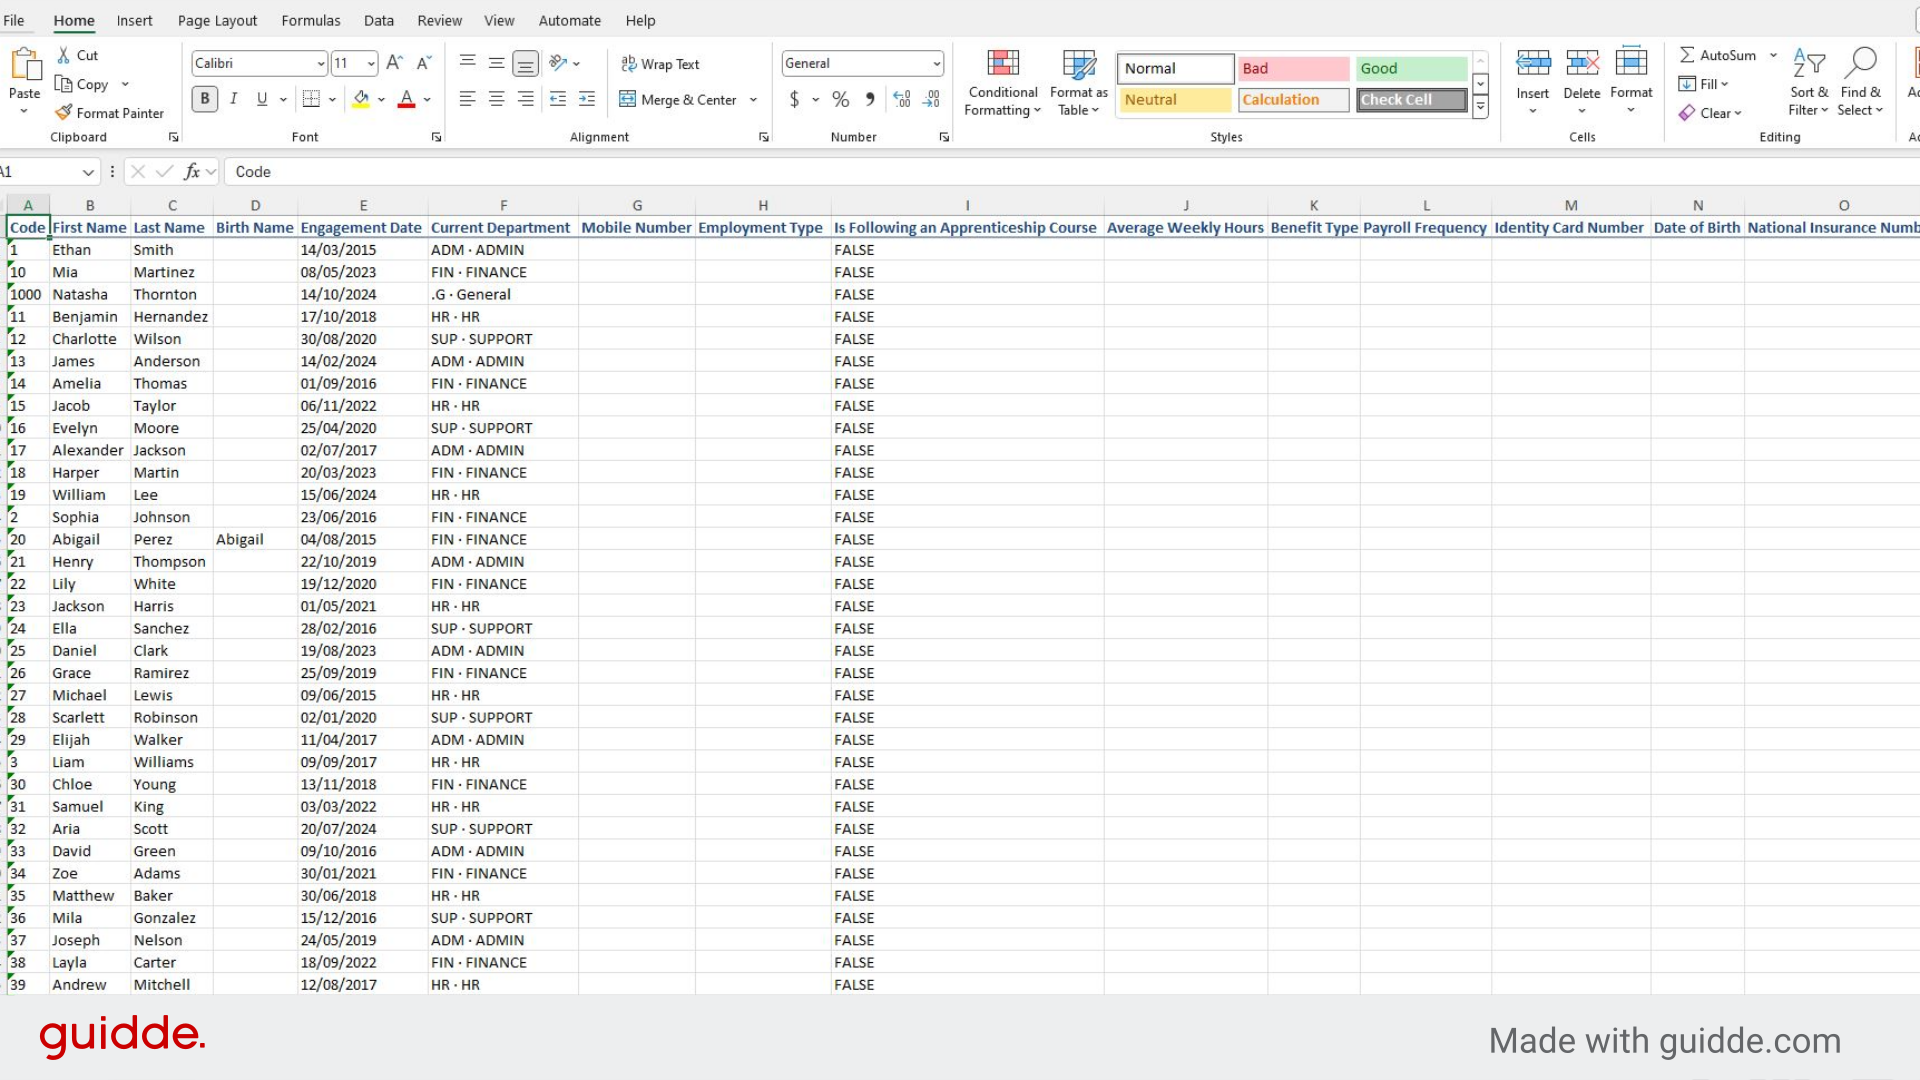
Step 10. Report downloaded #
As you can see, the report has been generated based on the criteria I selected.
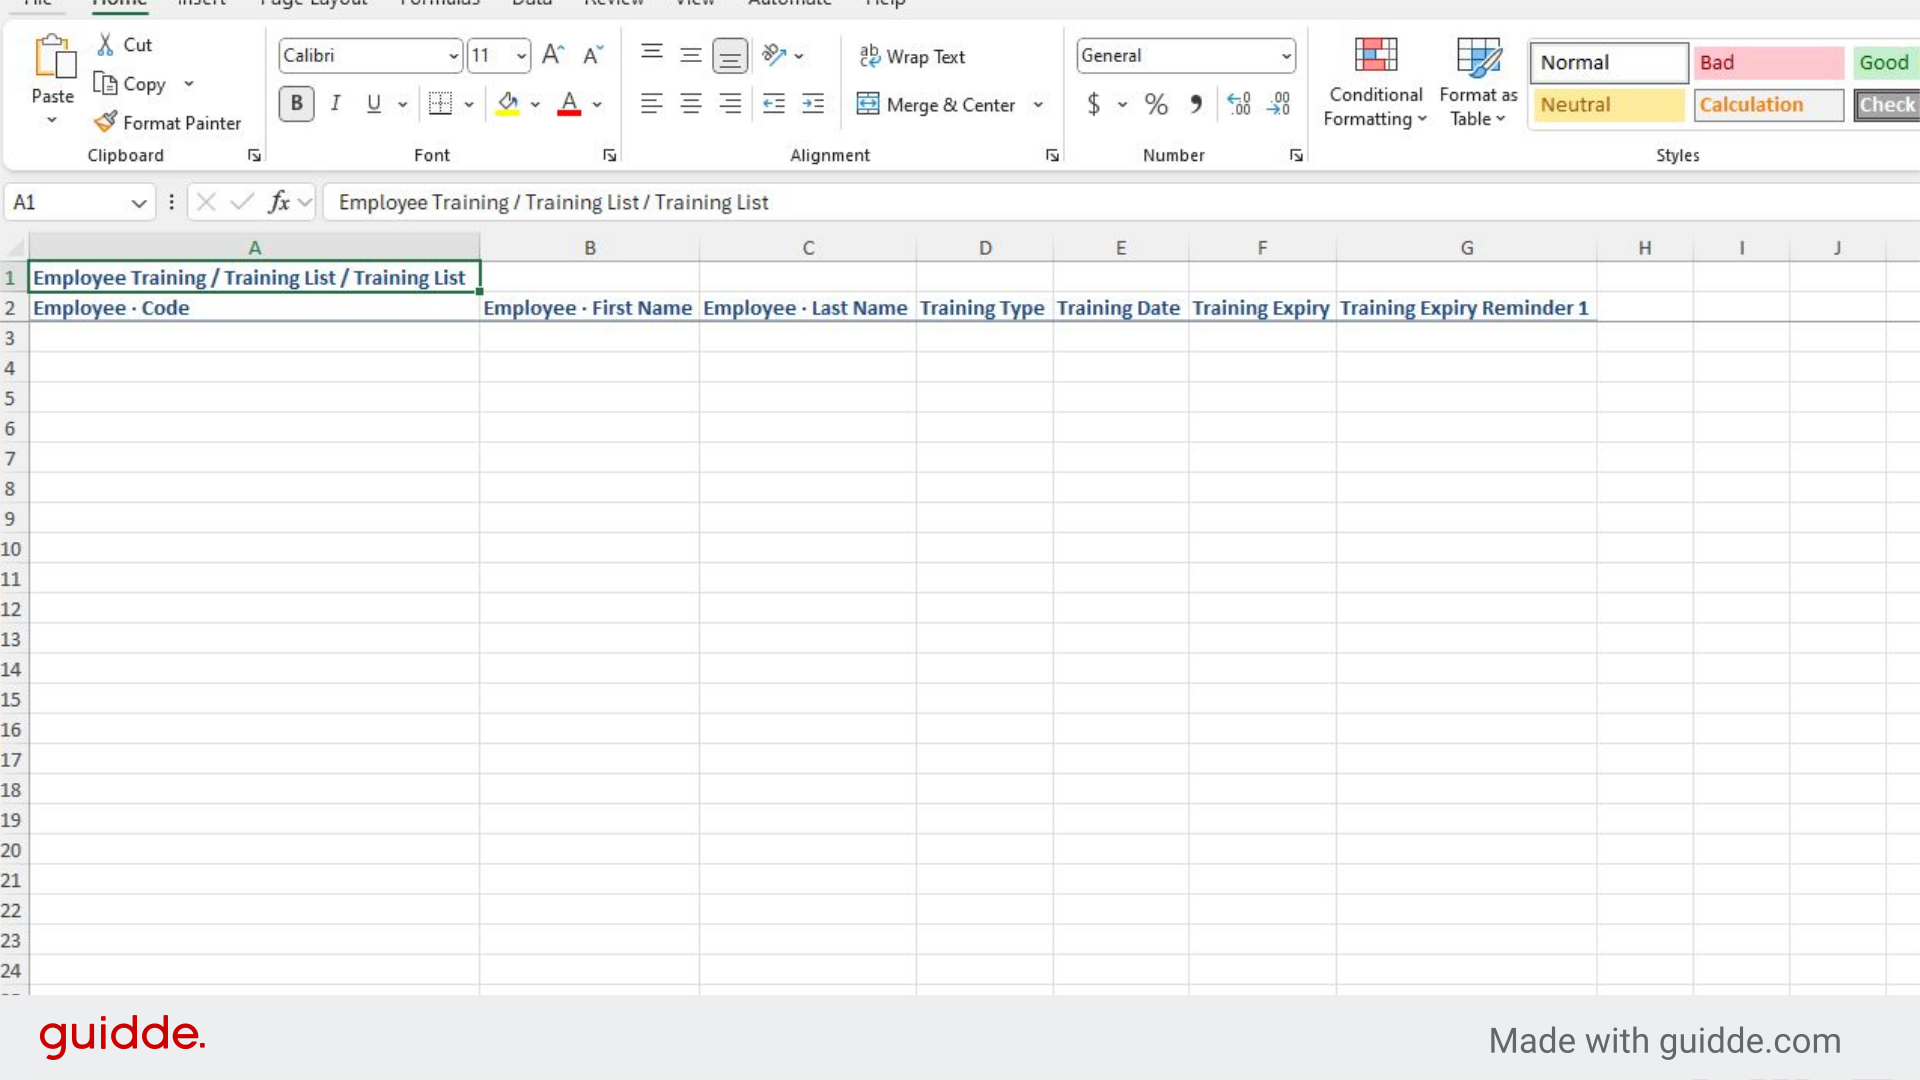
You will also notice that the custom tab “Training List” has been generated as a report on a separate sheet.
Step 11. Custom tabs report #
The custom tabs report has been generated according to it’s creation.
Therefore, all information in your custom tabs will be visible in the report by simply turning on the toggle to include custom tabs in the report.
The guide covered a series of precise instructions on how to extract related reports.
From selecting options to clicking on specific areas, this guide will assist you in efficiently navigating through the application for your reporting needs.


