
How to Efficiently Manage Leave Requests in Bitkode #
Managing Leave requests in Bitkode is simple and streamlined. This guide will help you:
- Navigate the Leave request interface
- View and approve requests
- Change request statuses
- Use sorting and filtering tools
- Approve multiple requests at once
Step-by-Step Guide #
Step 1: Access the Leave Requests Page #
- Click on “Requests” in the main menu.
- You will be directed to the Leave Requests section.
- All pending Leave requests will be displayed clearly.
Step 2: Review Leave Requests #
- Each request includes details such as employee name, Leave type, and dates.
- You can click on individual requests to view more information.
Step 3: Approve or Reject Requests #
- To approve or reject a single request, click on the respective button next to it.
- To change the status of a request, select the appropriate action from the dropdown from Change Status Tab.
Step 4: Bulk Approvals #
- To approve multiple requests at once:
- Use the checkboxes to select all relevant requests.
- Click “Approve Selected” to process them in bulk.

Final Step: Completing the Process #
Once the process is underway, a new tab will automatically open.
After the operation completes successfully (as shown in the confirmation screen), simply click on “Click Here to Close this Tab” to return to the main interface.

Refreshing the Leave Request Status #
After the process is completed, you will be redirected to the original tab.
At this stage, you may still see the leave request marked as Pending.
To update the status and reflect the Approved state:
- Click on the “Refresh Data” tab.
- The list will update, and the leave request will now appear as Approved.

Example of an Approved Leave Request #
Below is a sample view of a leave request that has been successfully approved.
This serves as a reference for how approved requests appear in the system.

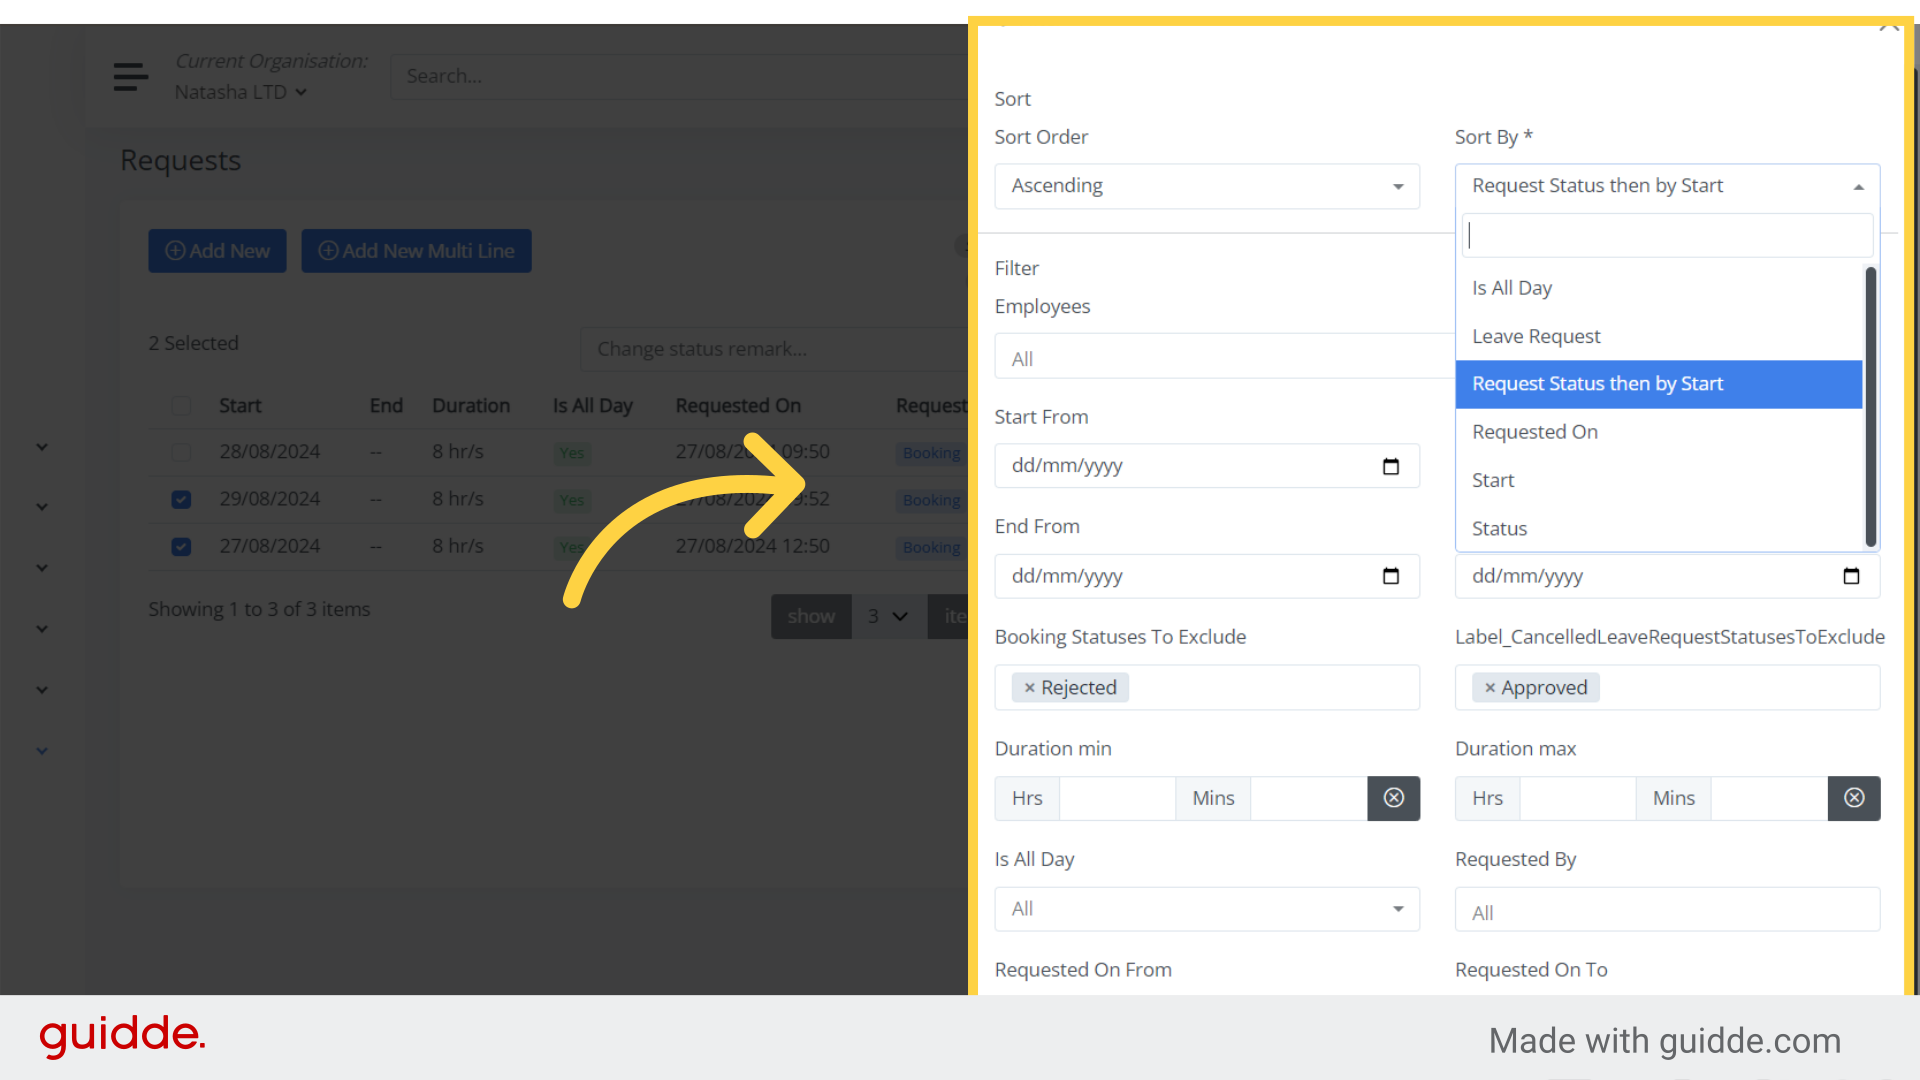
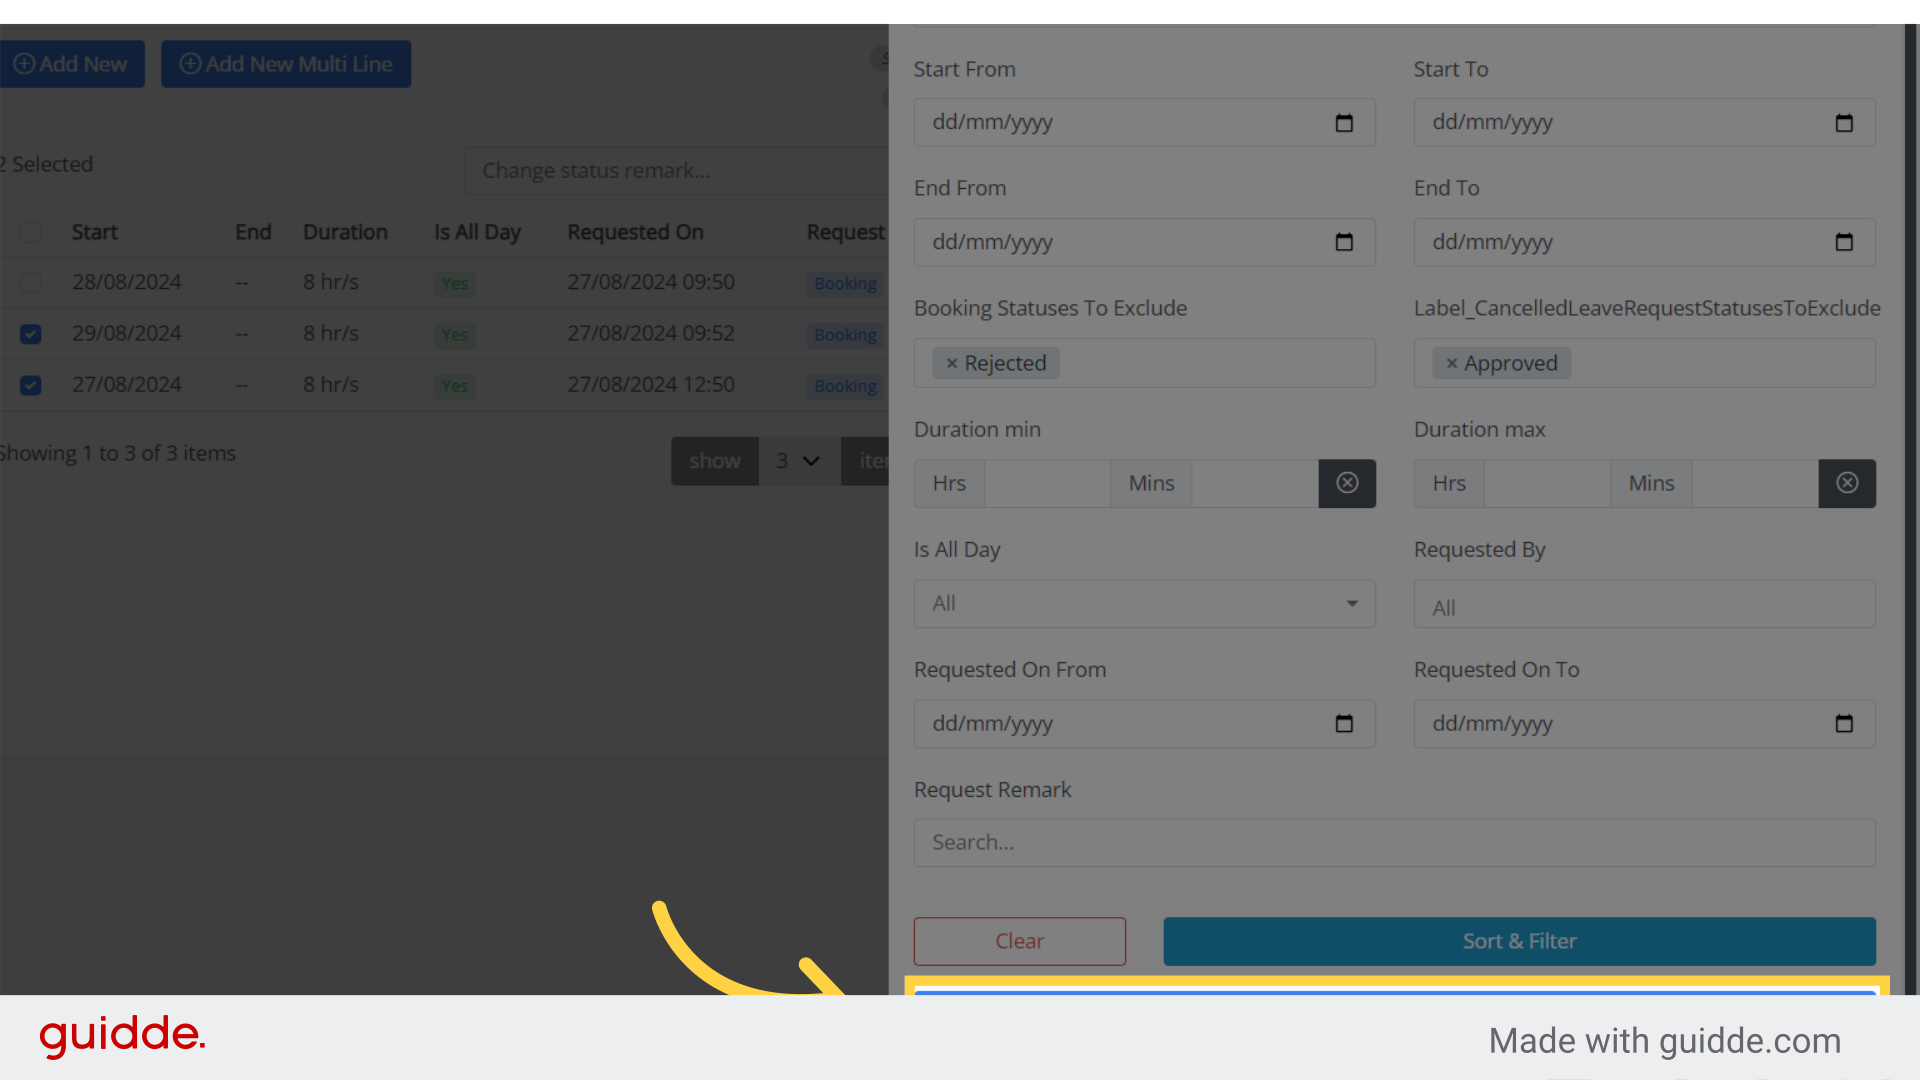
Sort and Filter #
- Use the filter options to narrow down requests by:
- Date range
- Employee name
- Leave type
- Status (Pending, Approved, Rejected)
- Use sorting tools to organize requests by date, name, or status.
Customize Column Configuration #
Click on “Column Configuration” to personalize how data is displayed.
This feature allows you to rearrange columns according to your preferences, helping you maintain a clear layout and easily navigate the most relevant information.
By following these steps, you can streamline your Leave approval process and maintain accurate records with ease.


