
Table of Contents
- This guide will walk you through the process of creating validity periods and linking them to tags in Bitkode.
- Step 1. Click "Setup"
- Step 2. Click "Validity Periods"
- Step 3. Click "Add New"
- Step 4. Click "Code"
- Step 5. Fill "LIC"
- Step 6. Fill "Driving licence"
- Step 7. Linked to*
- Step 8. Fill "36"
- Step 9. Timeframe Type
- Step 10. Click "Save"
- Step 11. Click "Tags"
- Step 12. Click "Add New"
- Step 13. Click "Code "
- Step 14. Fill "Driving licence"
- Step 15. Click "File Uploads"
- Step 16. Click "LIC · Driving licences"
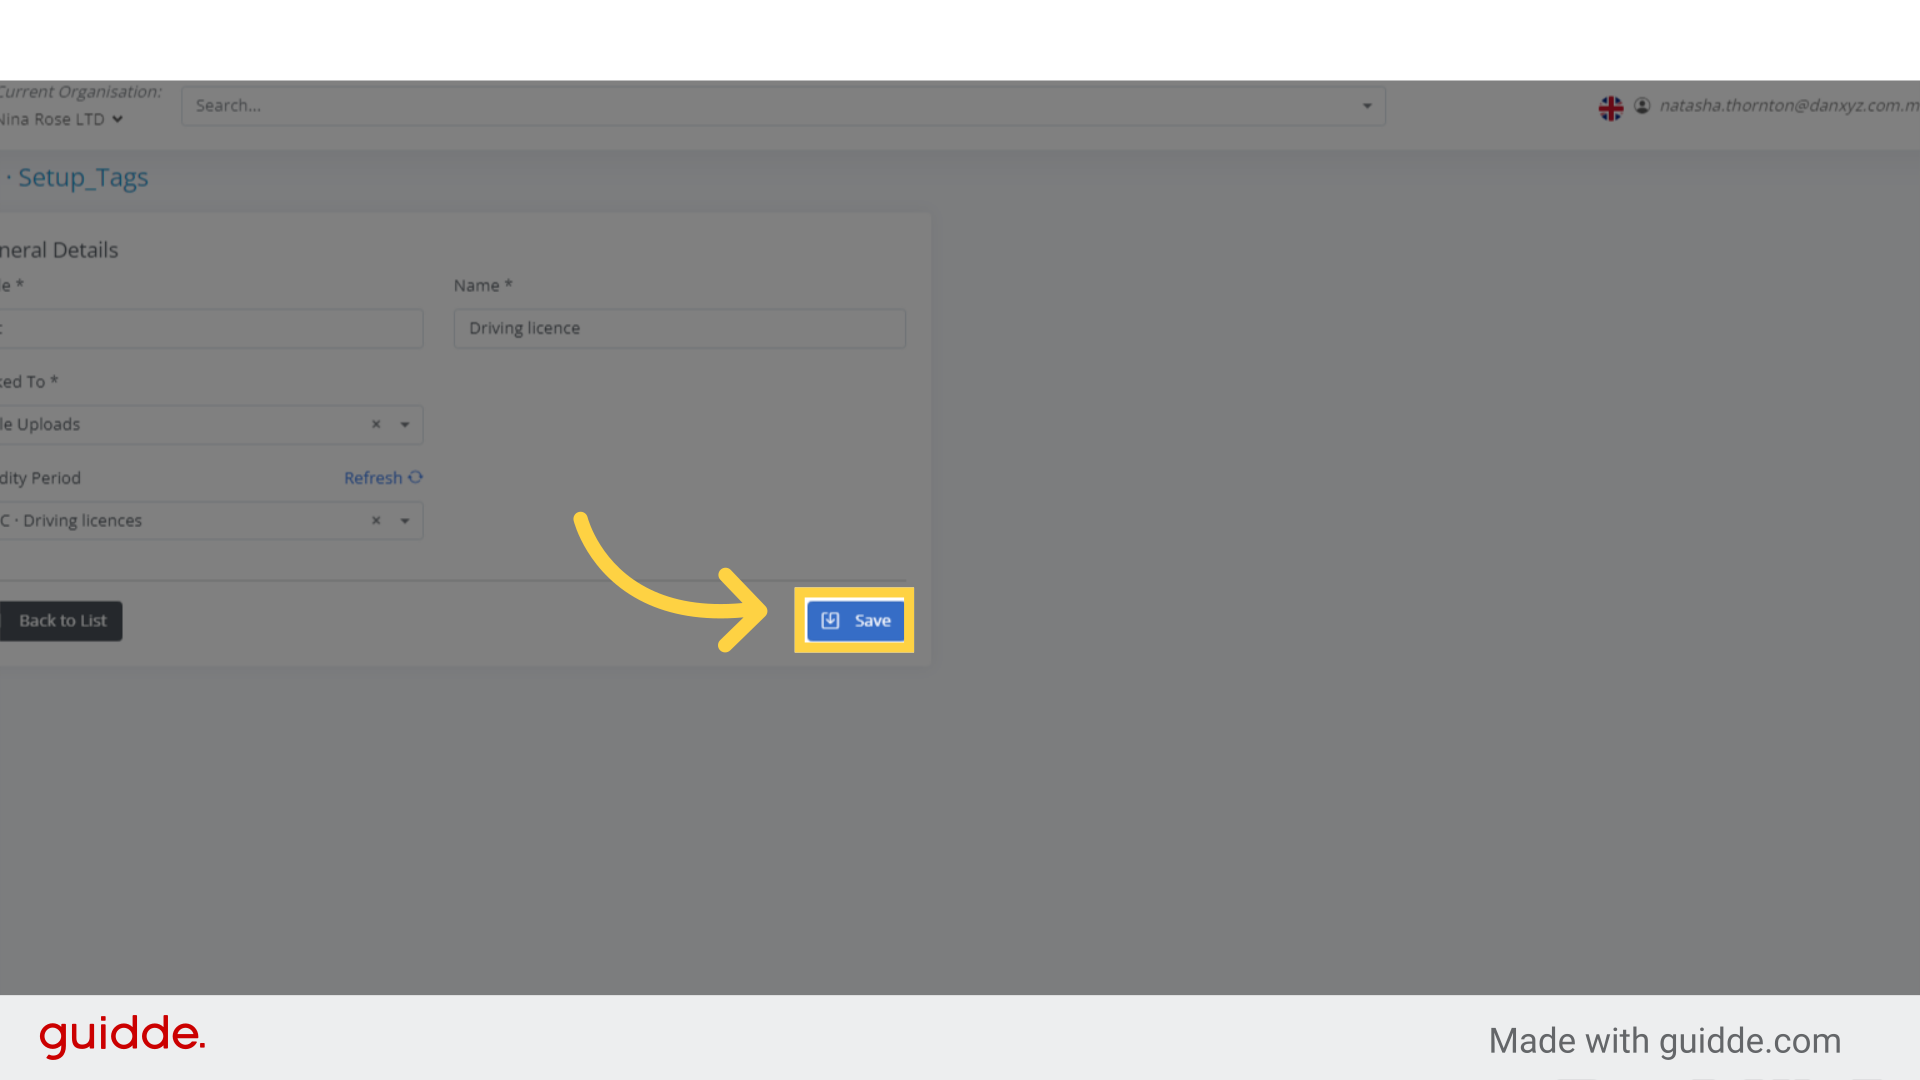
- Step 17. Click "Save"
This guide will walk you through the process of creating validity periods and linking them to tags in Bitkode. #
By following these detailed steps, you can efficiently manage employee and ensure compliance within your organization.
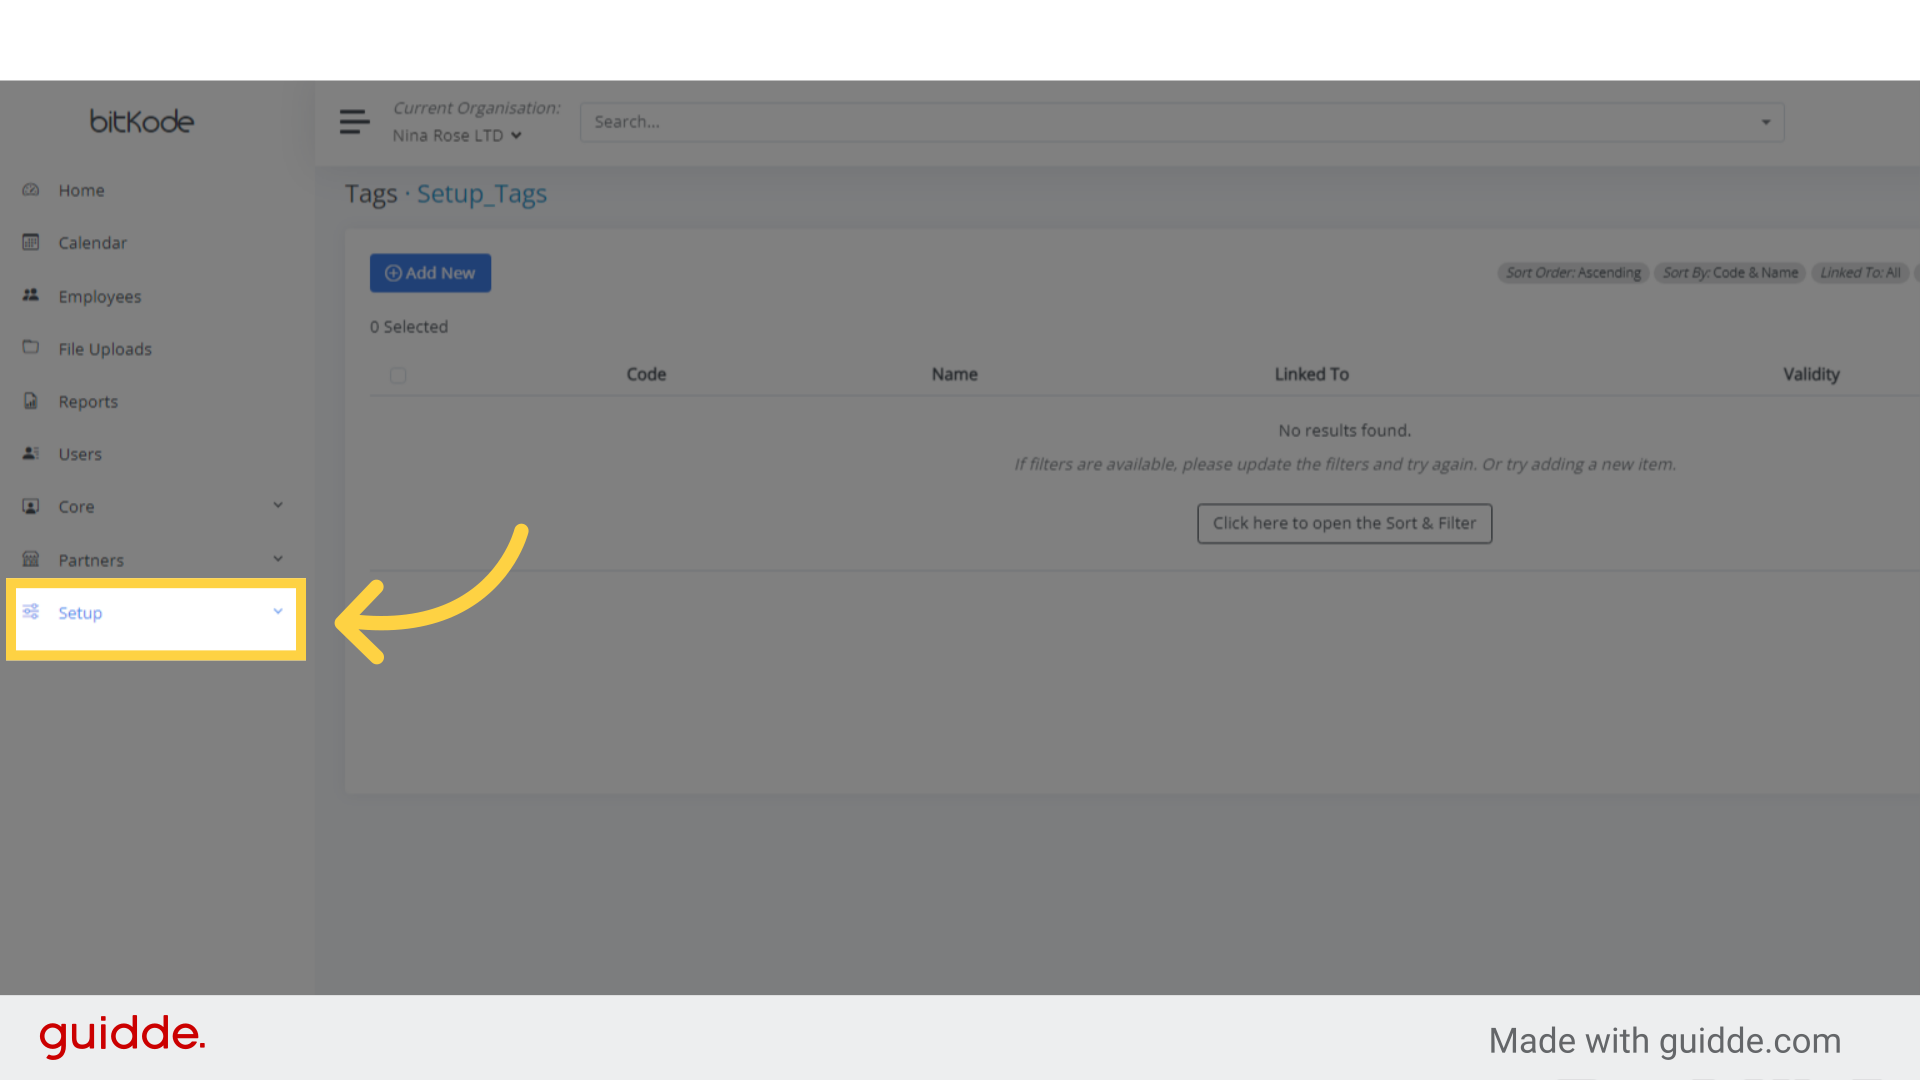
Step 1. Click “Setup” #
To begin the process, click on Setup from your home page.
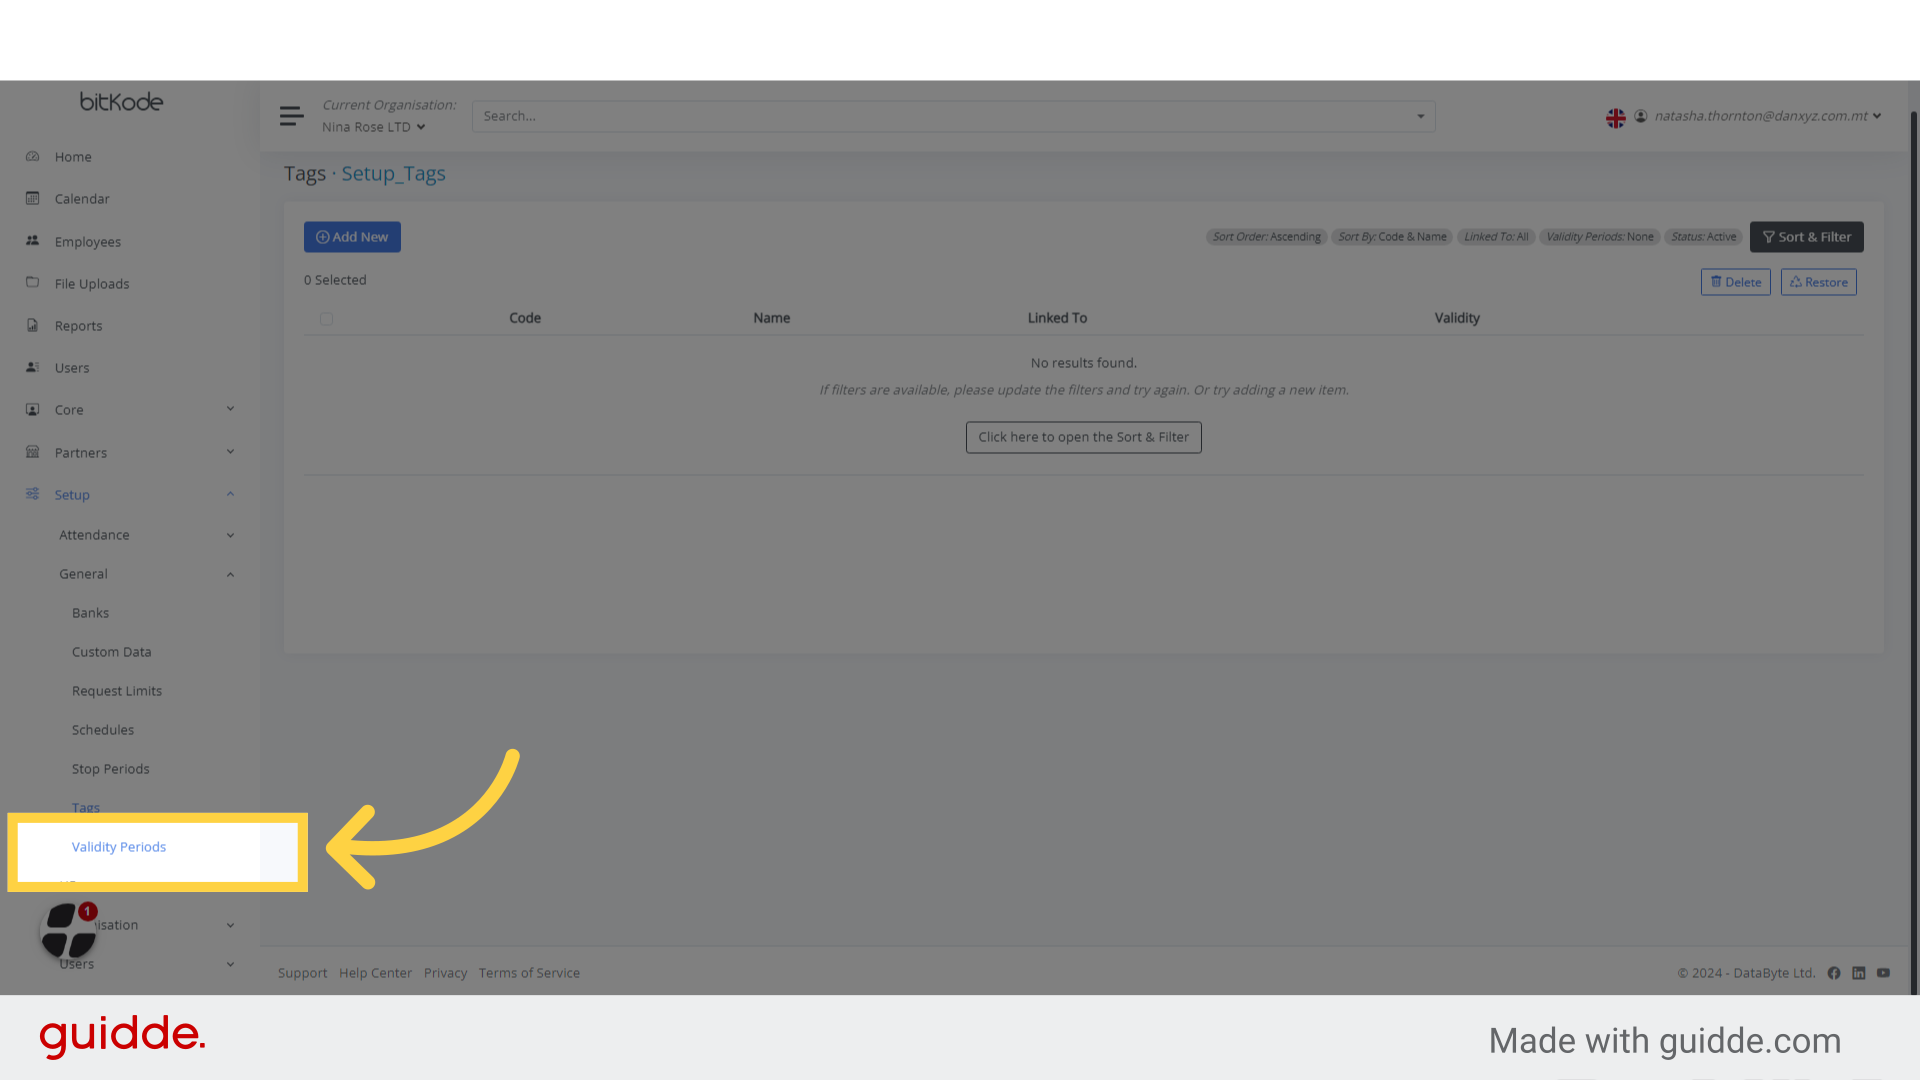
Step 2. Click “Validity Periods” #
After clicking on Setup, select the Validity Periods field.
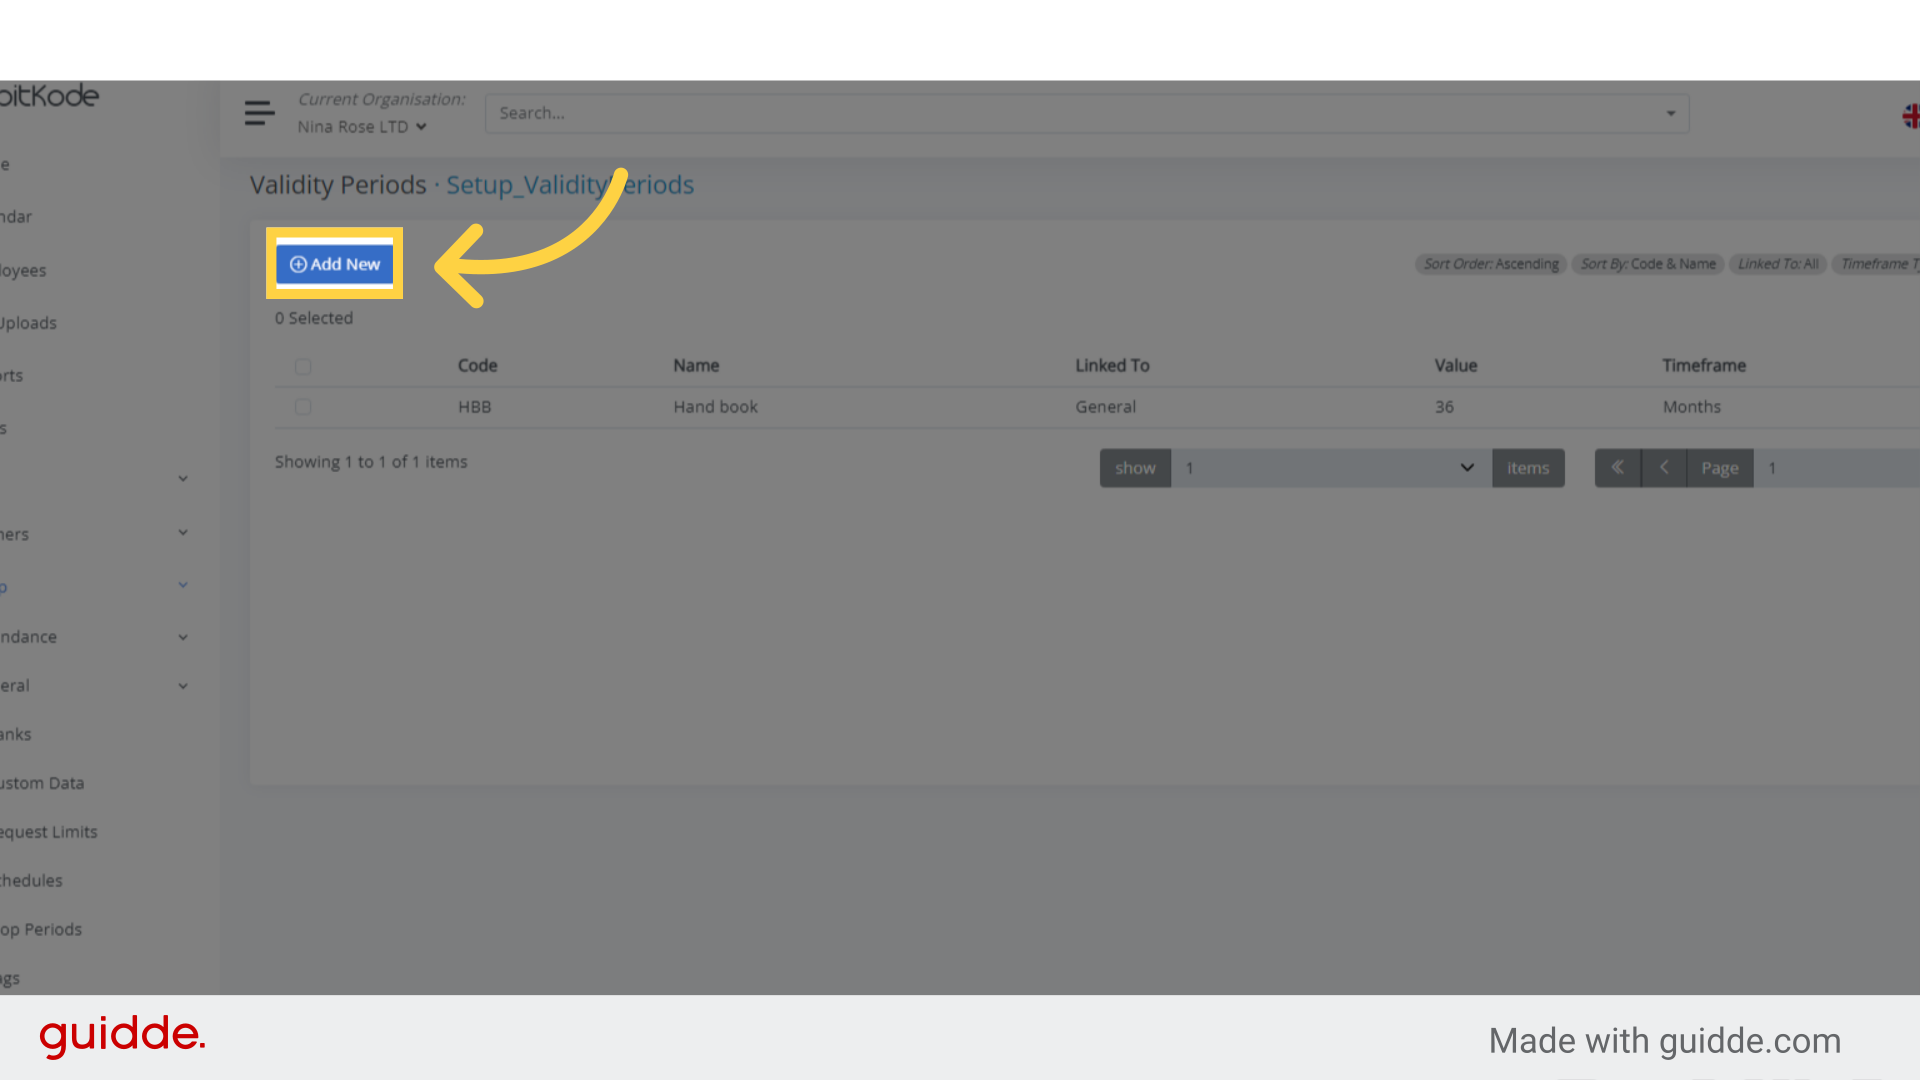
Step 3. Click “Add New” #
Initiate the creation of a new entry.
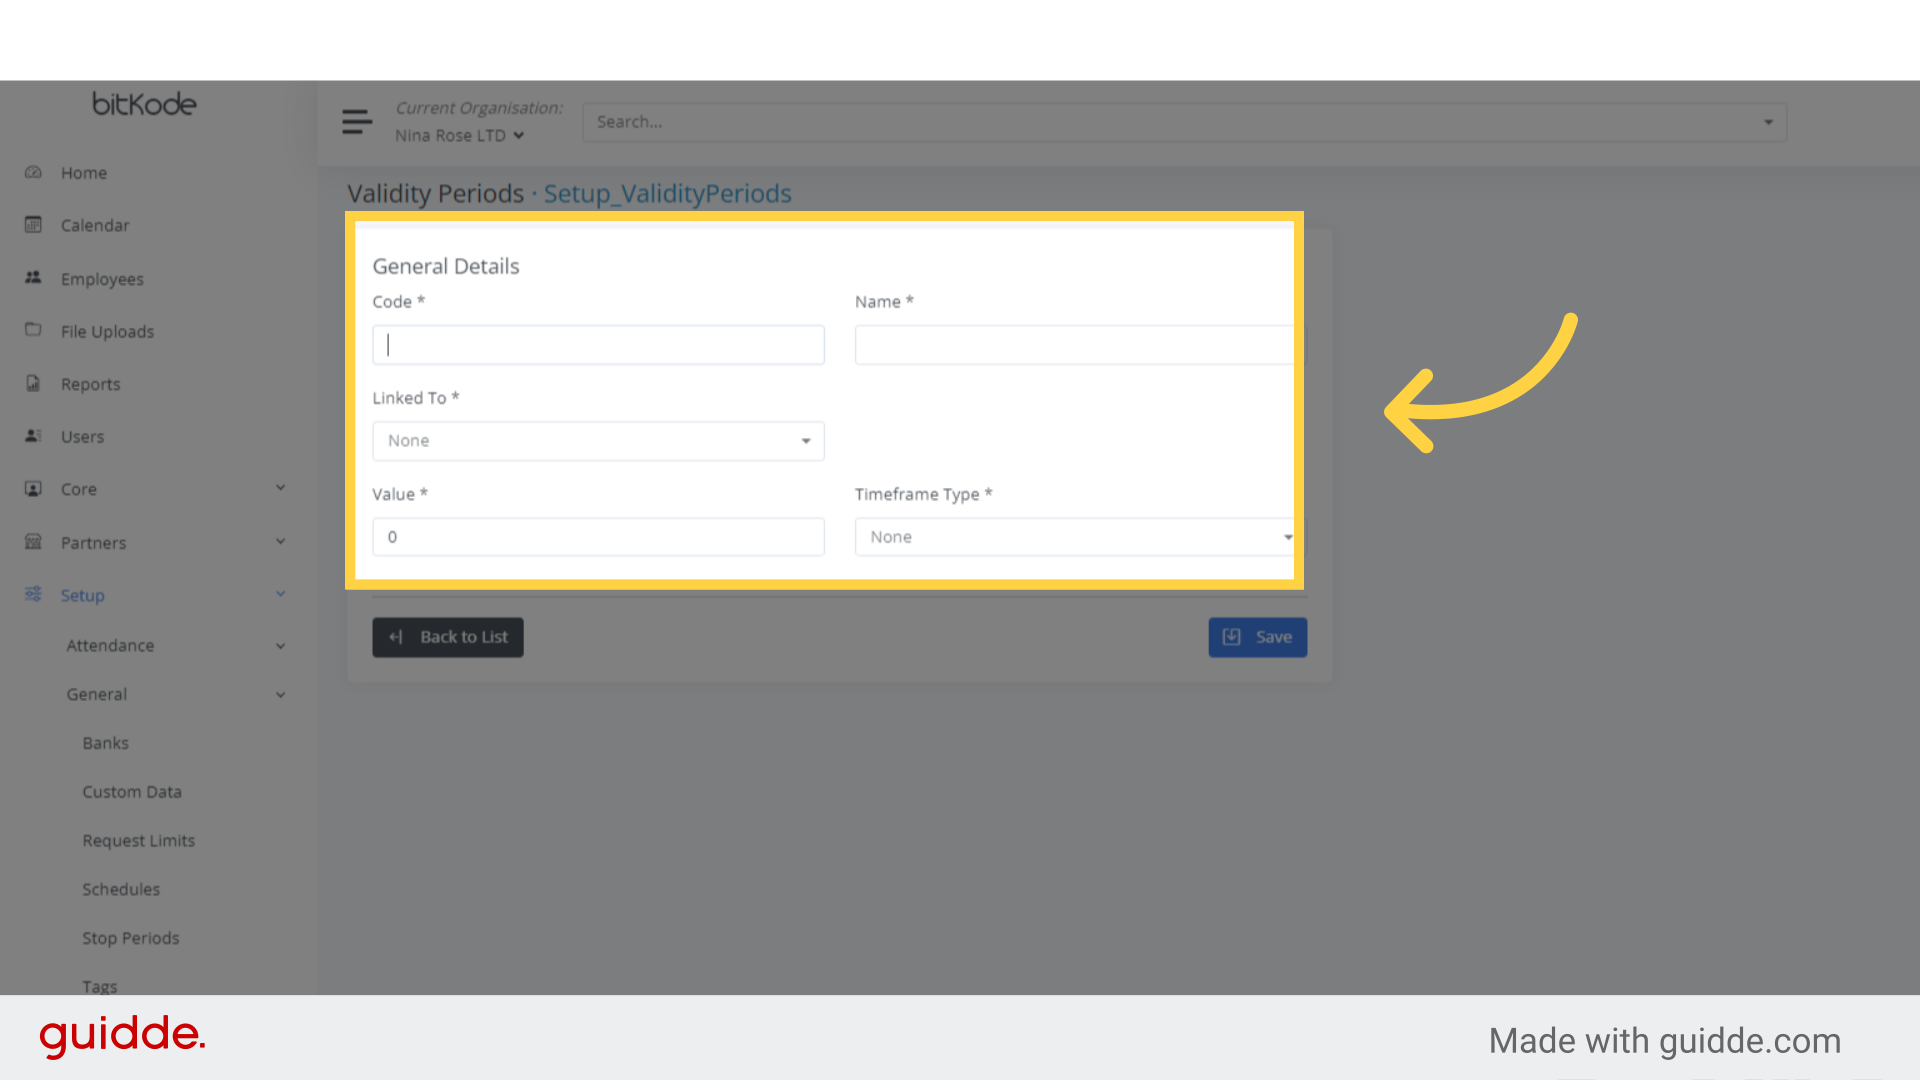
Step 4. Click “Code” #
To begin, add a code to accompany the name creation.
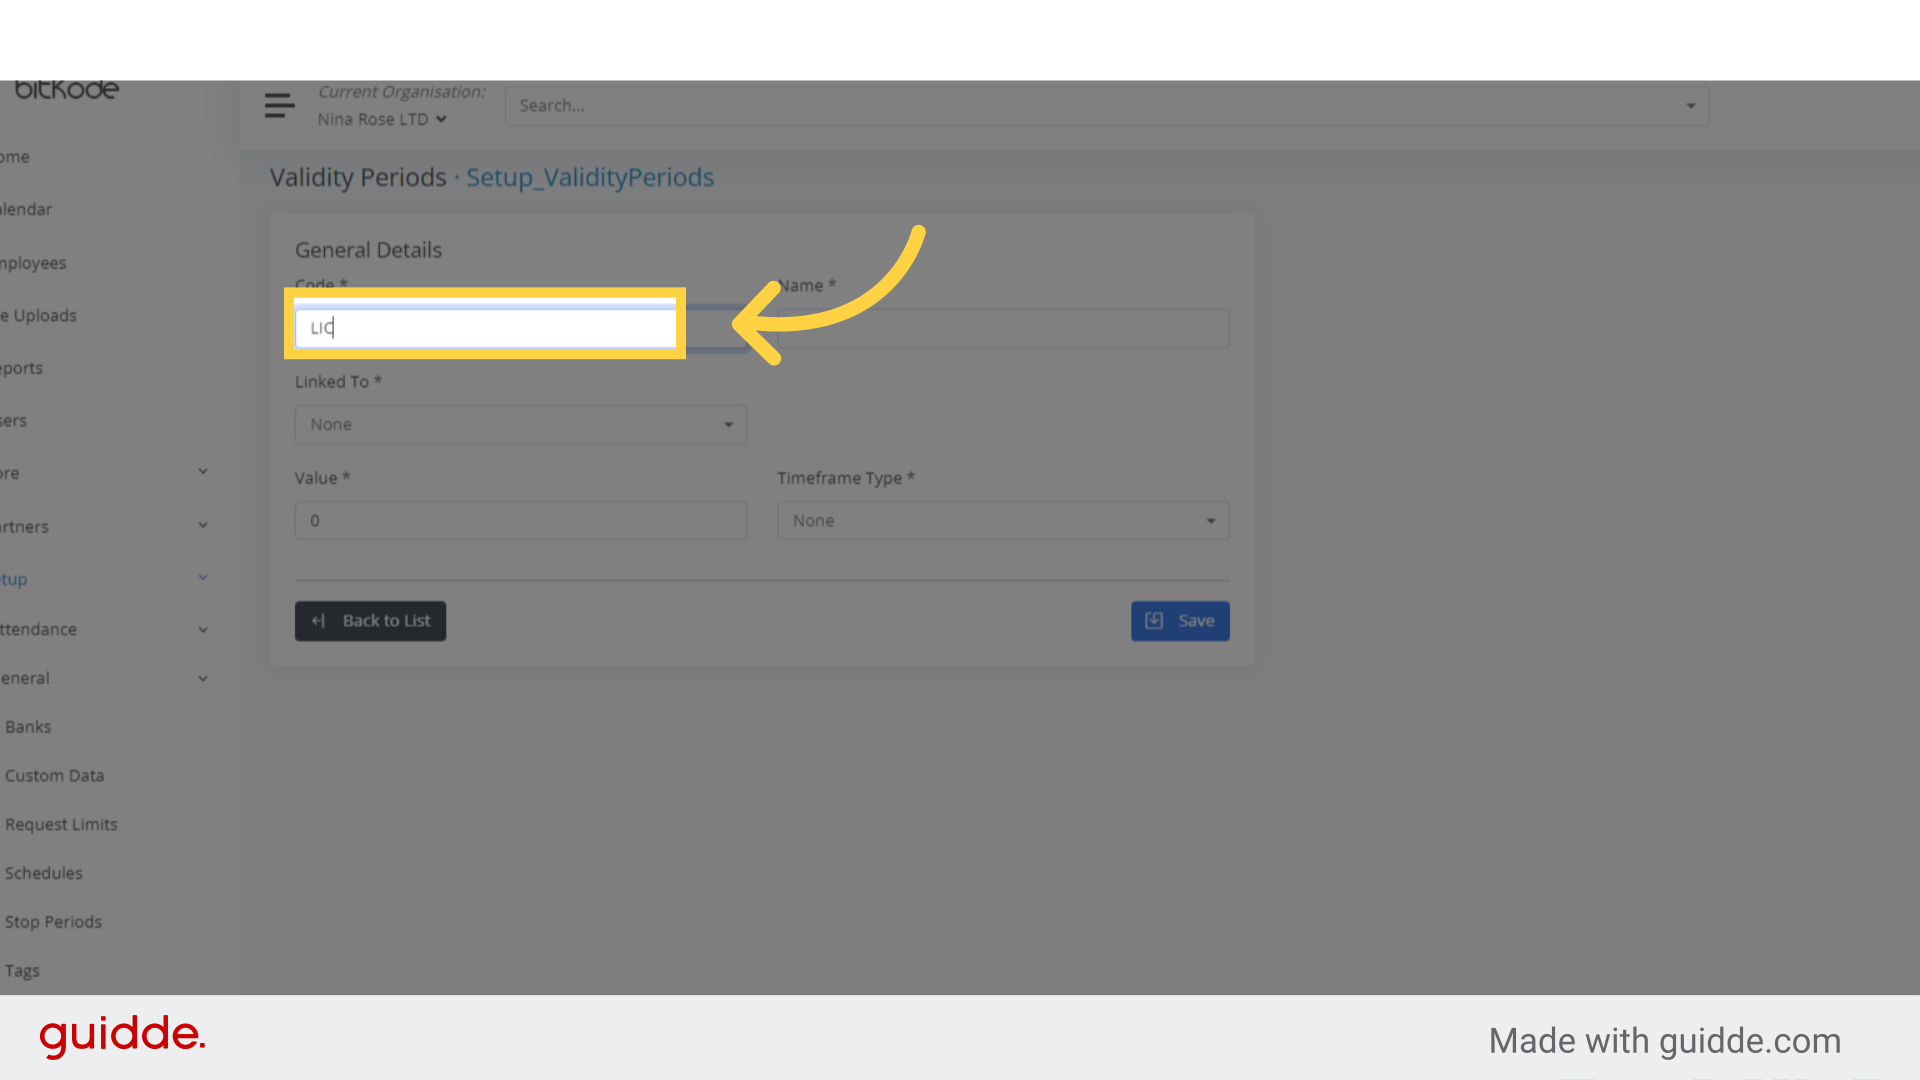
Step 5. Fill “LIC” #
For instance, the code LIC could be associated with a Driving License.
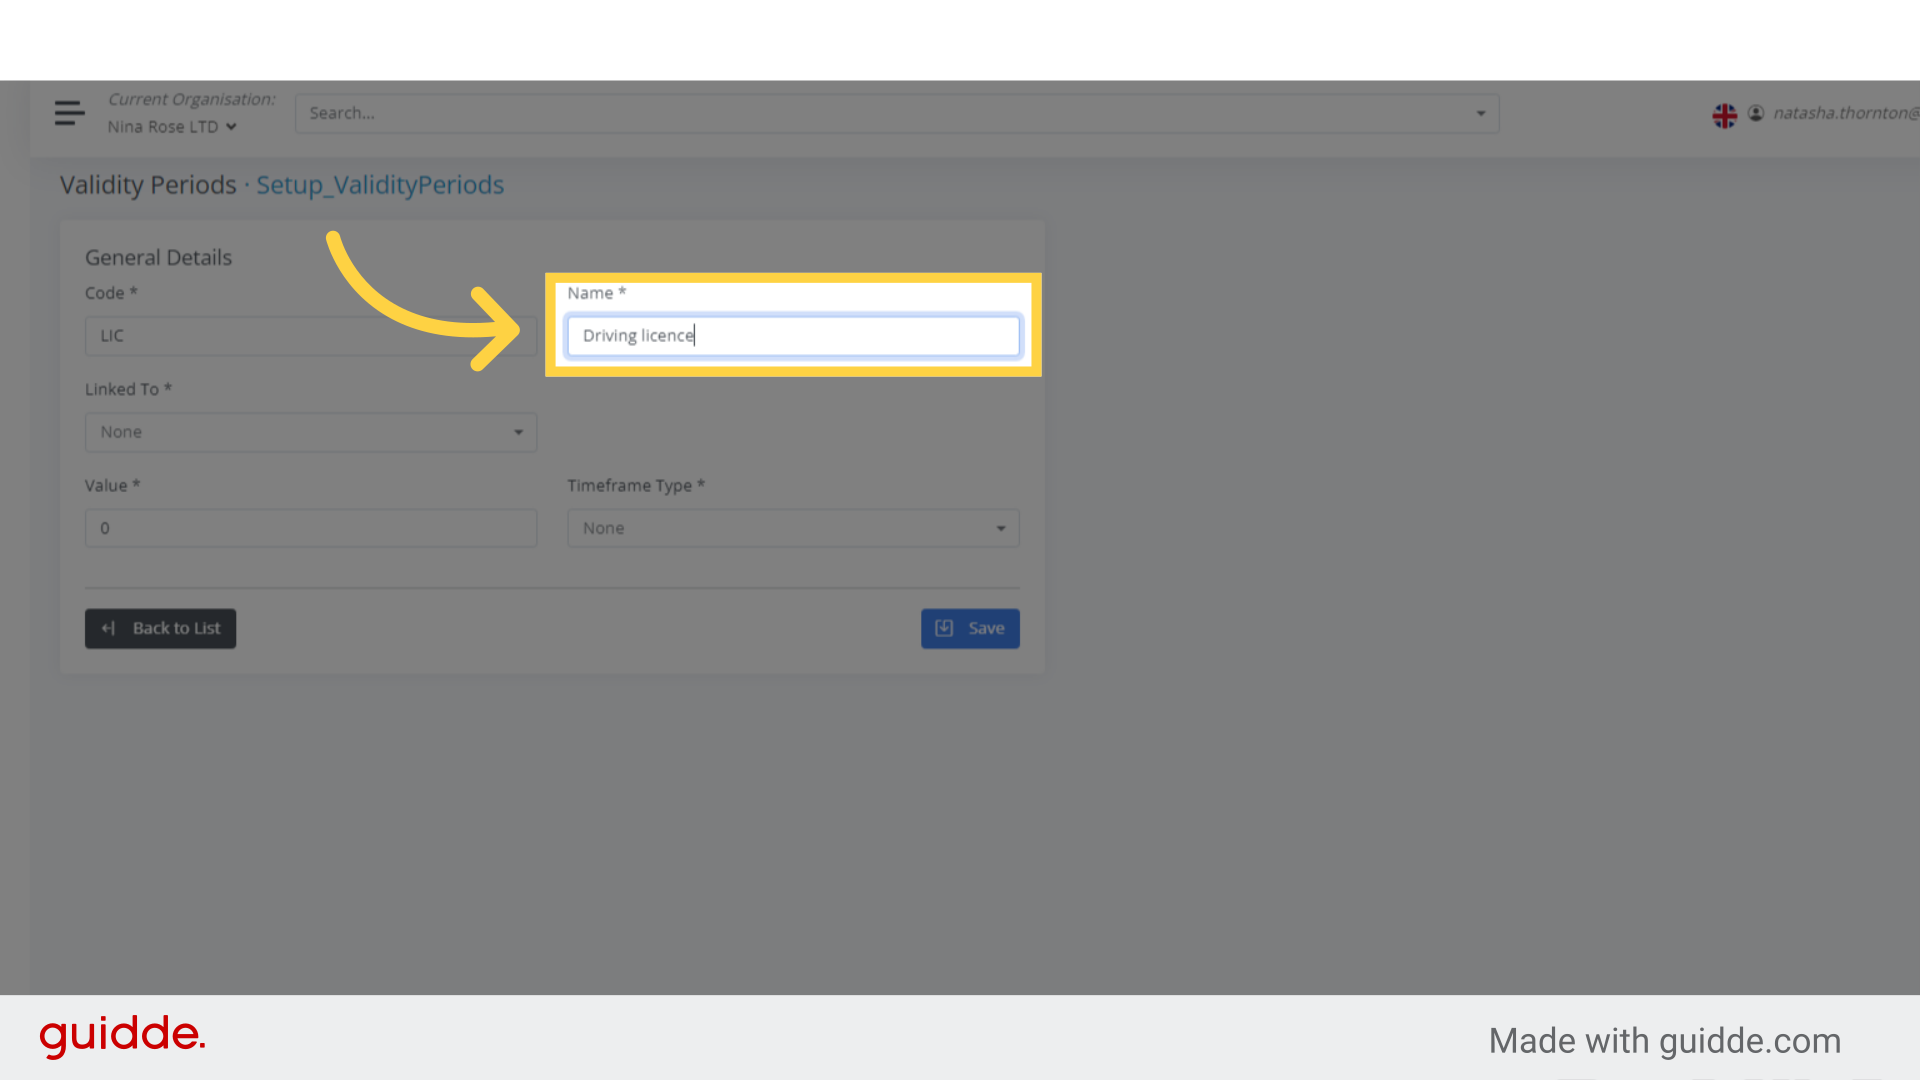
Step 6. Fill “Driving licence” #
To link the name Driving License with the previously listed code, enter Driving License in the provided space.
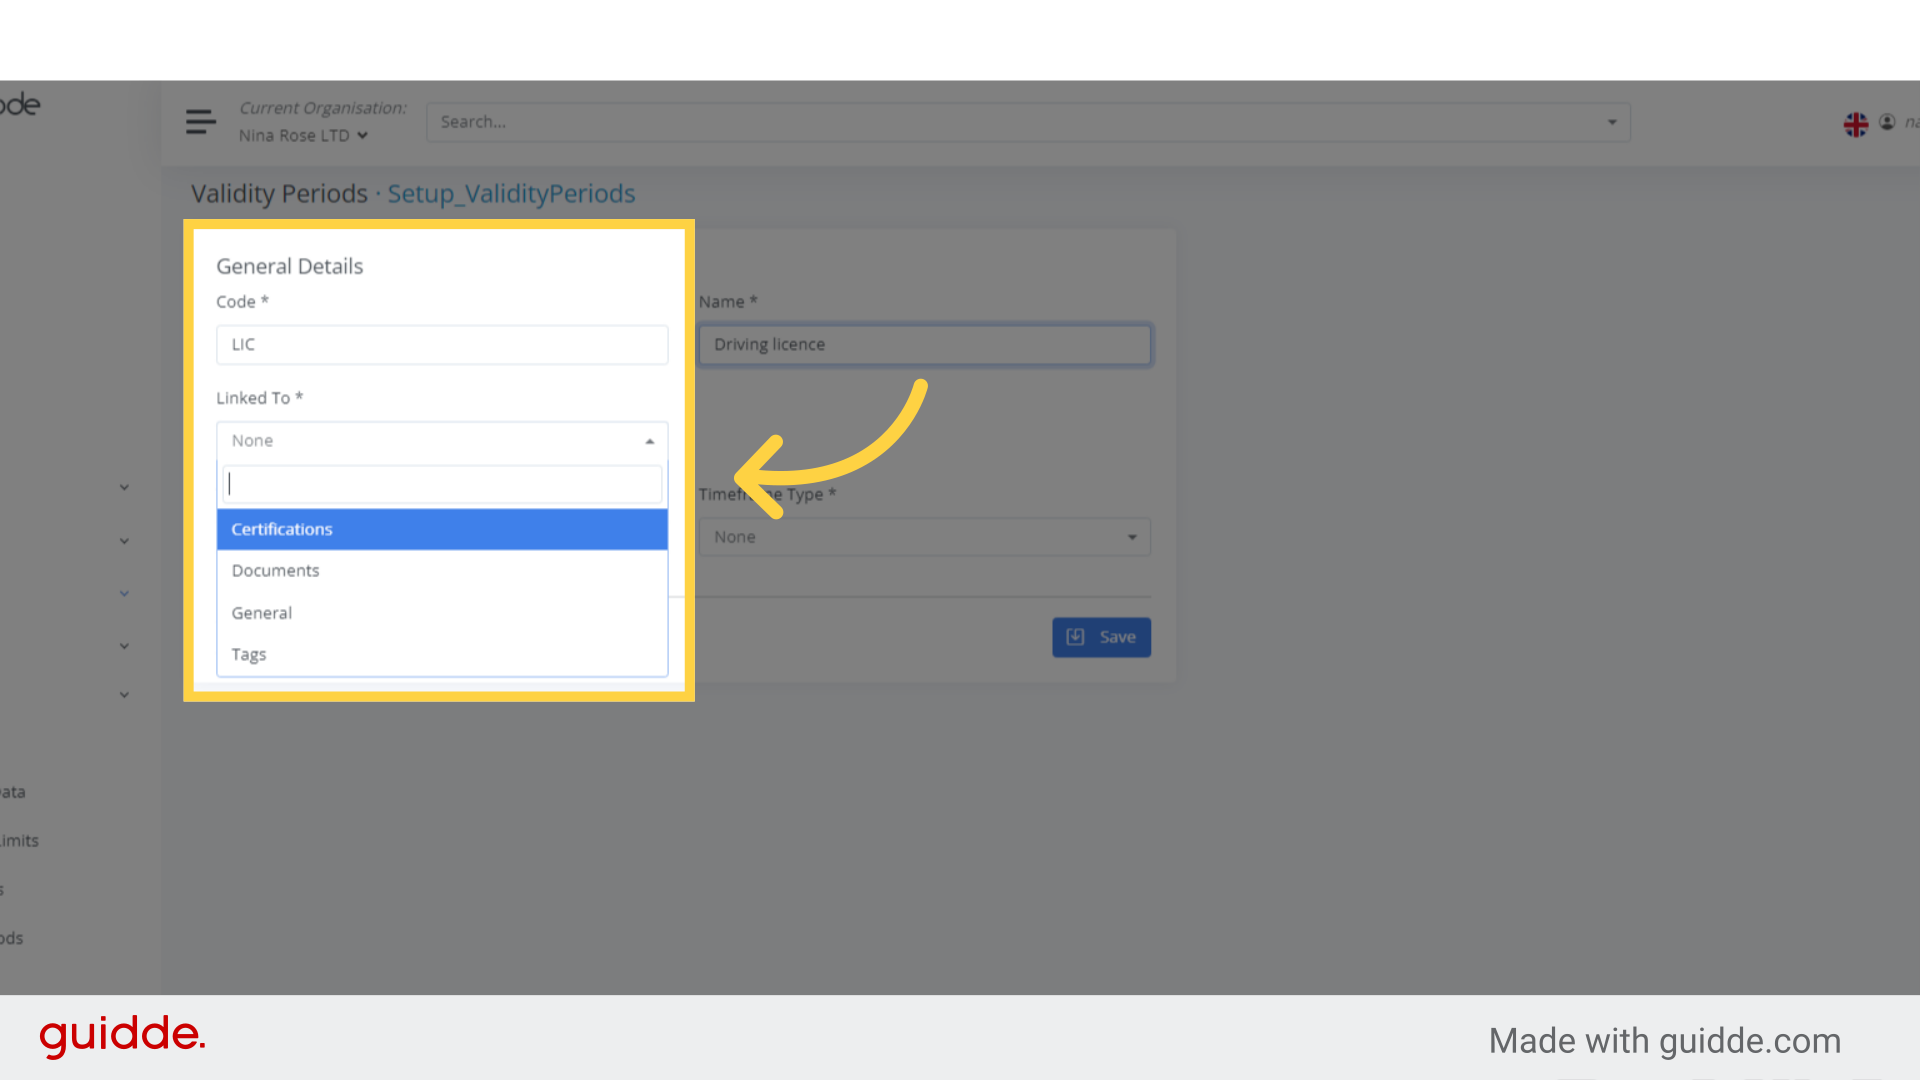
Step 7. Linked to* #
You can link this code to certifications, documents, general files, or specific tags.
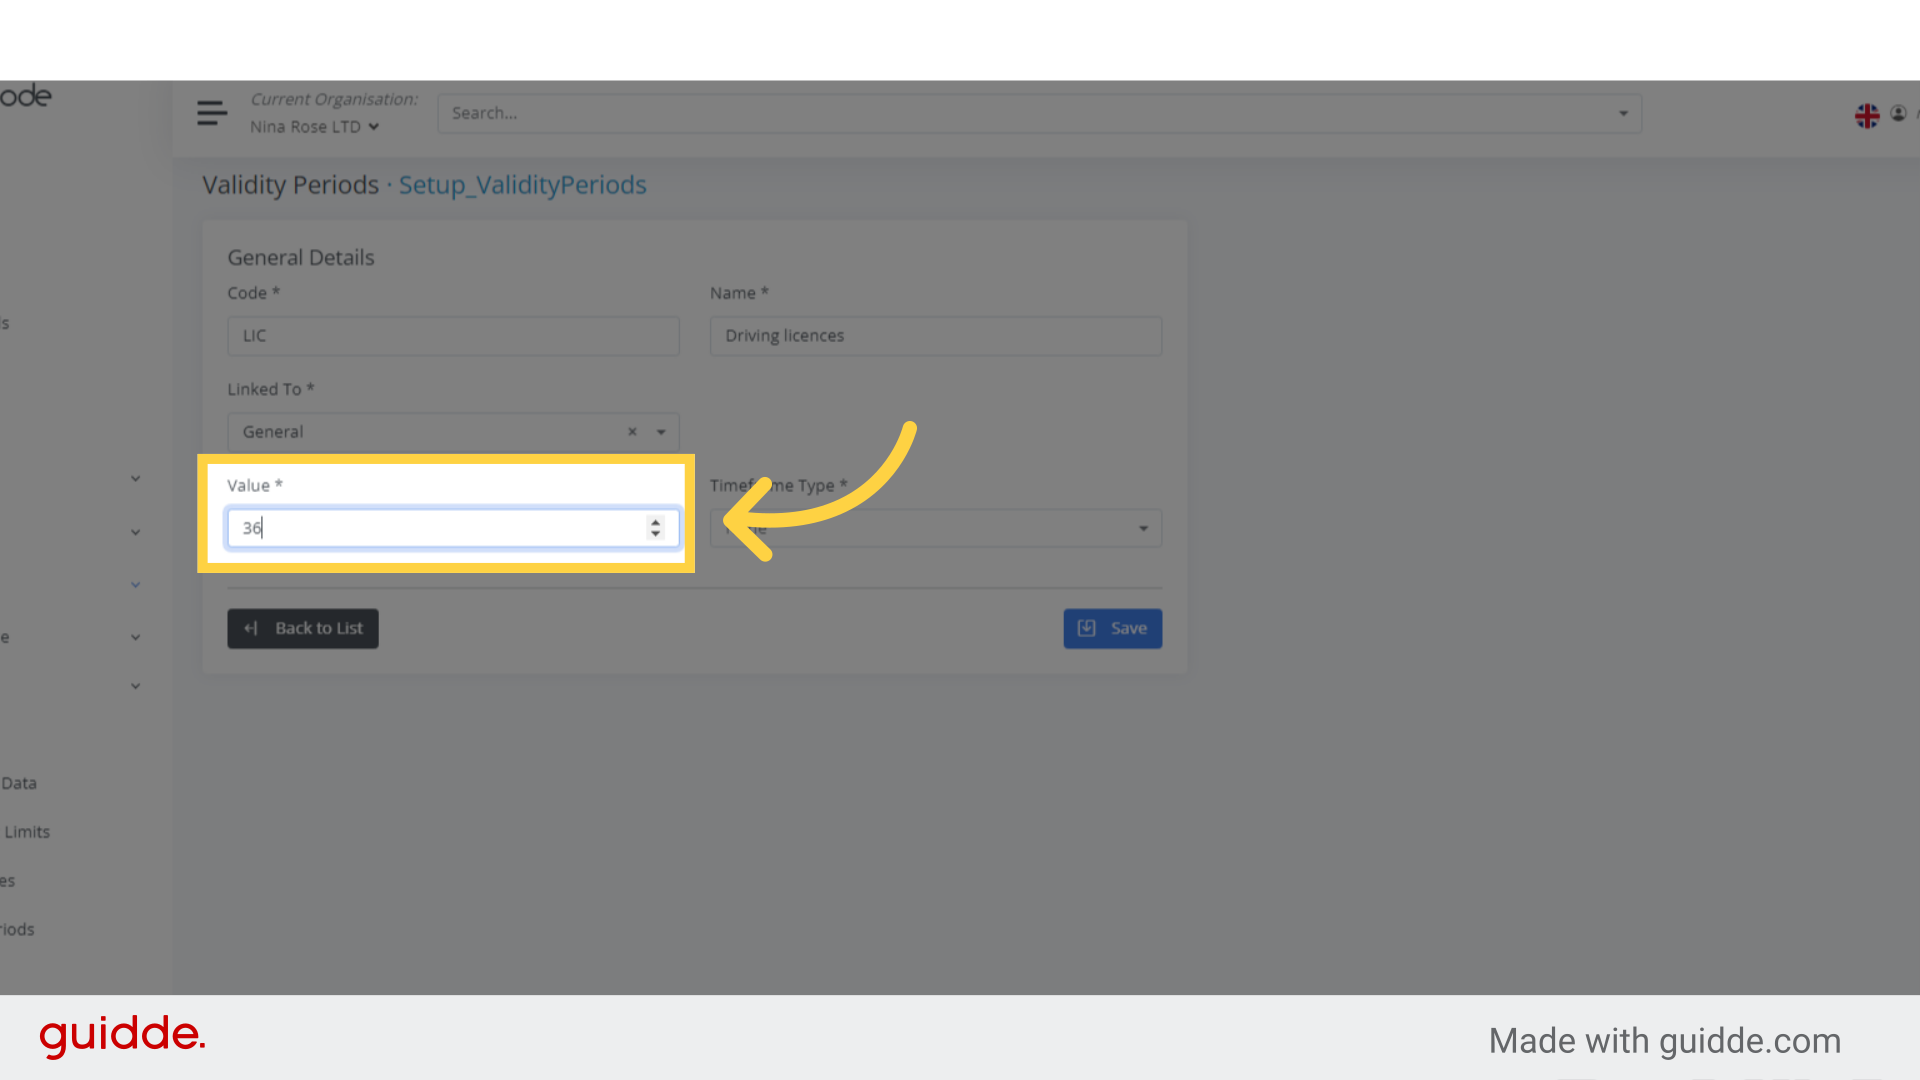
Step 8. Fill “36” #
To associate a value with the upcoming ranges (as shown in the next image), simply input the desired value.
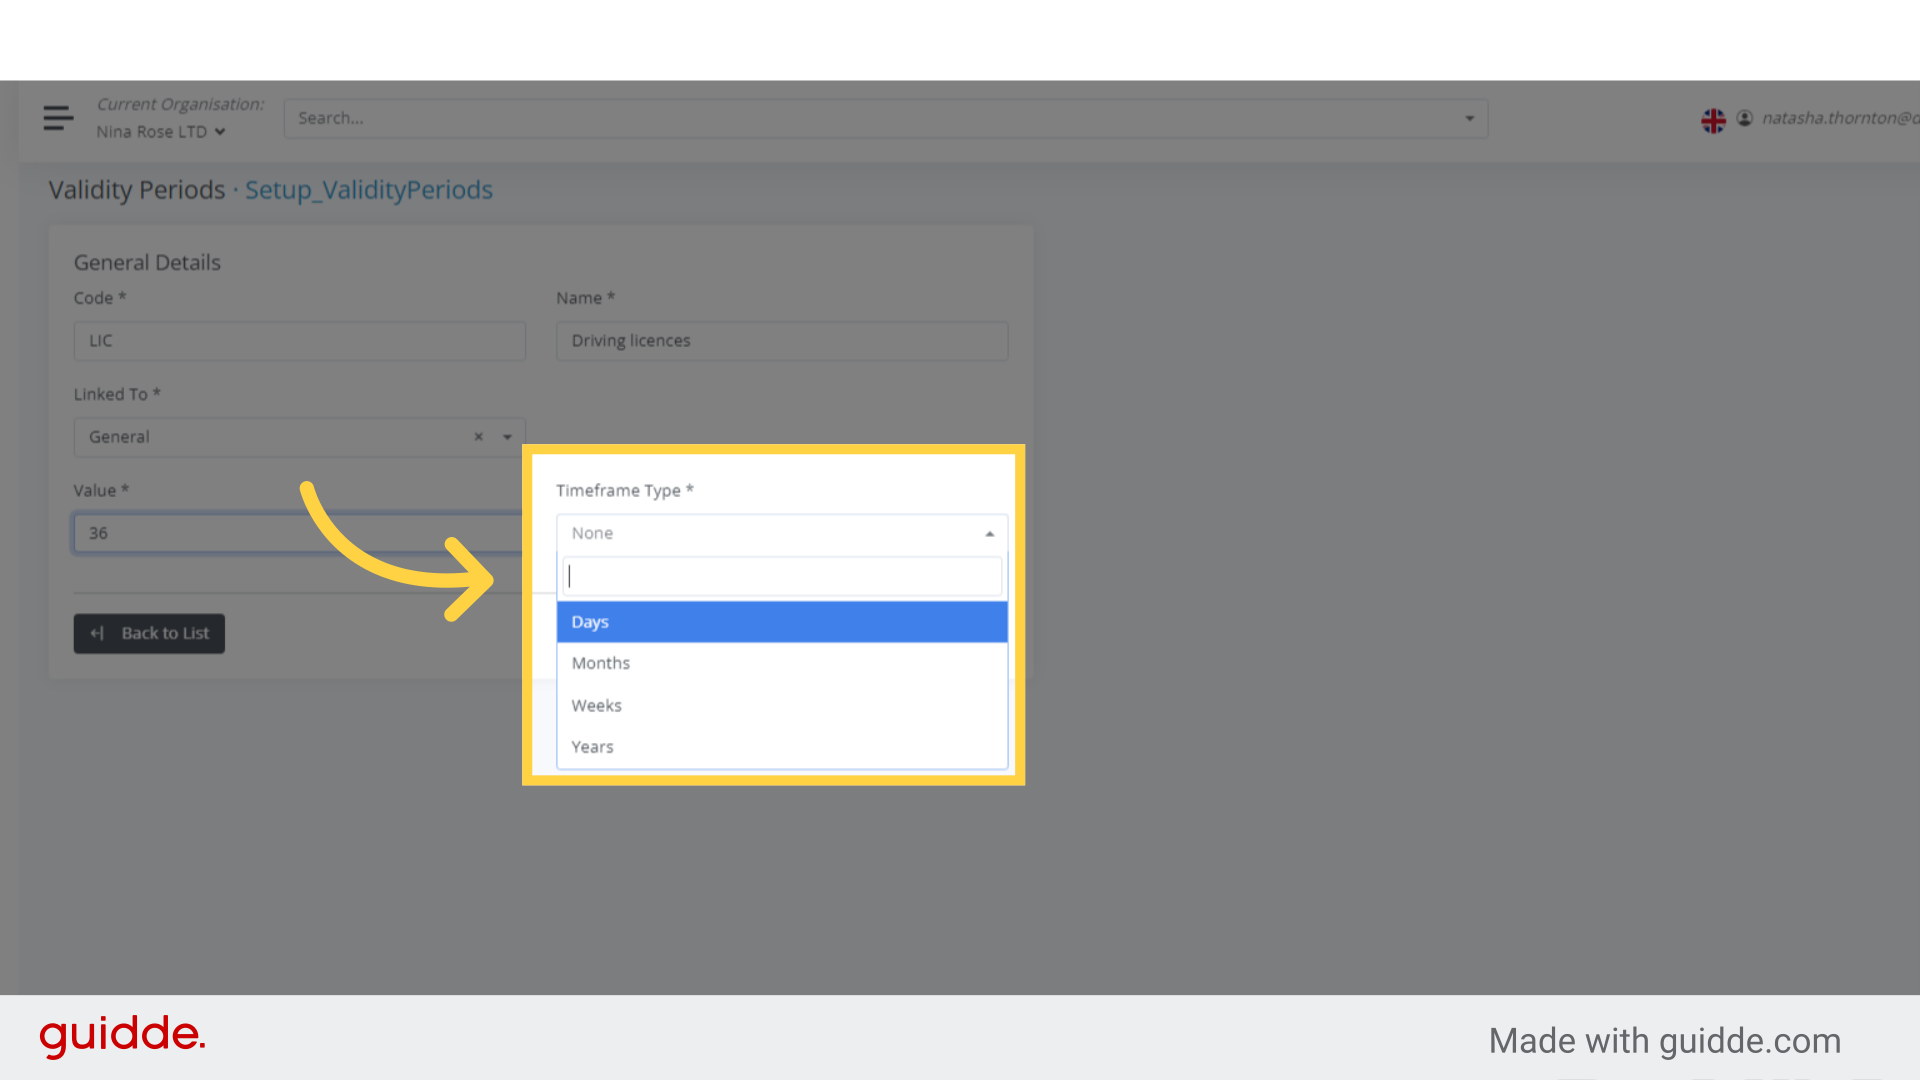
Step 9. Timeframe Type #
You can select the timeframe type as days, months, weeks, or years, according to your preference.
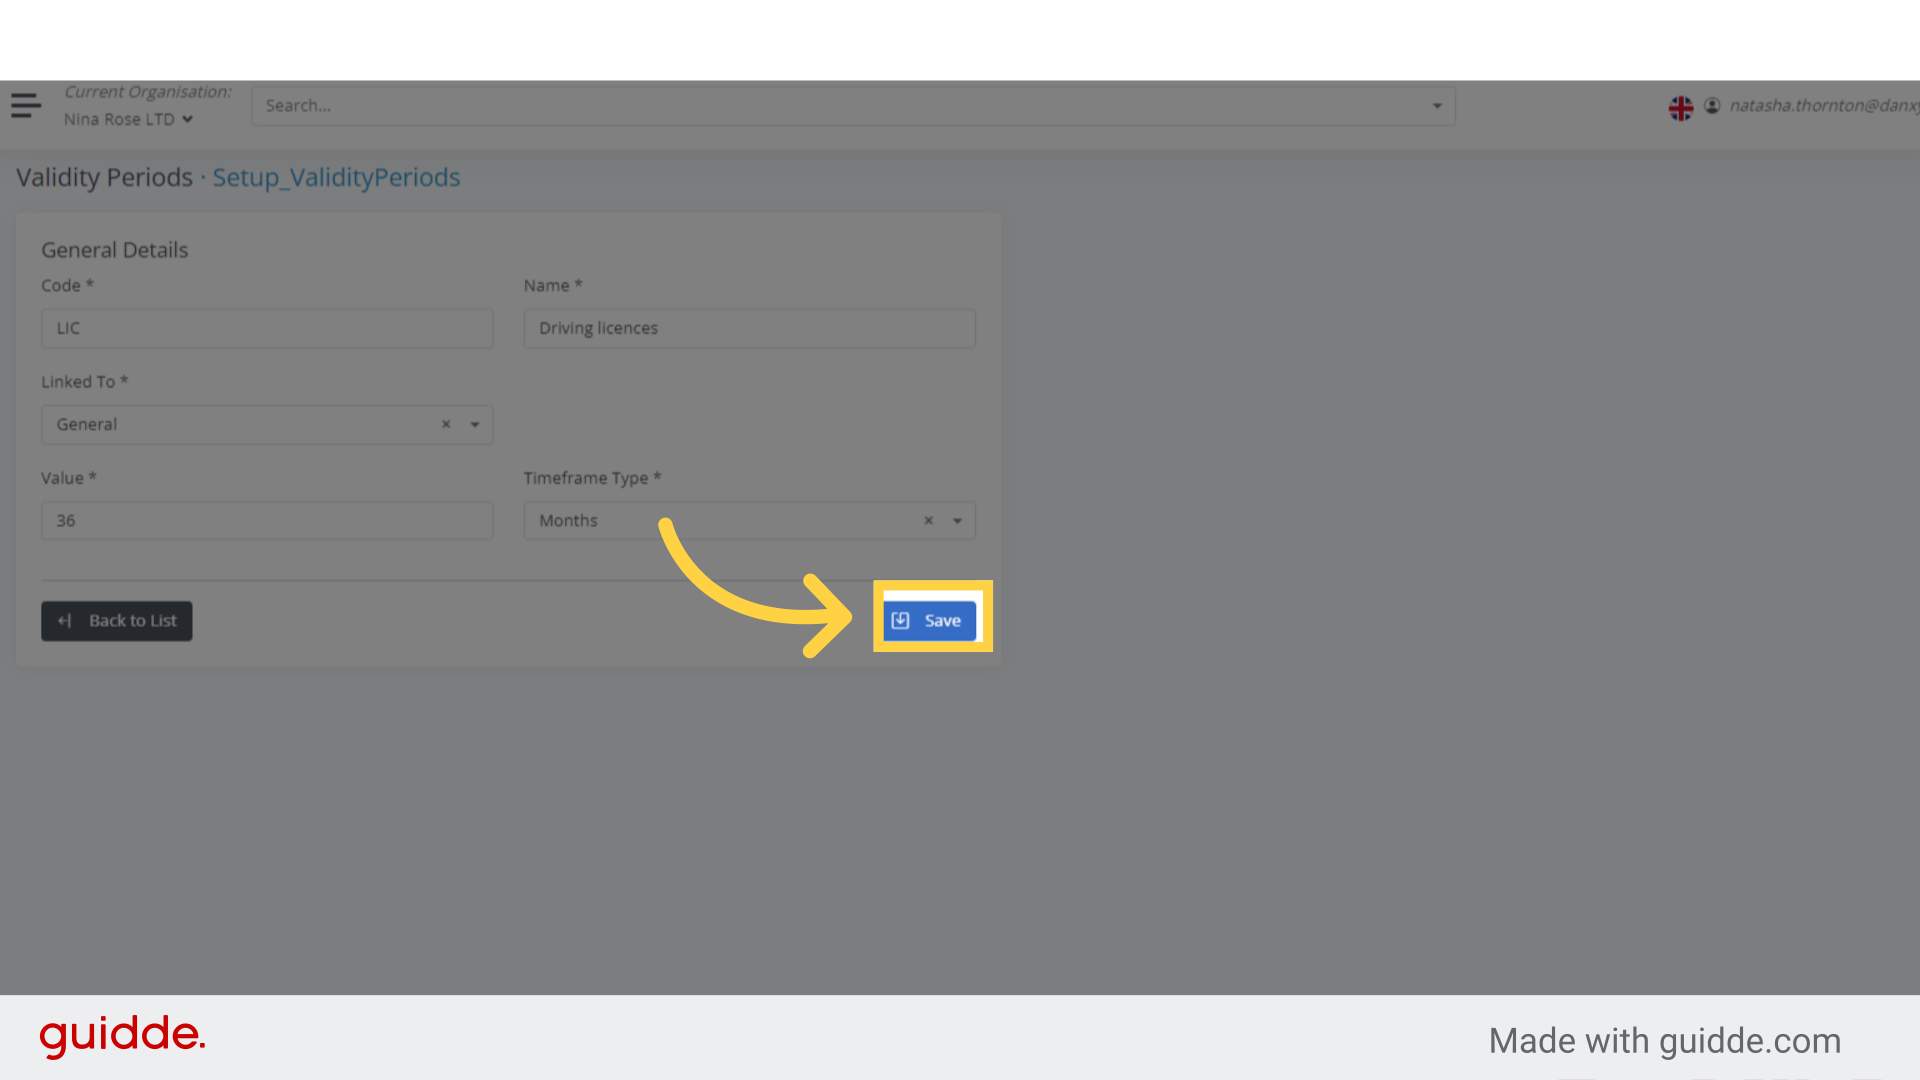
Step 10. Click “Save” #
Click Save after filling in the required details.
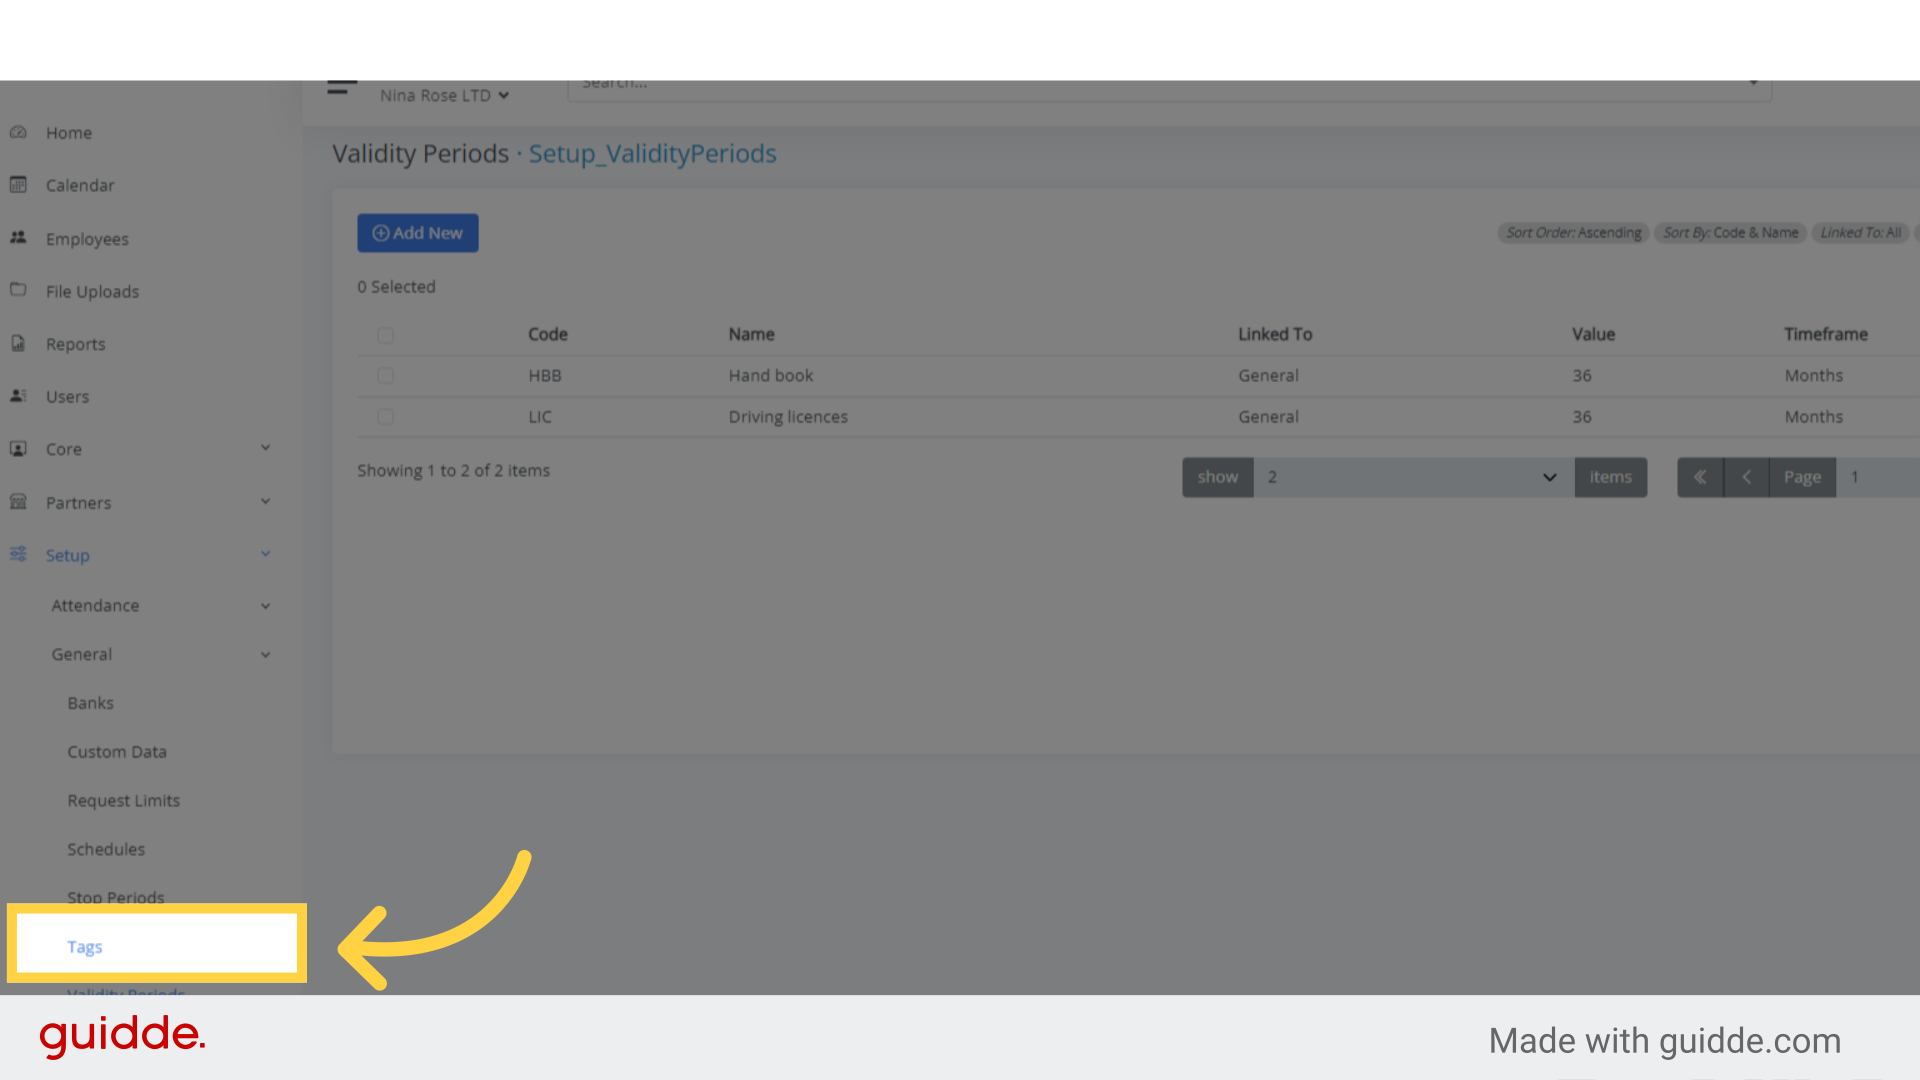
Step 11. Click “Tags” #
To link the validity you just created with tags, click on Tags.
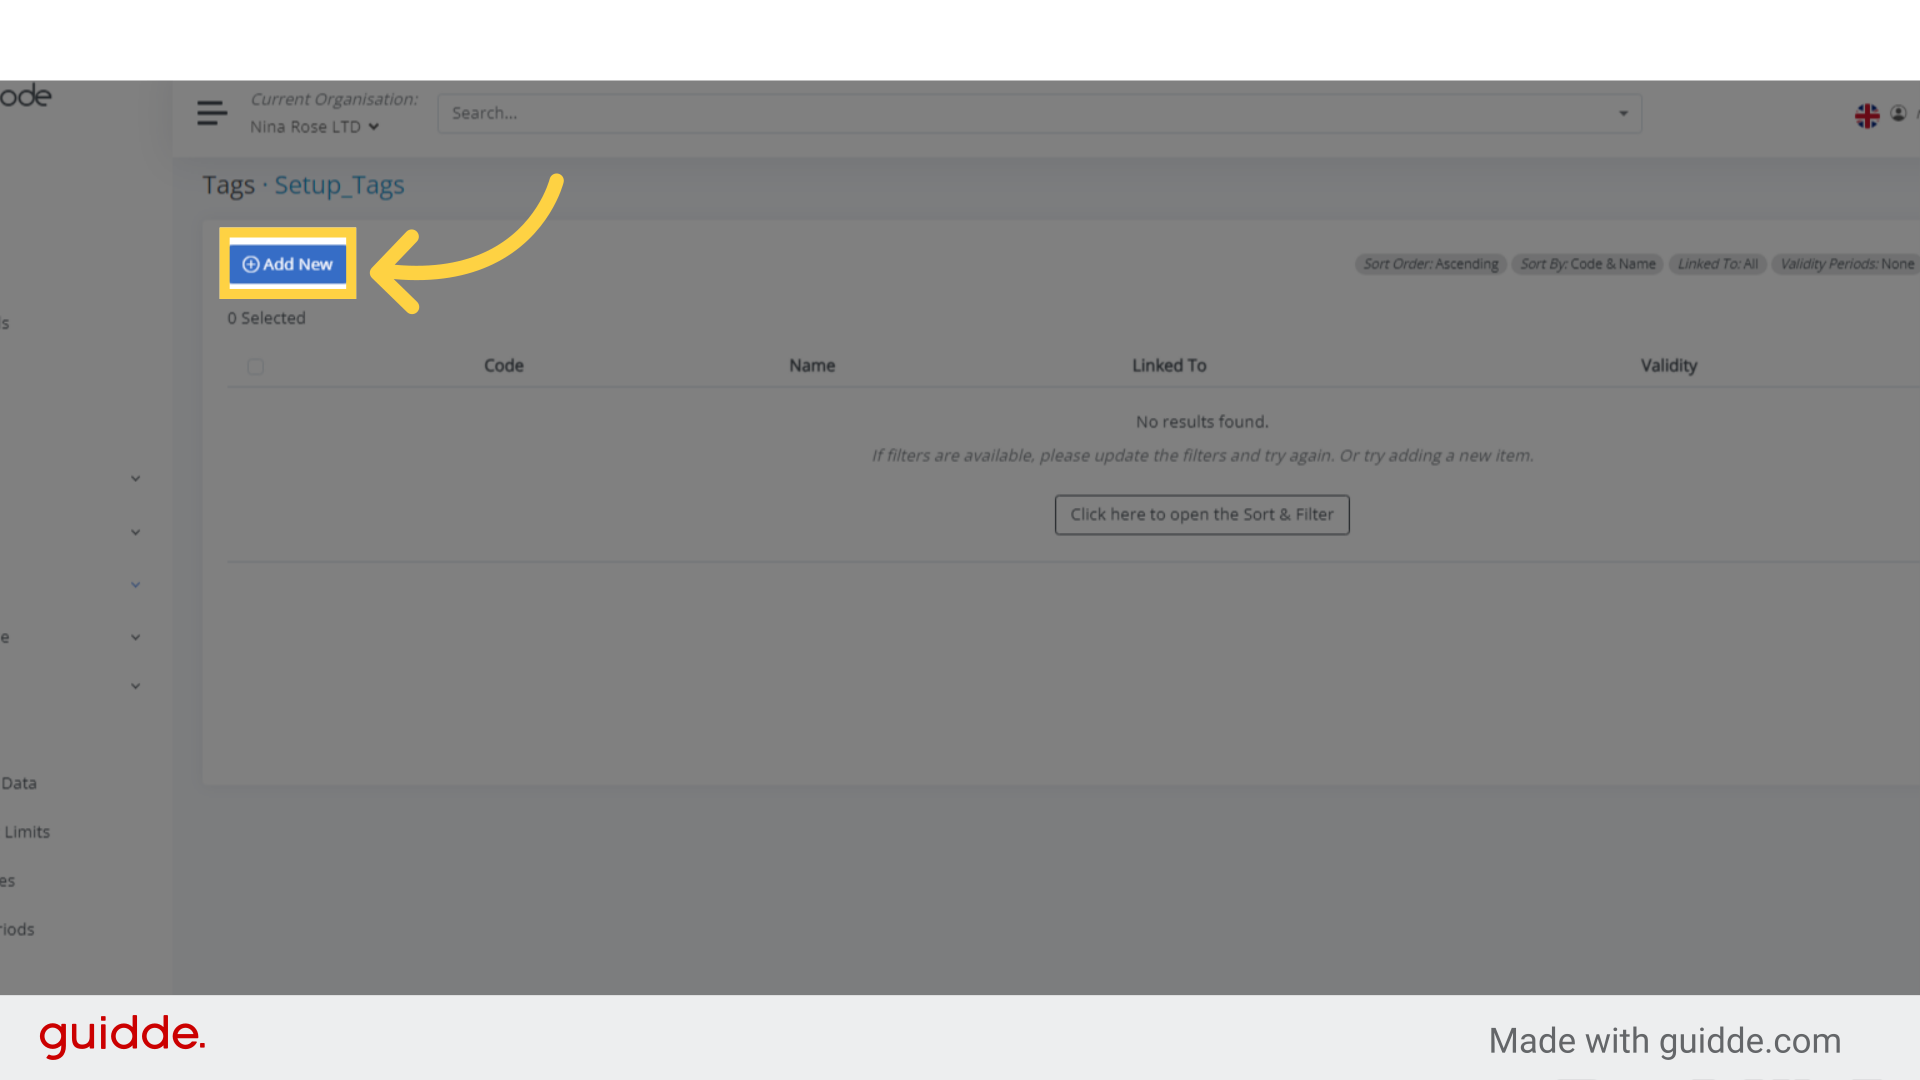
Step 12. Click “Add New” #
Initiate the creation of a new tag.
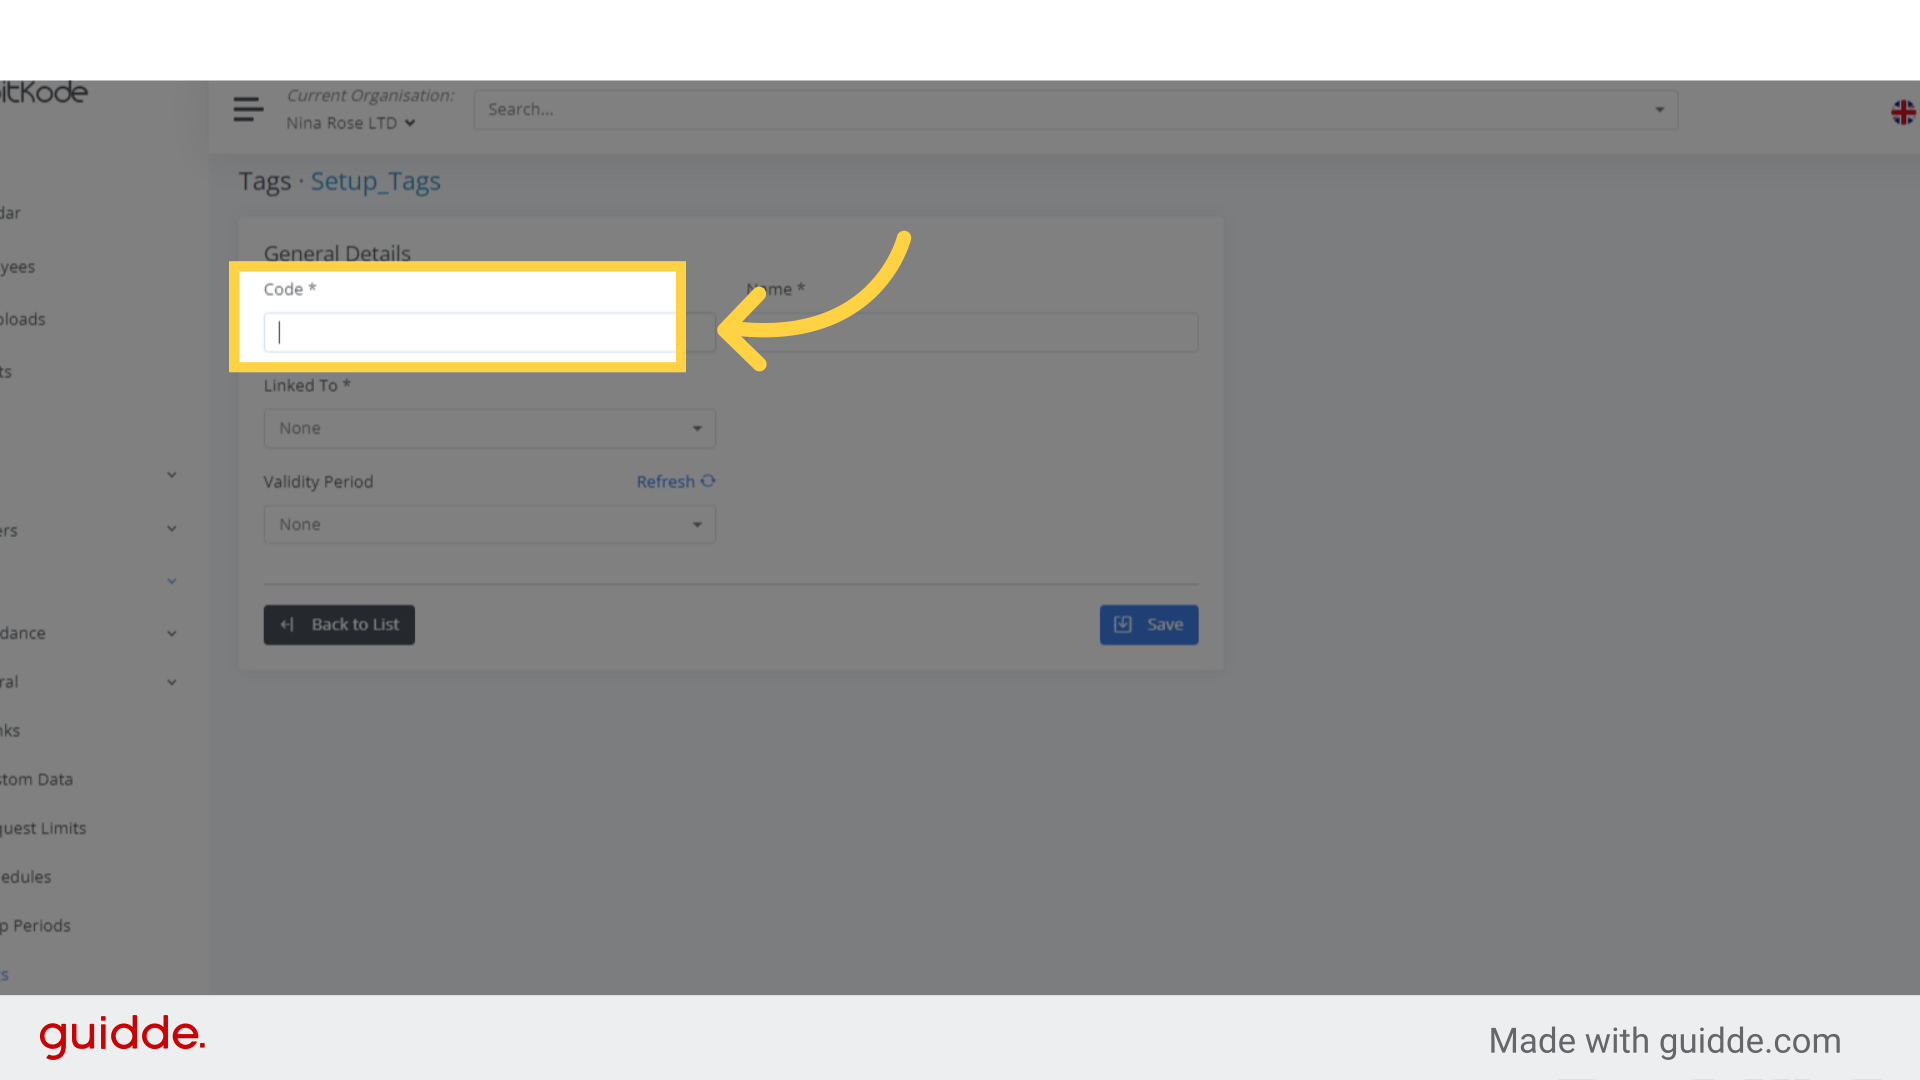
Step 13. Click “Code “ #
Select the field labeled Code with the code created from validity period.
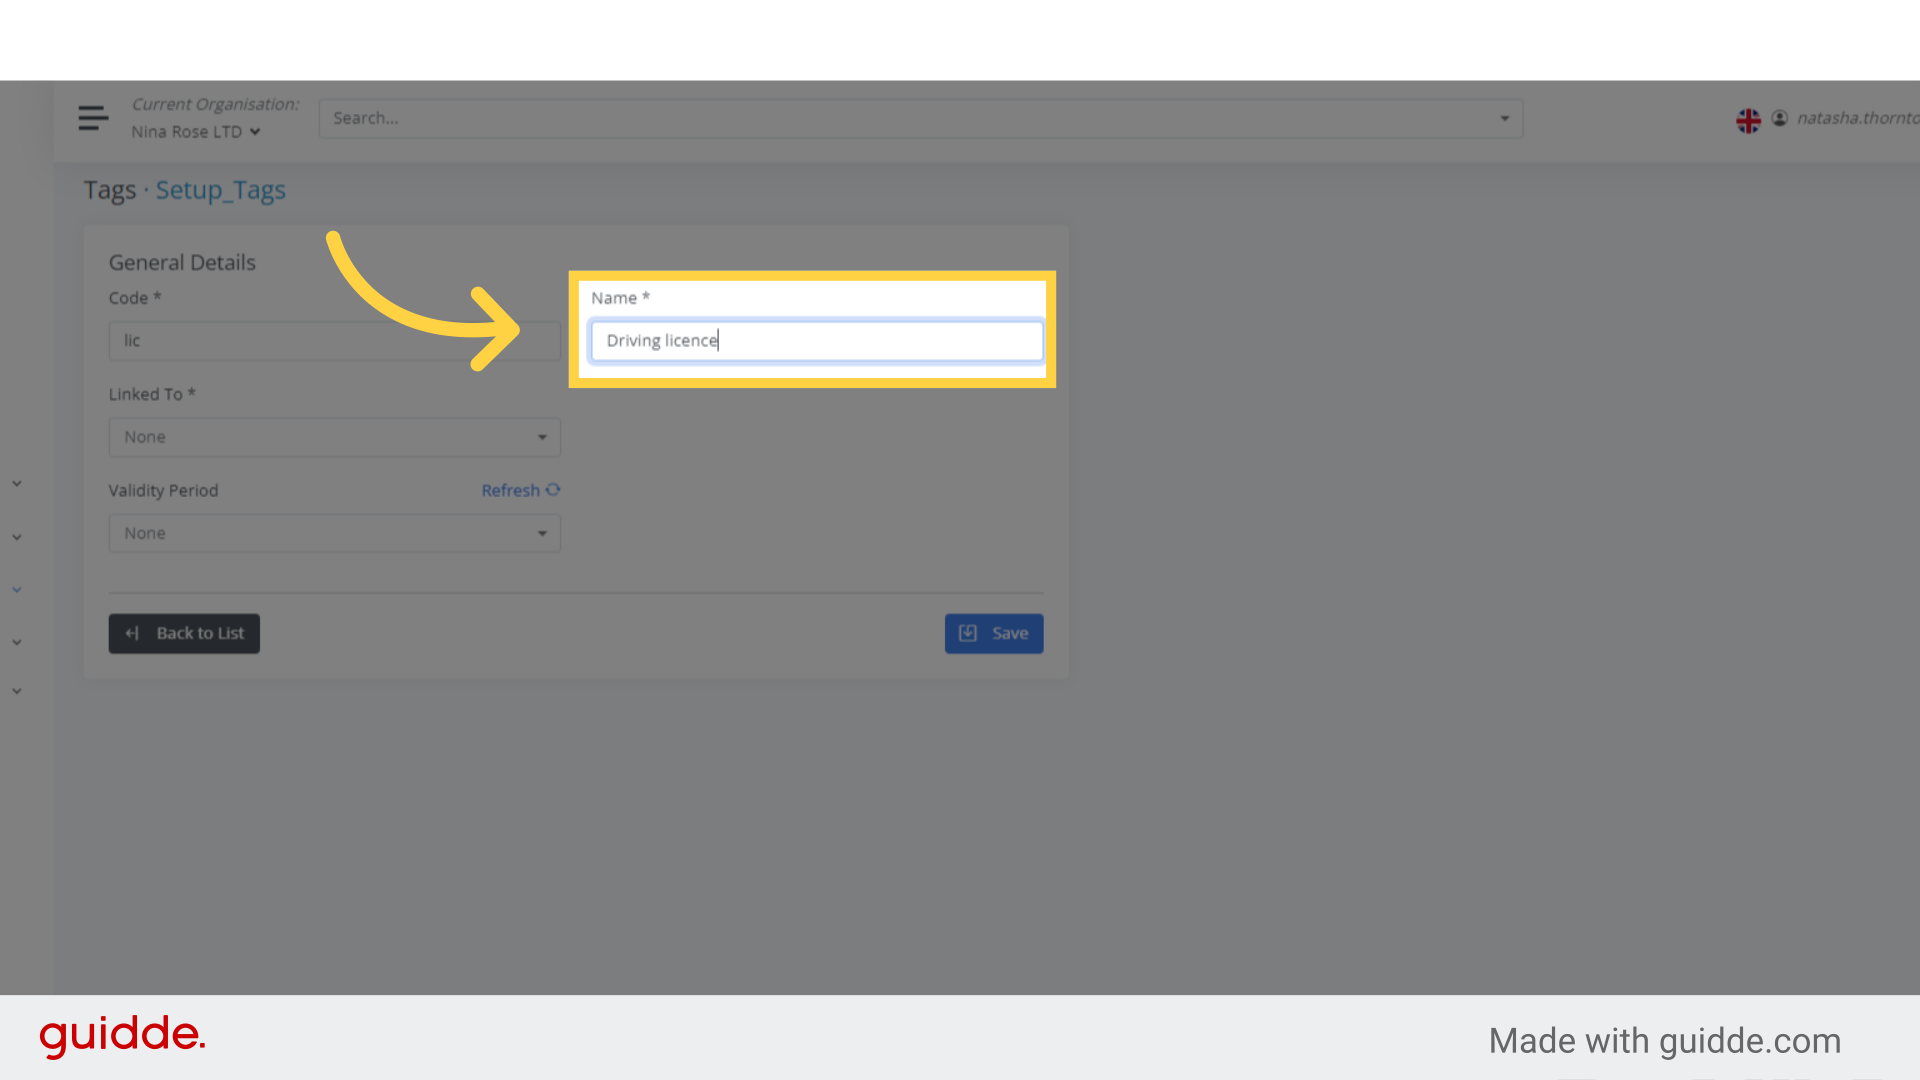
Step 14. Fill “Driving licence” #
Input “Driving licence” in the specified field.
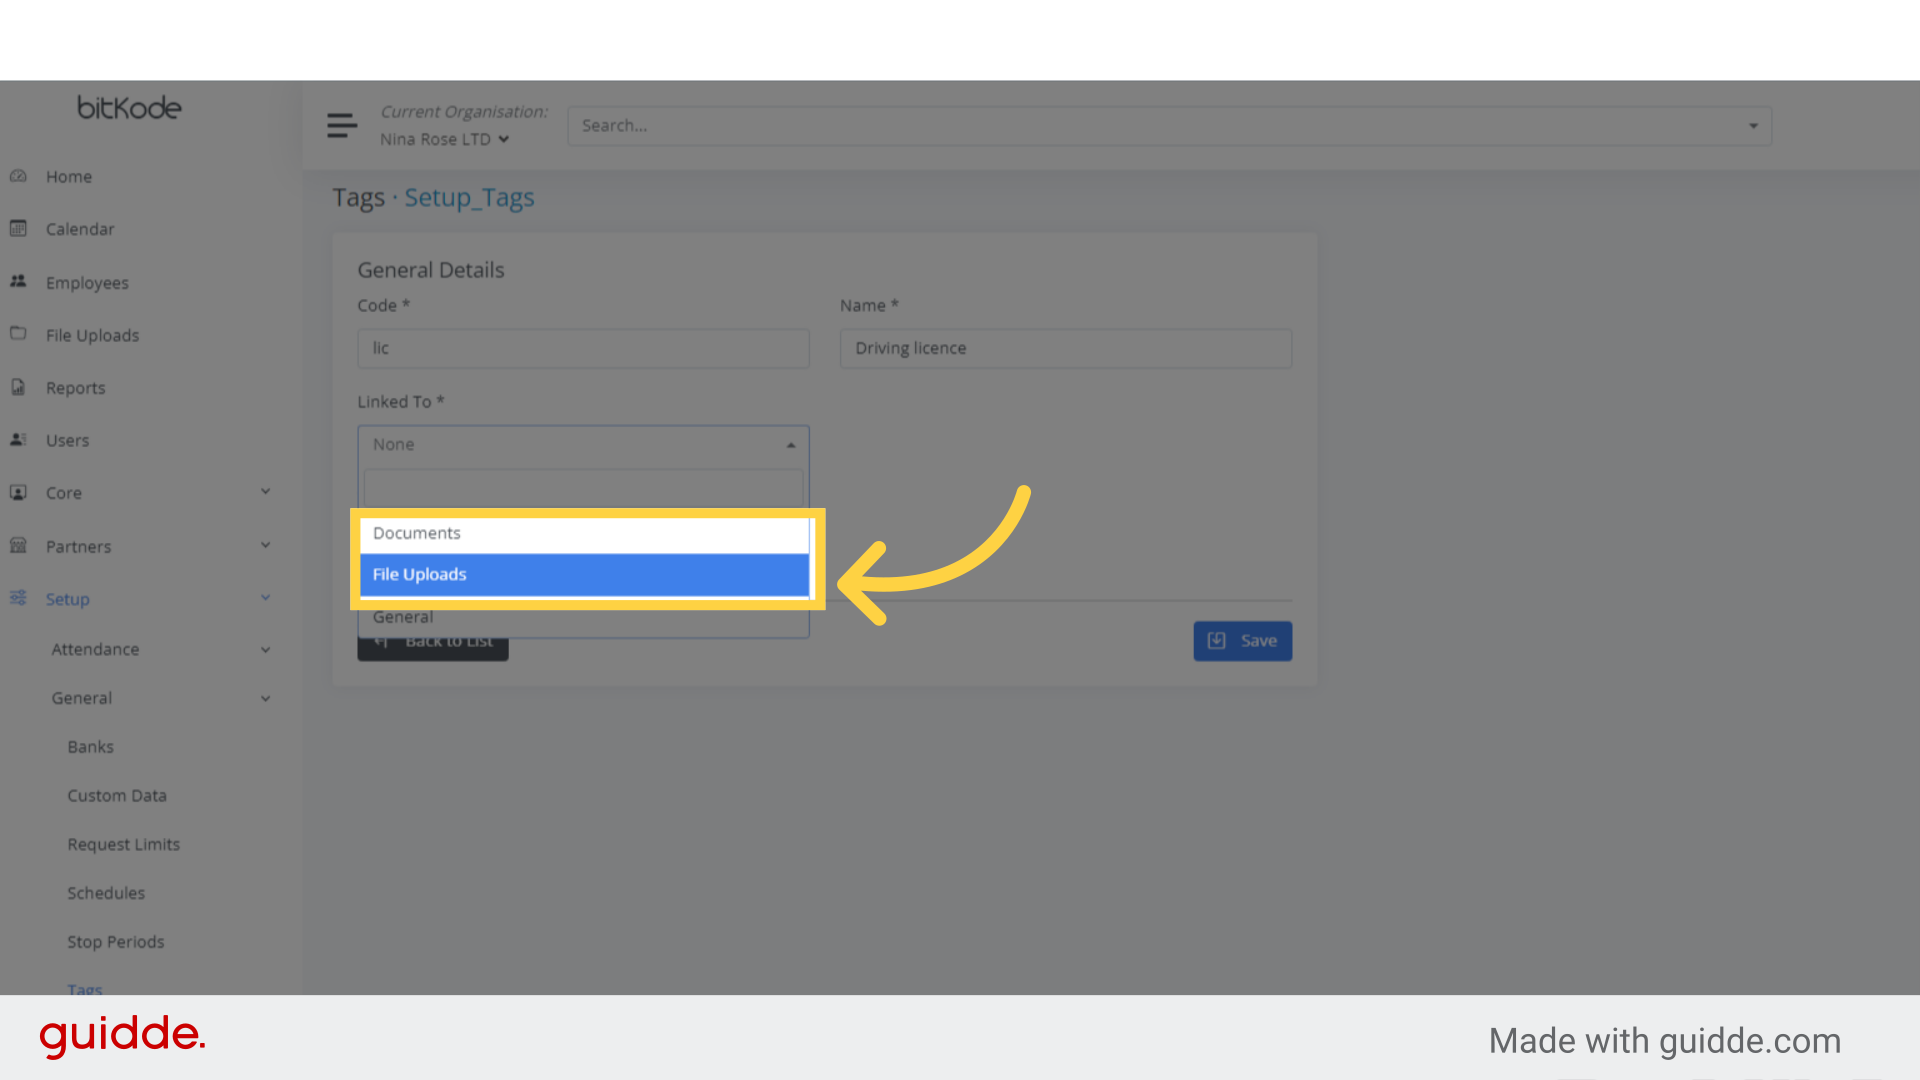
Step 15. Click “File Uploads” #
Navigate to the “File Uploads” section.
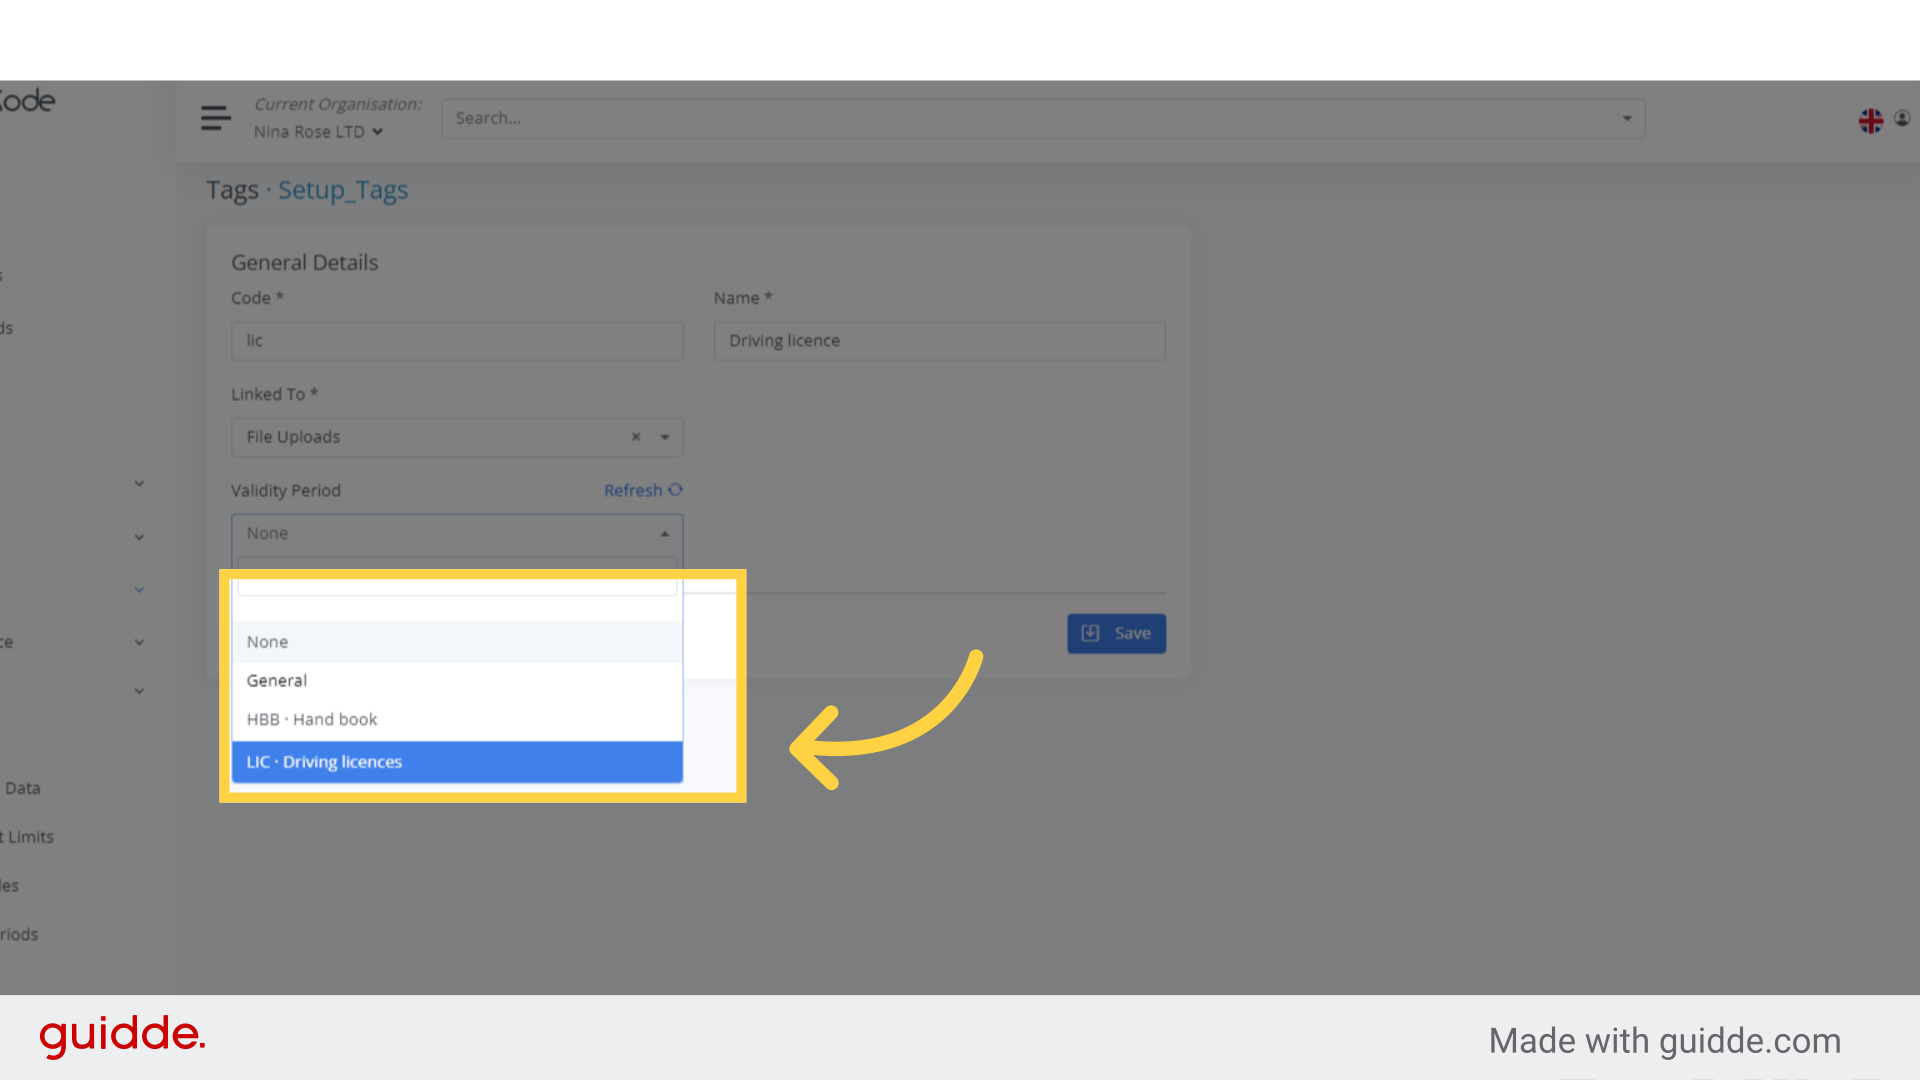
Step 16. Click “LIC · Driving licences” #
Select “LIC · Driving licences” from the list.
Step 17. Click “Save” #
Save the changes.
This guide covered the meticulous process of setting up validity periods and connecting them with tags in bitKode for effective management of employee compliance tracking.


