- Learn how to update your company's working schedule.
- Step . Click "Schedule Multi Line"
- Step 4. Working Schedule
- Step 5. Break Type
- Step 6. Click "Earliest/latest Punch-Time"
- Step 7. Automatic Punch Out
- Step 8. Rounding Type
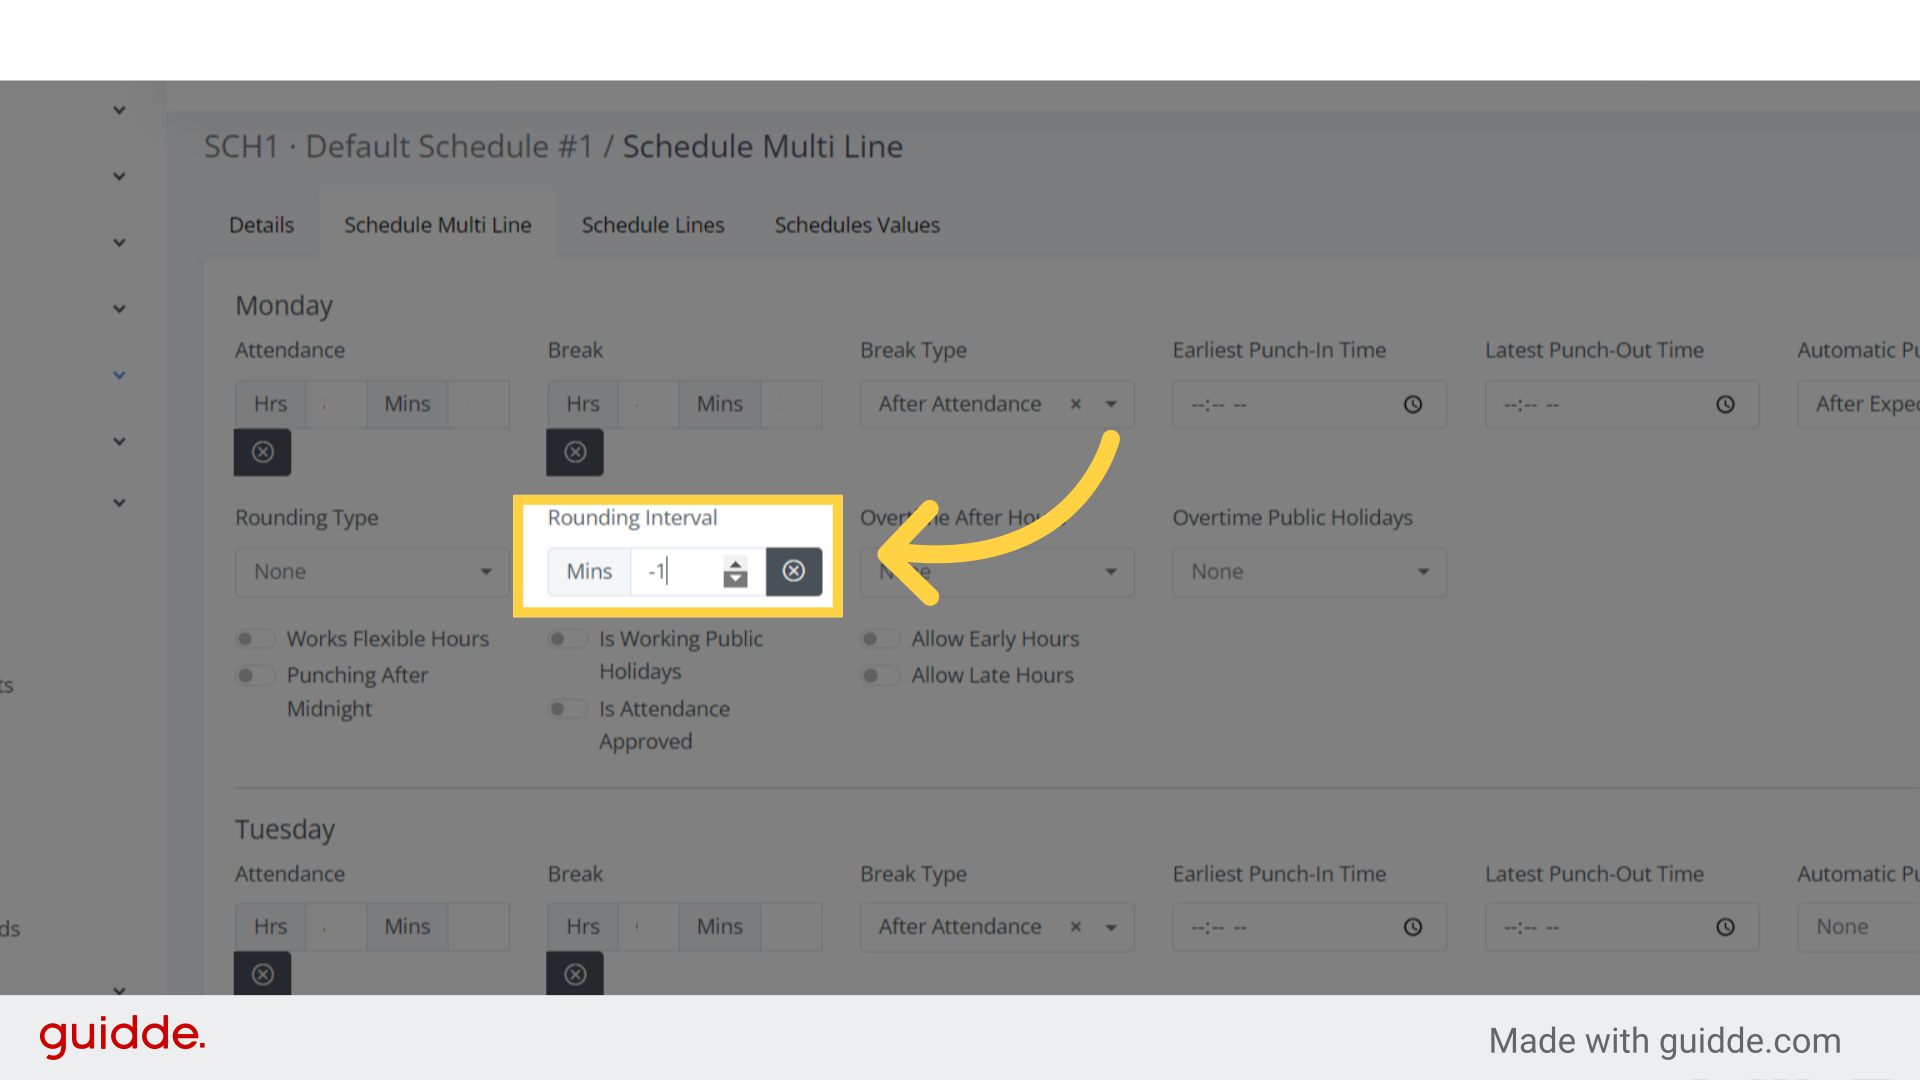
- Step 9. Rounding Interval
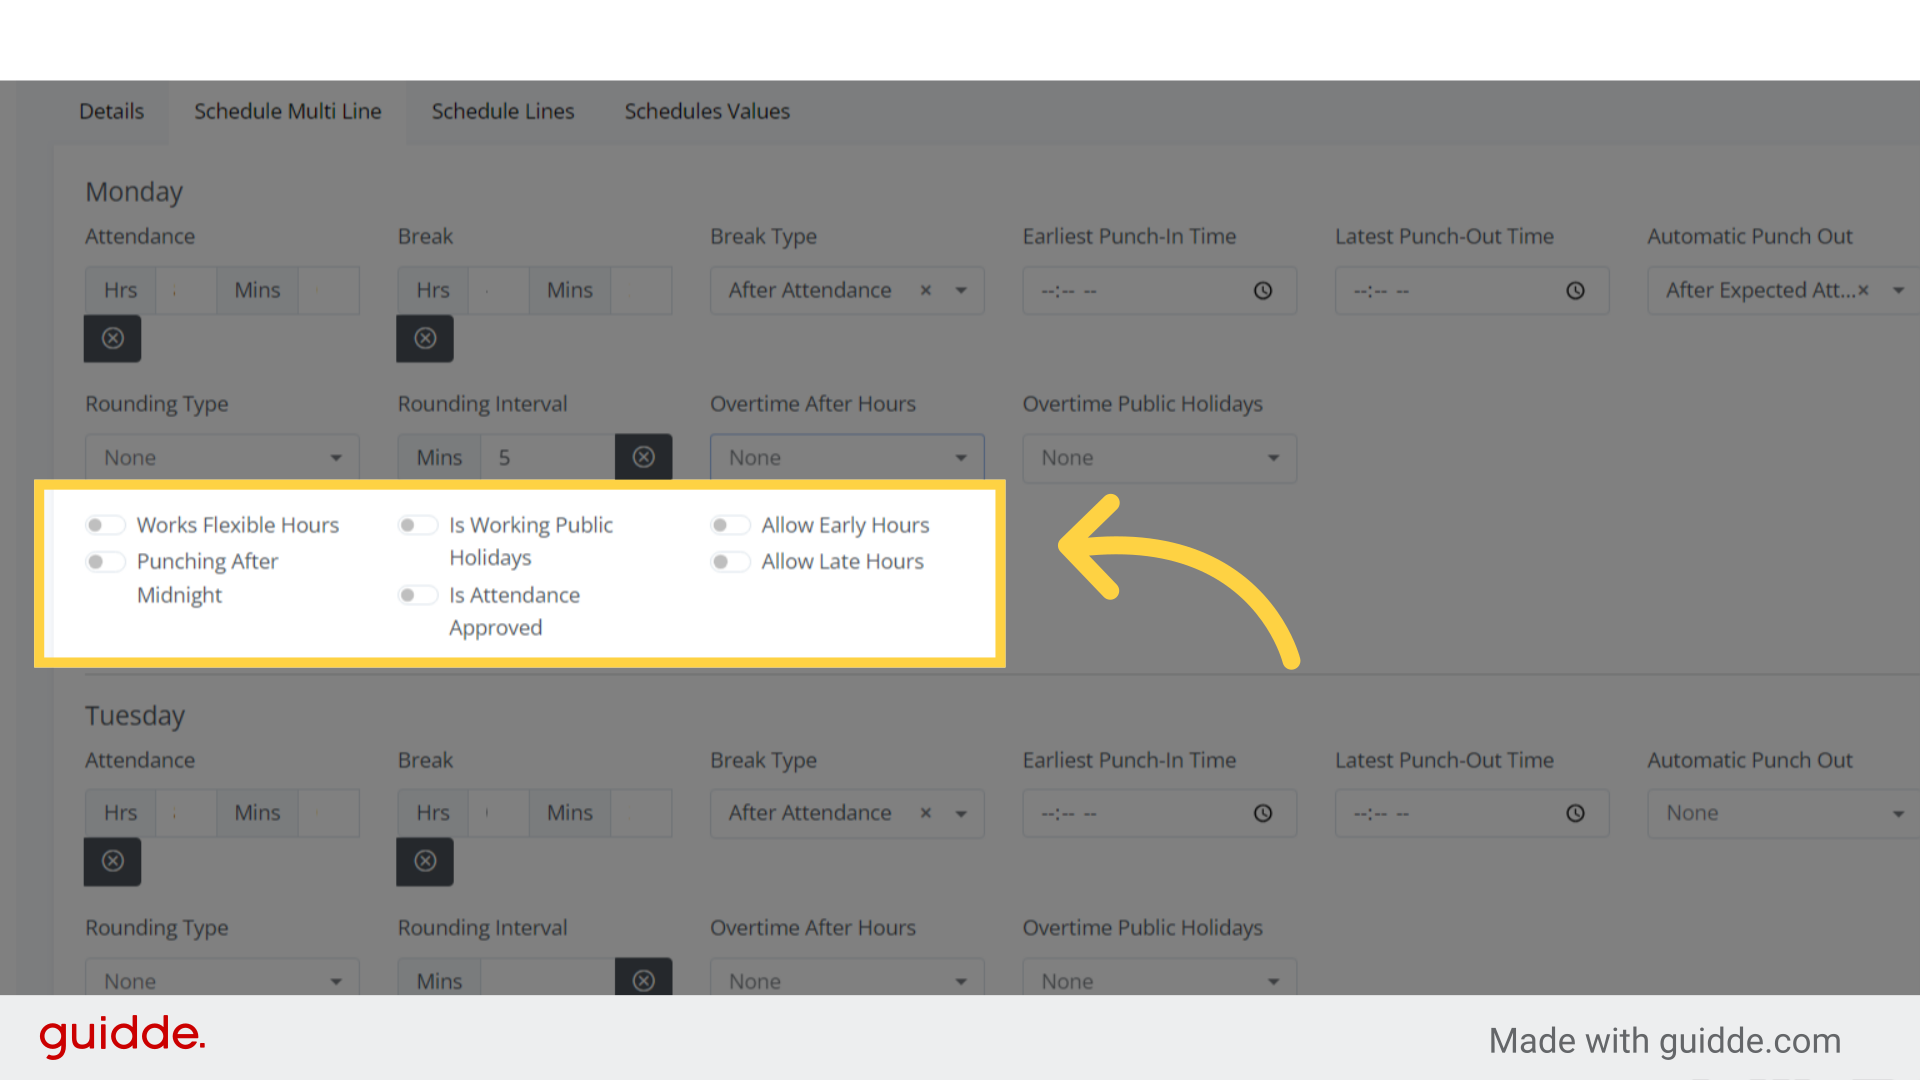
- 10. Turn on toggle to enable setting
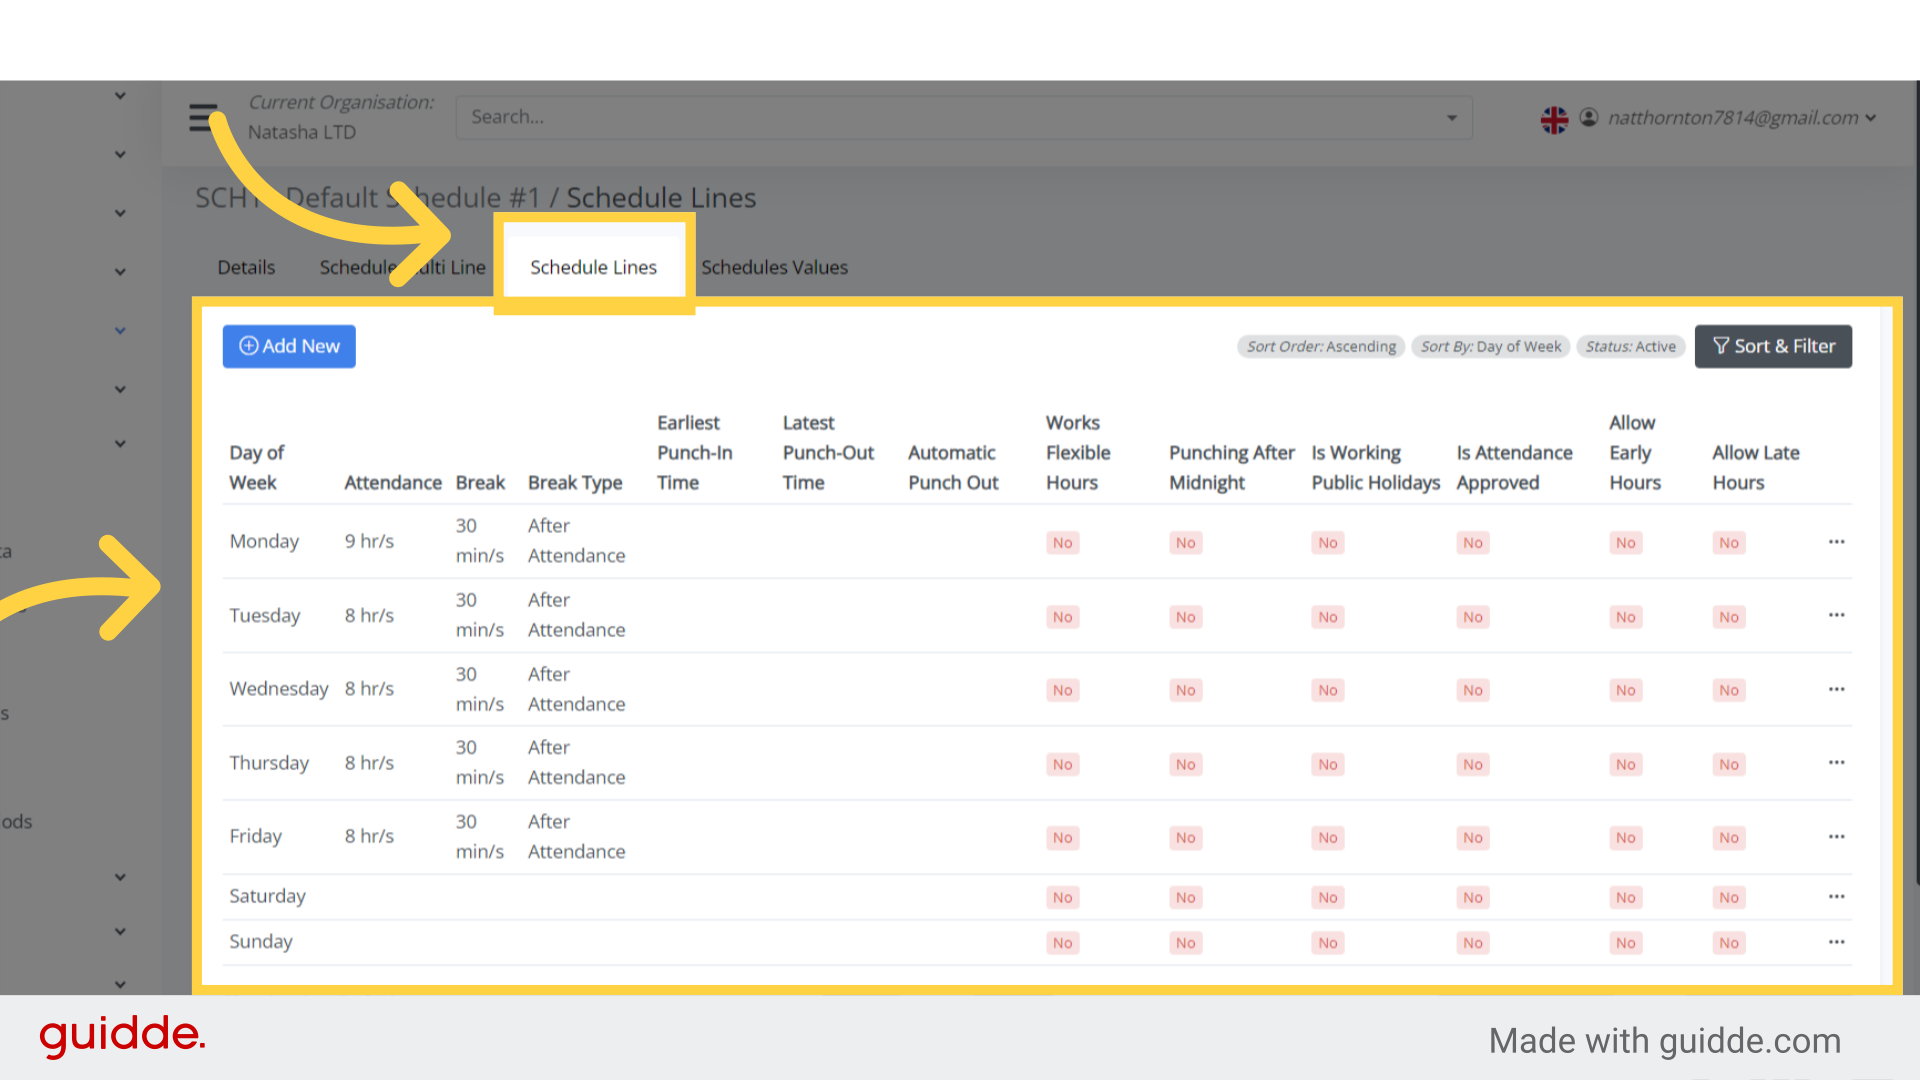
- Step 11. "Schedule Lines"
- 12. Schedules Values
Learn how to update your company’s working schedule. #
Users can create three types of schedules:
- Generic Schedule: Linked to all employees.
- Department Schedule: Linked to one or more departments.
- Employee Schedule: Linked to one or more employees.
How do the three schedule types work?
Users can create a mix of schedule types. For example, a user can create a schedule linked to the Sales Department and Joe Borg (who is in the Finance Department).
The schedule types override each other in the following order: (1) Employee, (2) Department, and (3) Generic. For instance:
Company ABC Ltd has three working schedules:
- Generic Schedule: Linked to all employees.
- Department Schedule: Linked to the Sales Department.
- Employee Schedule: Linked to Paolo, who is in the Sales Department but works different hours from the rest of the team.
In this example, all employees follow the Generic Schedule except the Sales Department, which has its own schedule.
Paolo, who has a different schedule from the rest of his department, follows his own Employee Schedule.
The Default Schedule:
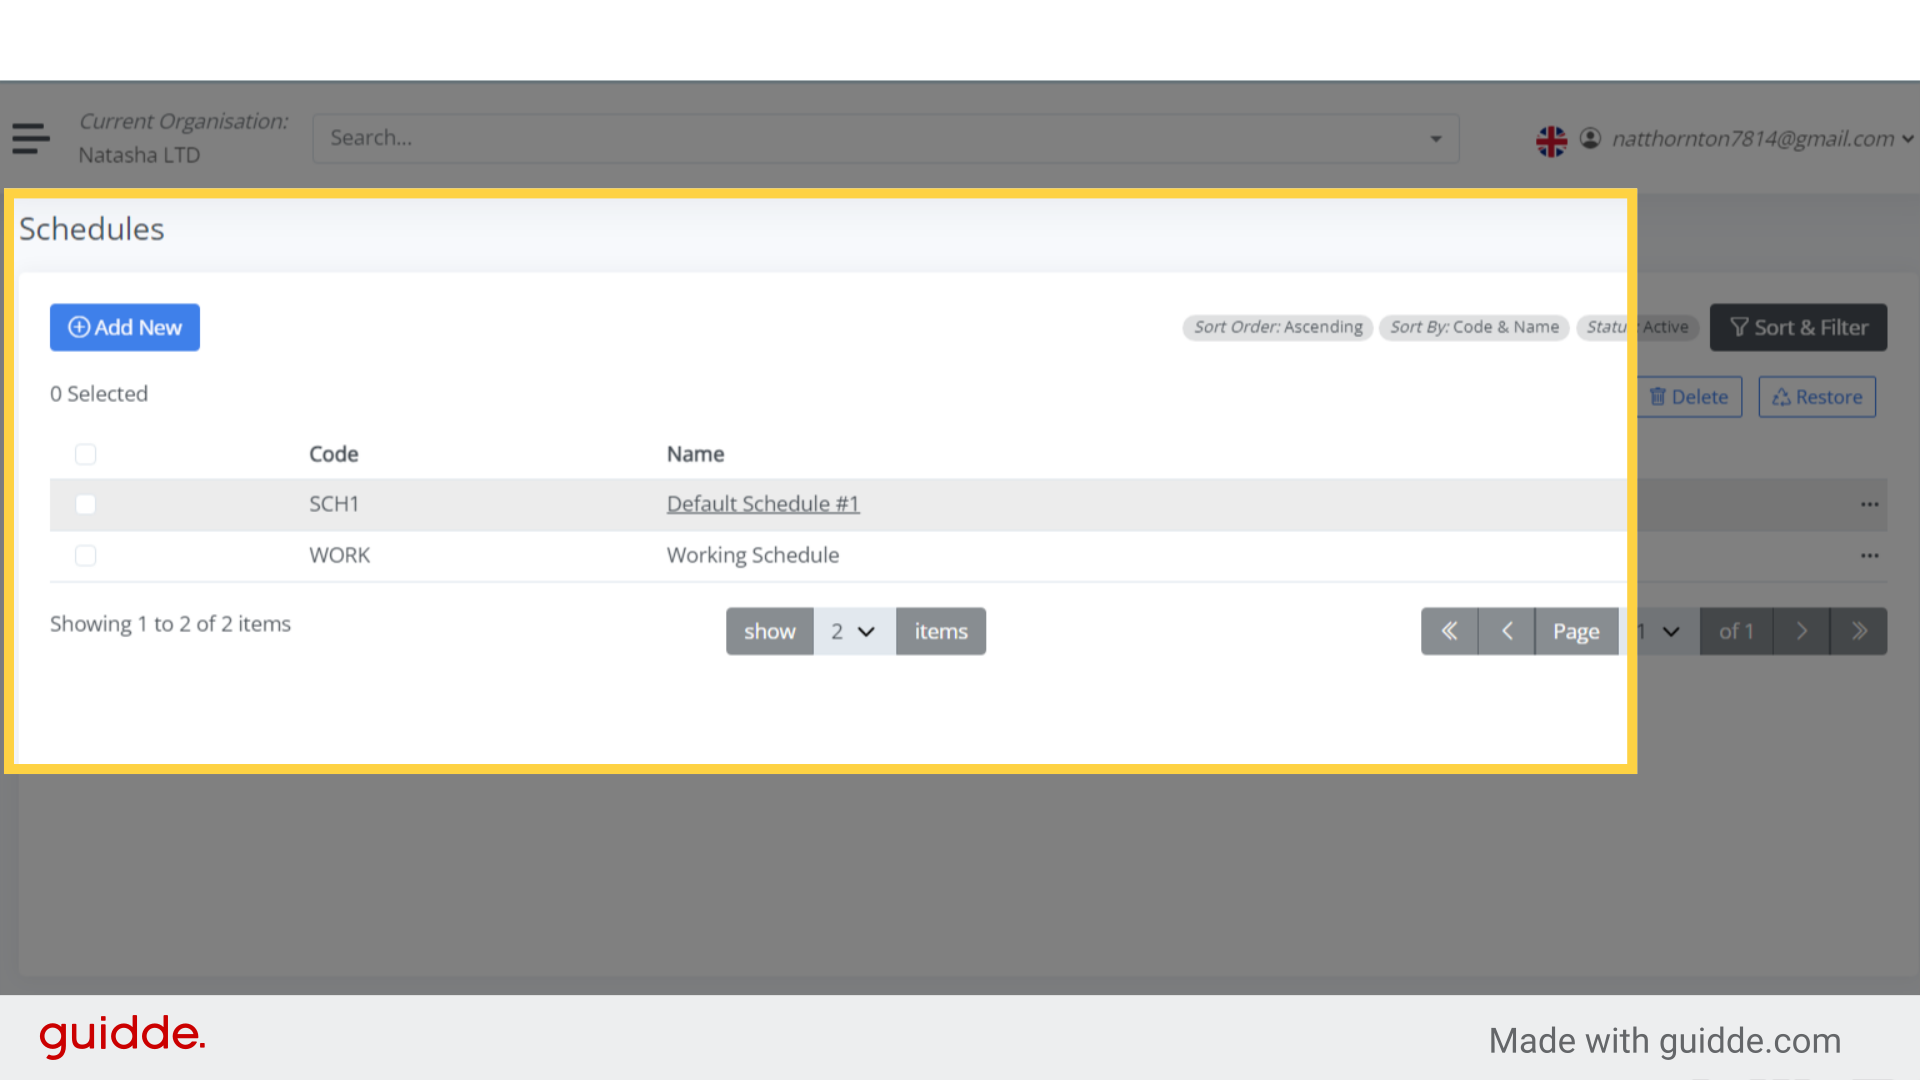
All new companies will have a default schedule created, which is automatically linked to all employees (Generic Type).
If however you want to Add a new Shedule, click on Add New.
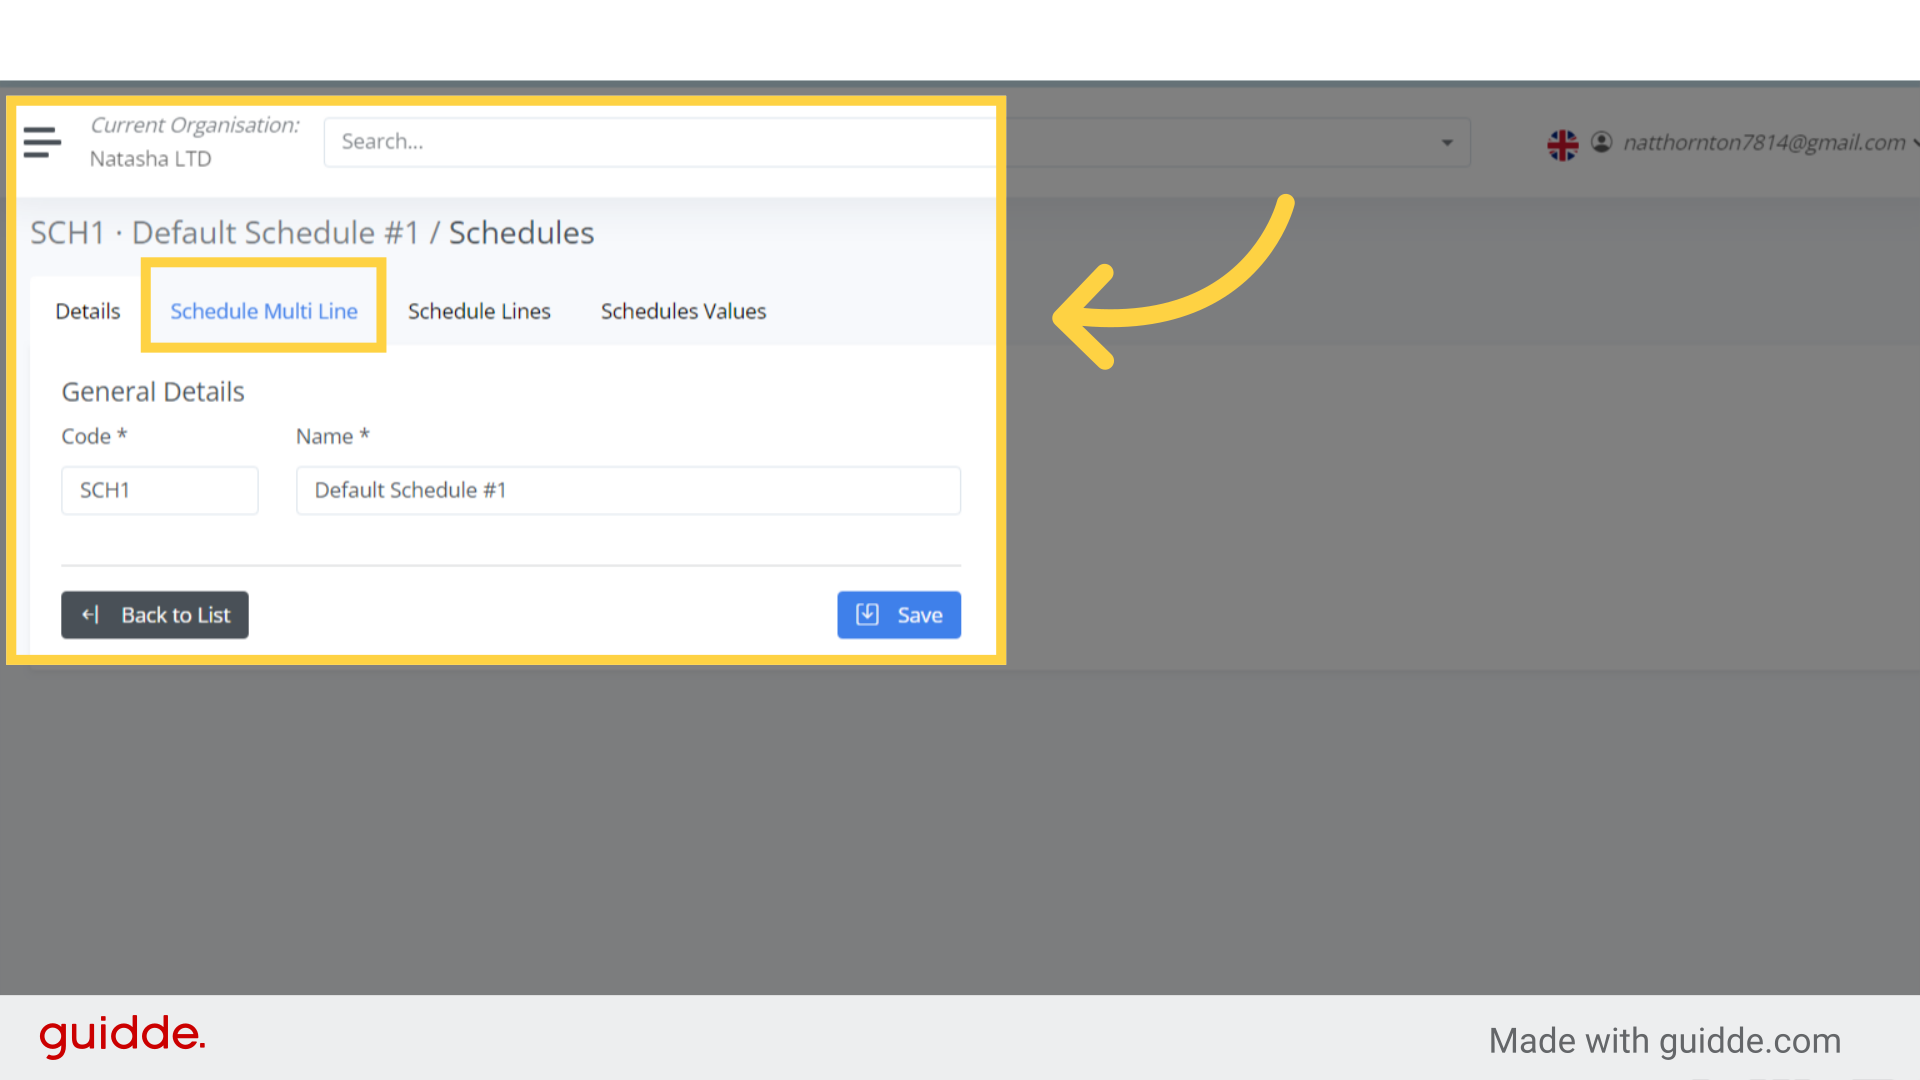
Step . Click “Schedule Multi Line” #
Difference between Schedule Multi Line and Schedule Lines:
Both options essentially serve the same purpose.
The Schedule Multi Line displays all fields for all days in one large form, whereas Schedule Lines present a separate form for each day.
Step 4. Working Schedule #
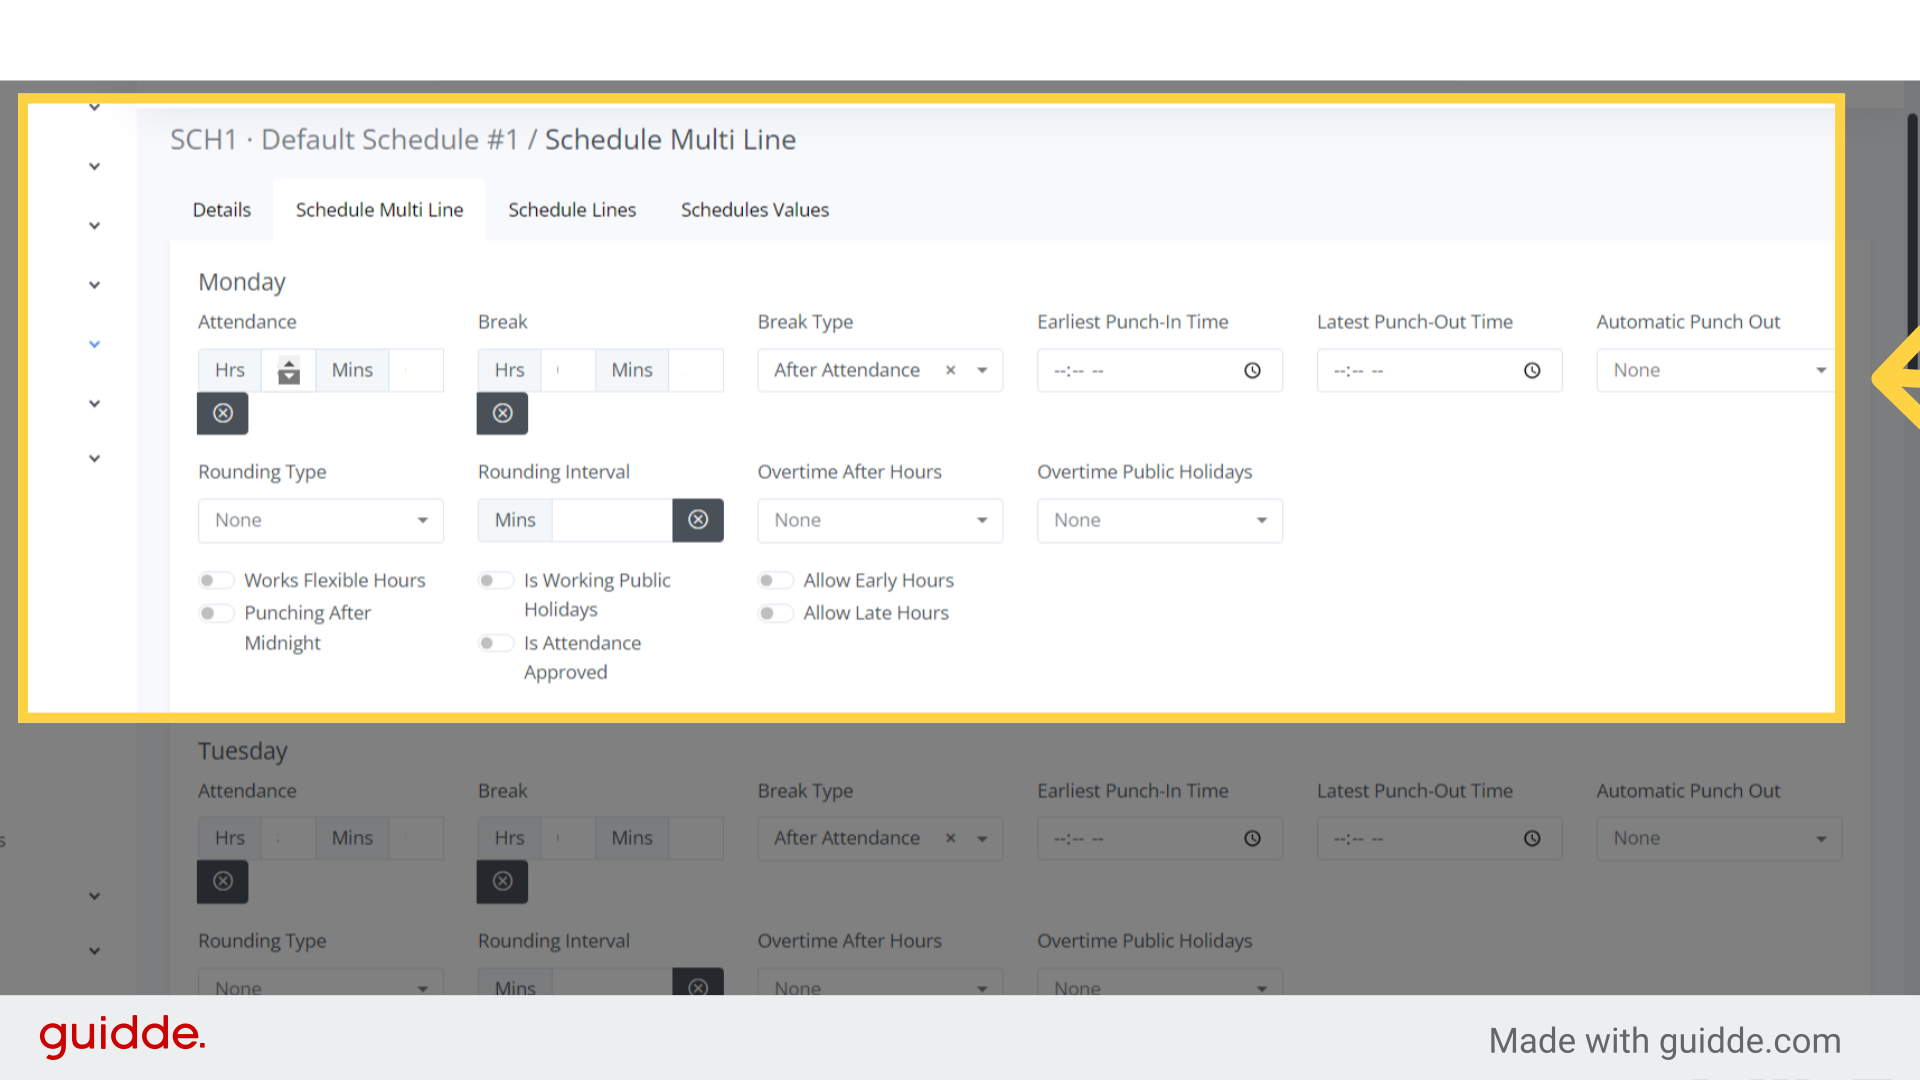
The company’s working schedule consists of the expected working hours and break hours from Monday to Sunday.
If employees work flexible hours, you can set up the working schedule for all days between Monday to Sunday, or simply enable the Works as Flexible option.
On BitKode, you can easily set up the company’s working schedule and assign it to all employees or departments.
Additionally, you can customize a working schedule for a specific employee.
If an employee works different hours, you can assign a unique working schedule to them directly from the schedule field and assign it to the employee in Schedule Values.
Working schedules are primarily used for the following purposes:
Calculation of overtime and short hours:
Overtime and short hours are calculated based on the employee’s working schedule.
For example, if an employee is scheduled to work 8 hours on Mondays but works 10 hours, the system will calculate the extra 2 hours as overtime.
Booking of leave:
When booking a full day of leave, the hours deducted from the employee’s entitlement are based on their working schedule
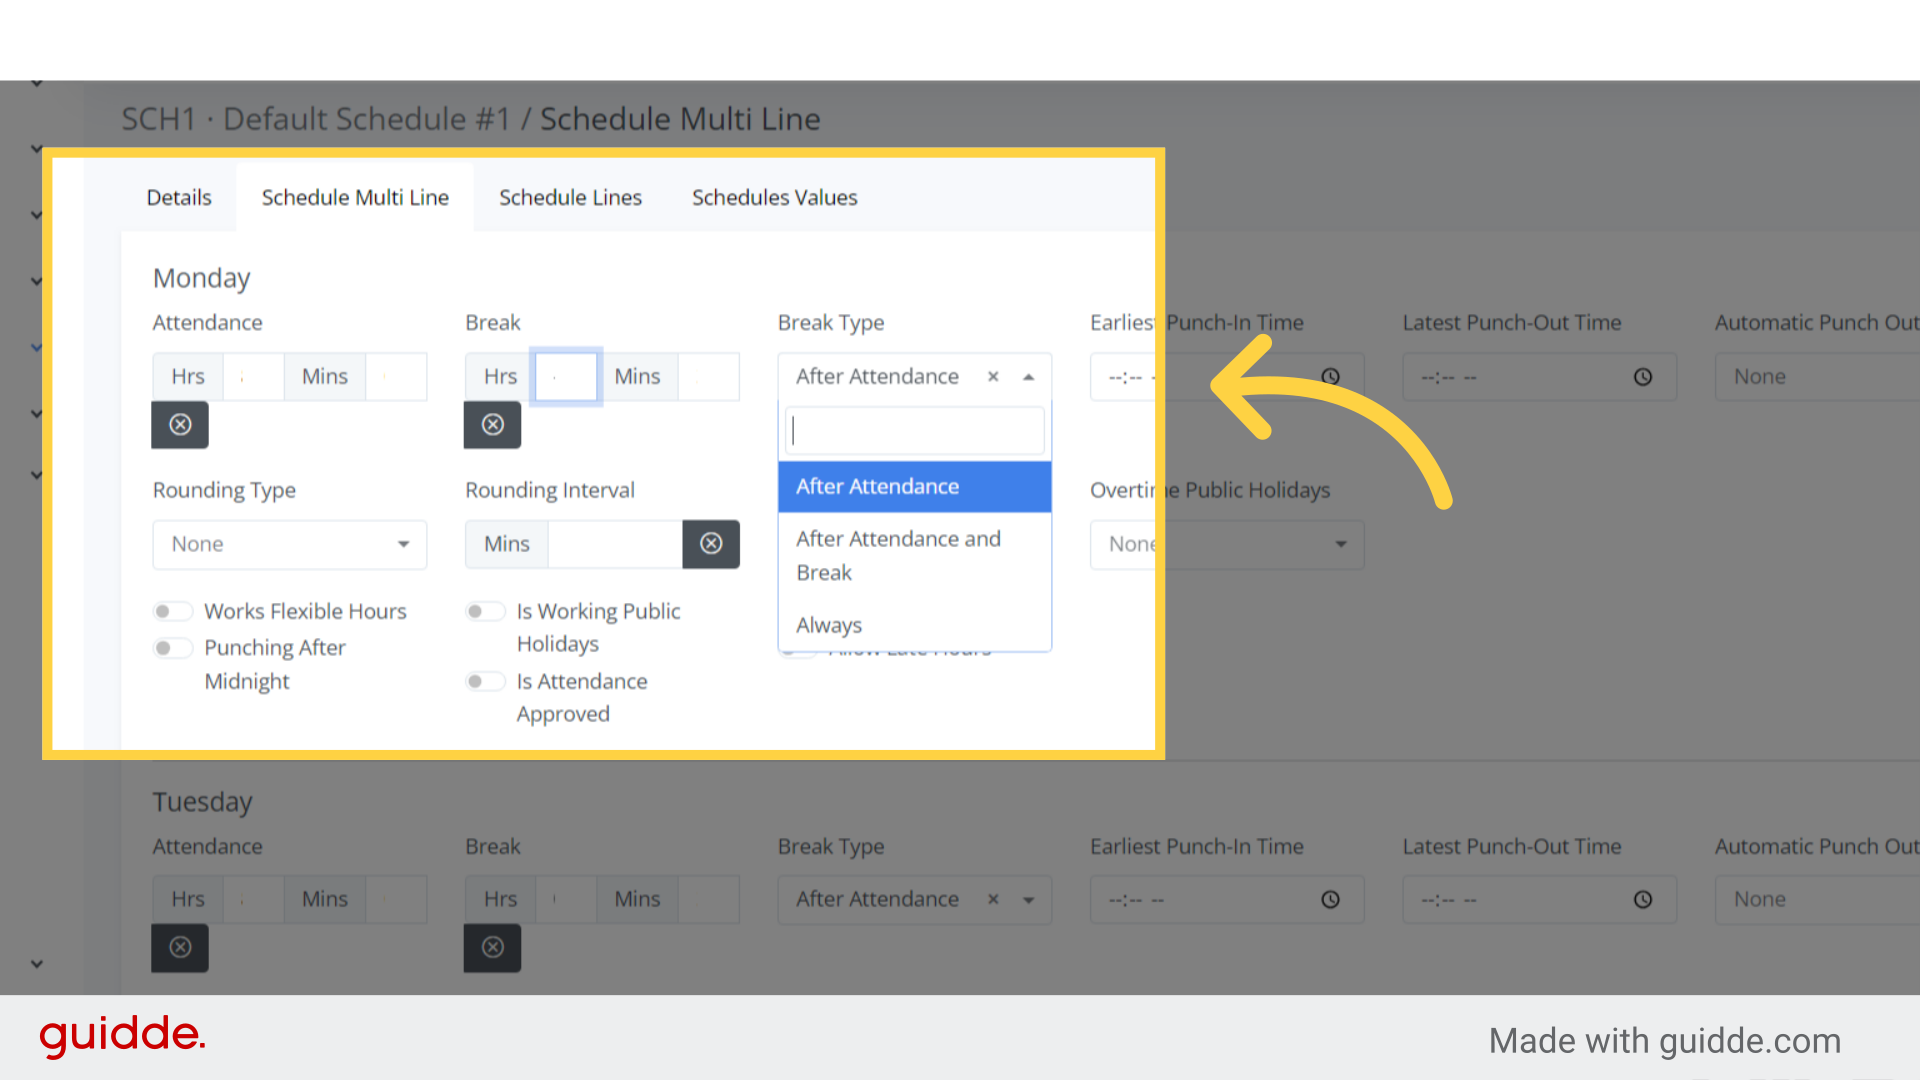
Step 5. Break Type #
As for the break type, these can set as follows:After Attendance: A break is deducted only if the employee meets the expected daily working hours.
For example, if an employee’s schedule includes 8 working hours and a 0.5-hour break, the break will be deducted only if the employee’s attendance for the day is 8 hours or more.
After Attendance and Break: A break is deducted if the employee works the combined total of expected working hours and break time.
For instance, if an employee’s schedule includes 8 working hours and a 0.5-hour break, the break will be deducted only if the employee’s attendance for the day is 8.5 hours or more.
Always: A break is always deducted, regardless of the total hours worked.
These settings help ensure that breaks are managed fairly and consistently based on the employee’s attendance and work schedule.
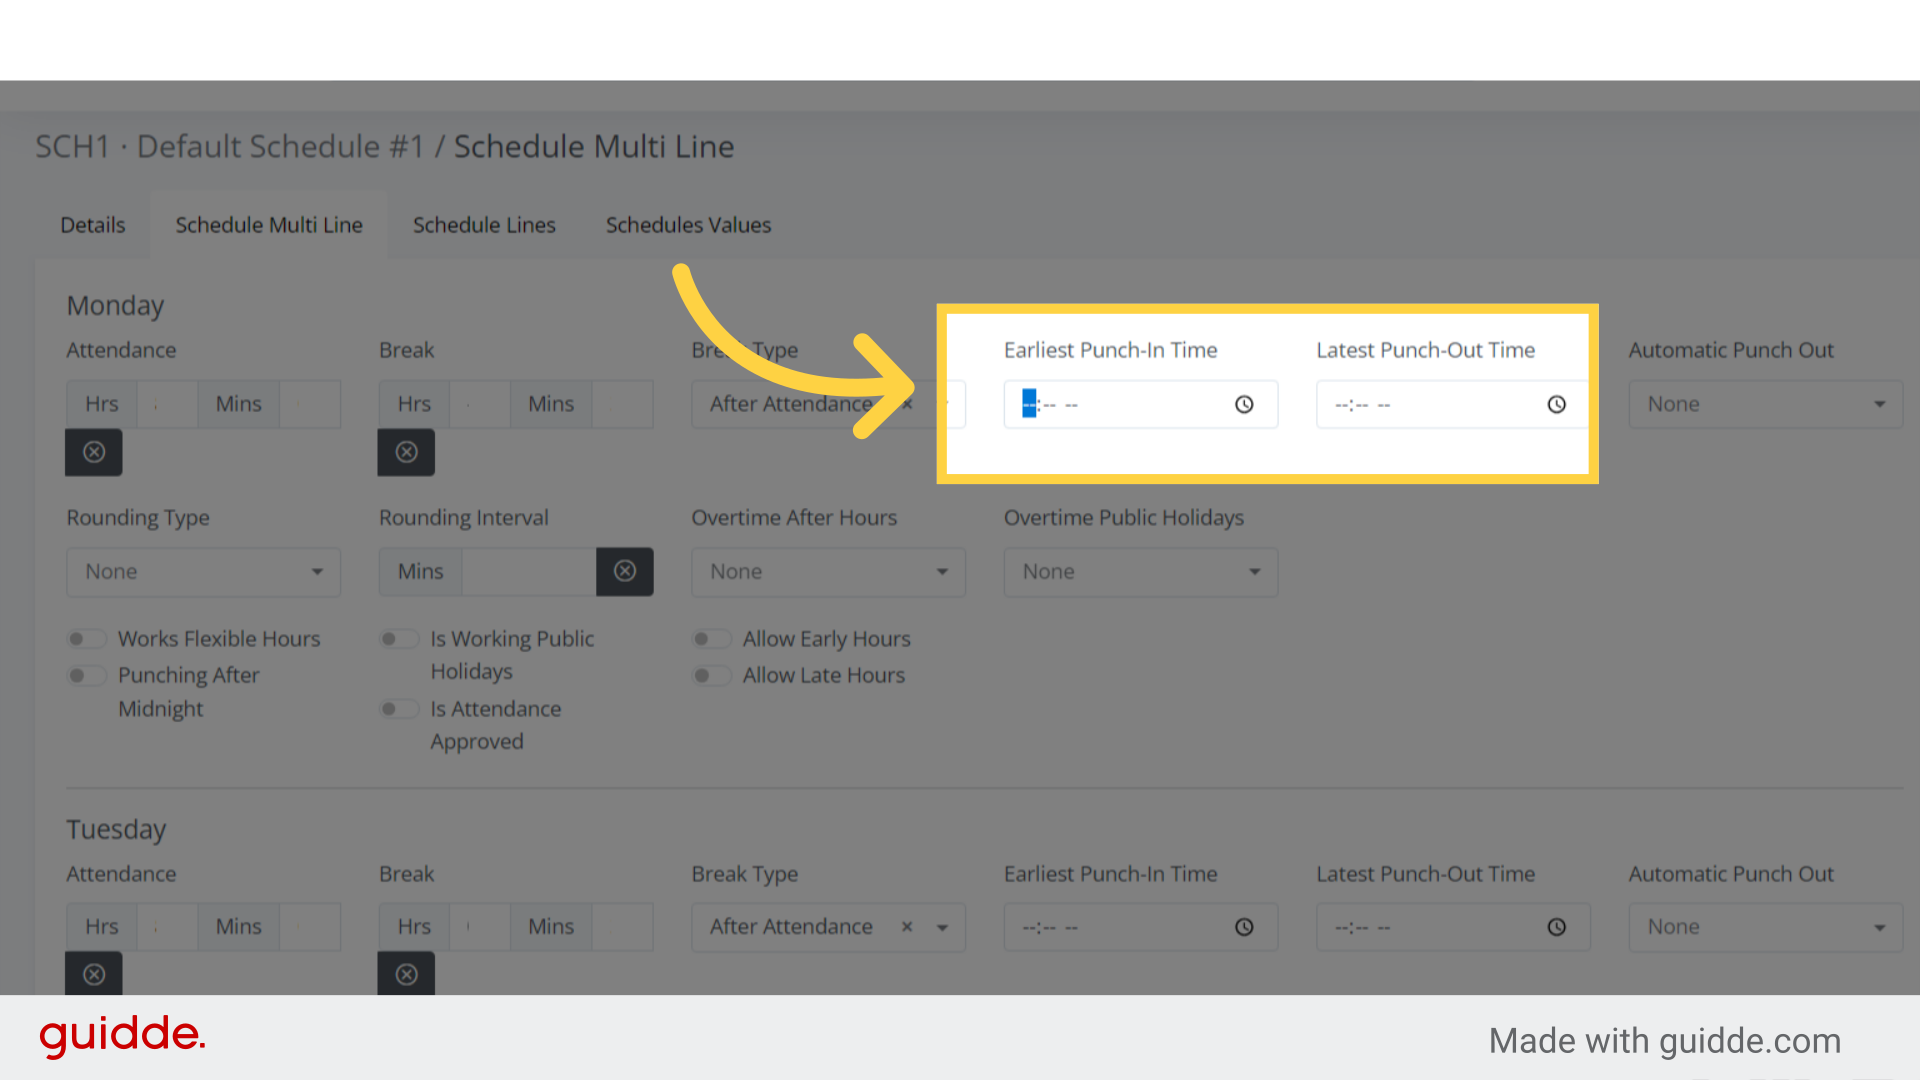
Step 6. Click “Earliest/latest Punch-Time” #
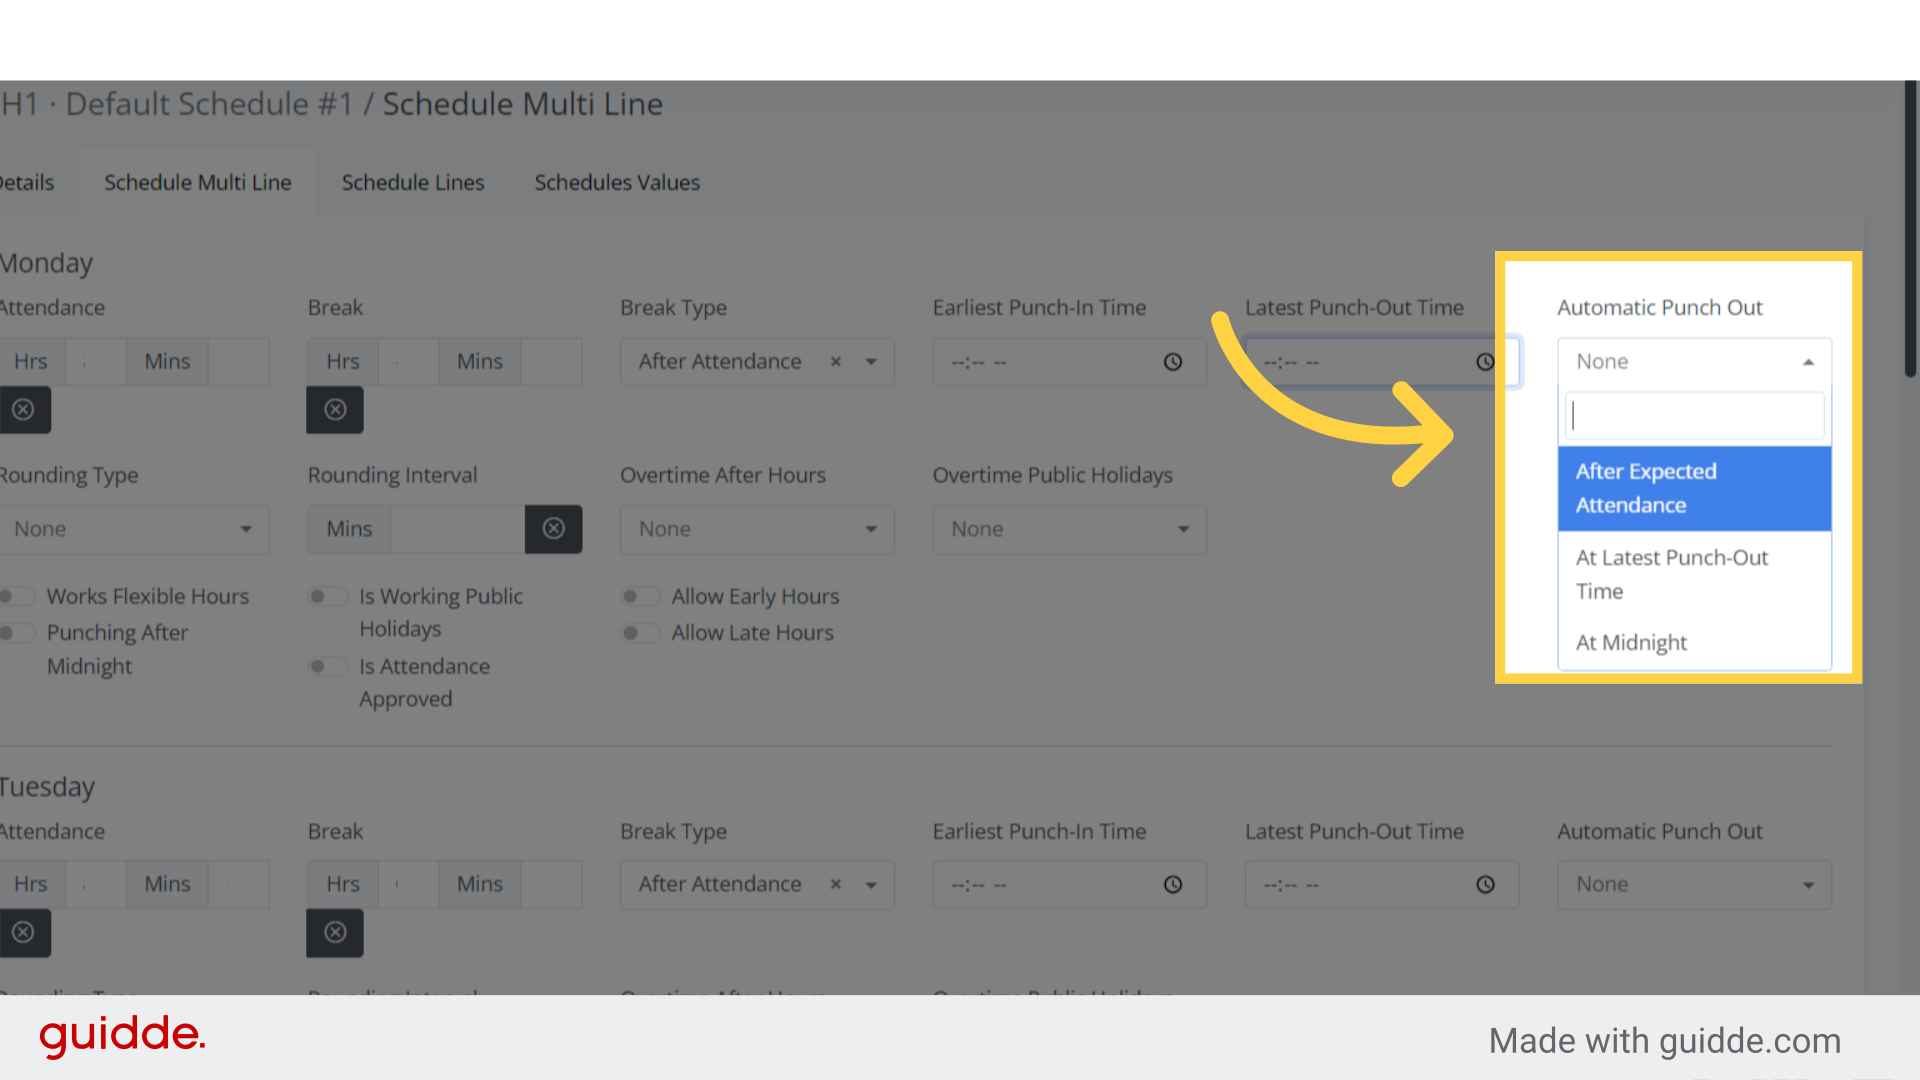
Step 7. Automatic Punch Out #
This refers to the automatic punch-out time.After the expected attendance:
For example, it will punch out automatically after 8.5 hours.
At the latest punch-out time:
It will punch out automatically according to the last punch-out time set.
For instance, if the last shift ends at 10 PM and the working schedule for the day is set to 10 PM, it will punch out automatically when 10 PM arrives.
At midnight:
Punches out automatically at midnight.
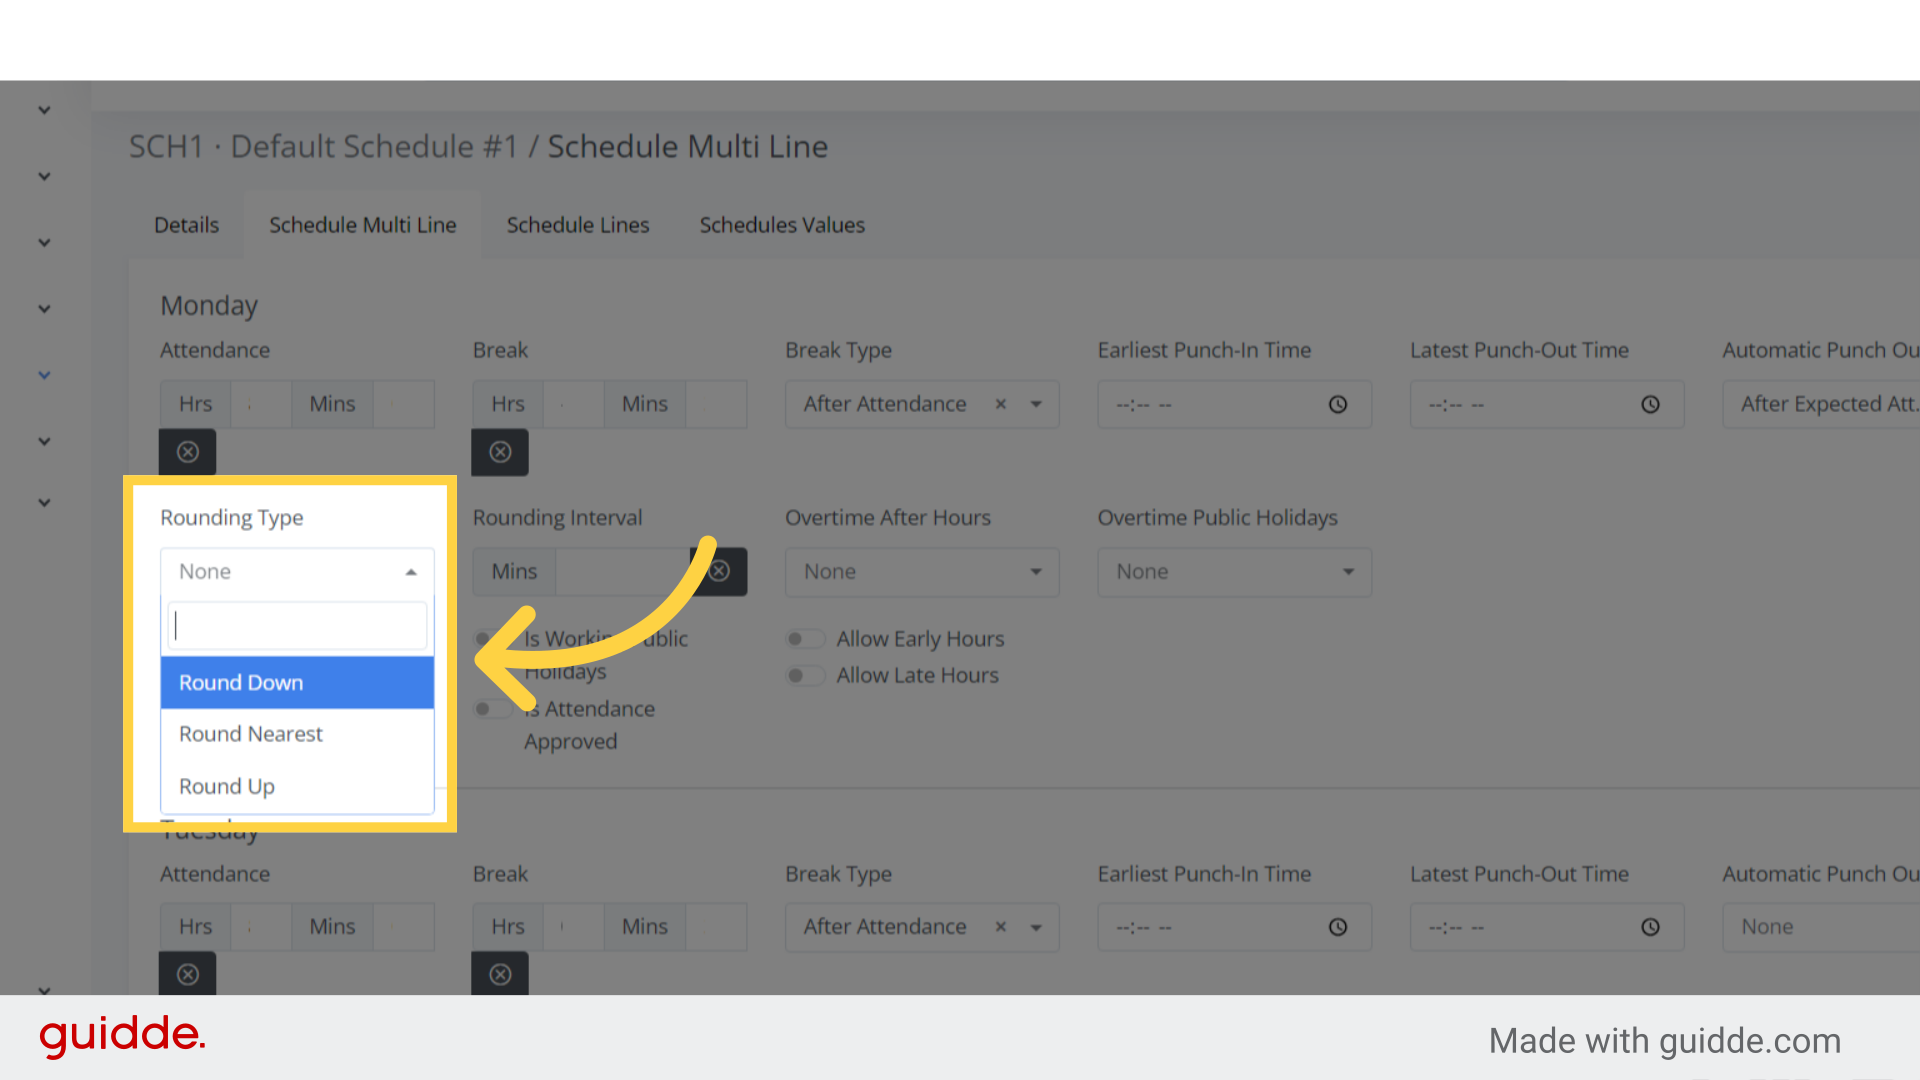
Step 8. Rounding Type #
This refers to how the clocking will be rounded off.Round Down: Clocking times will be rounded down to the nearest specified interval.
For instance, if the interval is set to 5 minutes, the clocking time will be adjusted to the nearest lower 5-minute mark. This means that clocking will be rounded off to the previous set interval. For example, if the rounding interval is 5 minutes and an employee punch in at 08:07, the recorded time will be 08:05.
Round Nearest: This indicates that clocking times will be rounded to the nearest set interval.
For example, if the rounding interval is set to 5 minutes, the clocking time will be adjusted to the nearest 5-minute mark.
Round up: This indicates that clocking times will be rounded up to the next set interval.
For example, if the rounding interval is 5 minutes and an employee clock in at 08:07, the recorded time will be 08:10.
Step 9. Rounding Interval #
10. Turn on toggle to enable setting #
For the highlighted section, if a company or an employee works flexible hours, do not list specific hours. Instead, check the “works flexible hours” field.For punching after midnight, if an employee works a night shift and punches out at midnight, this setting will automatically punch them back in at midnight.
Tick “Is working public holiday” if employees work on public holidays as part of their contract.
“Is attendance approved” to indicate that an hourly-paid employee’s attendance has been approved by the system.
“Allow early hours” and “allow late hours” mean that the system will not follow the set rounding intervals for these times.
Step 11. “Schedule Lines” #
The schedule lines field:This field allows you to update the schedule either through this feature or via the schedule multi-line feature.
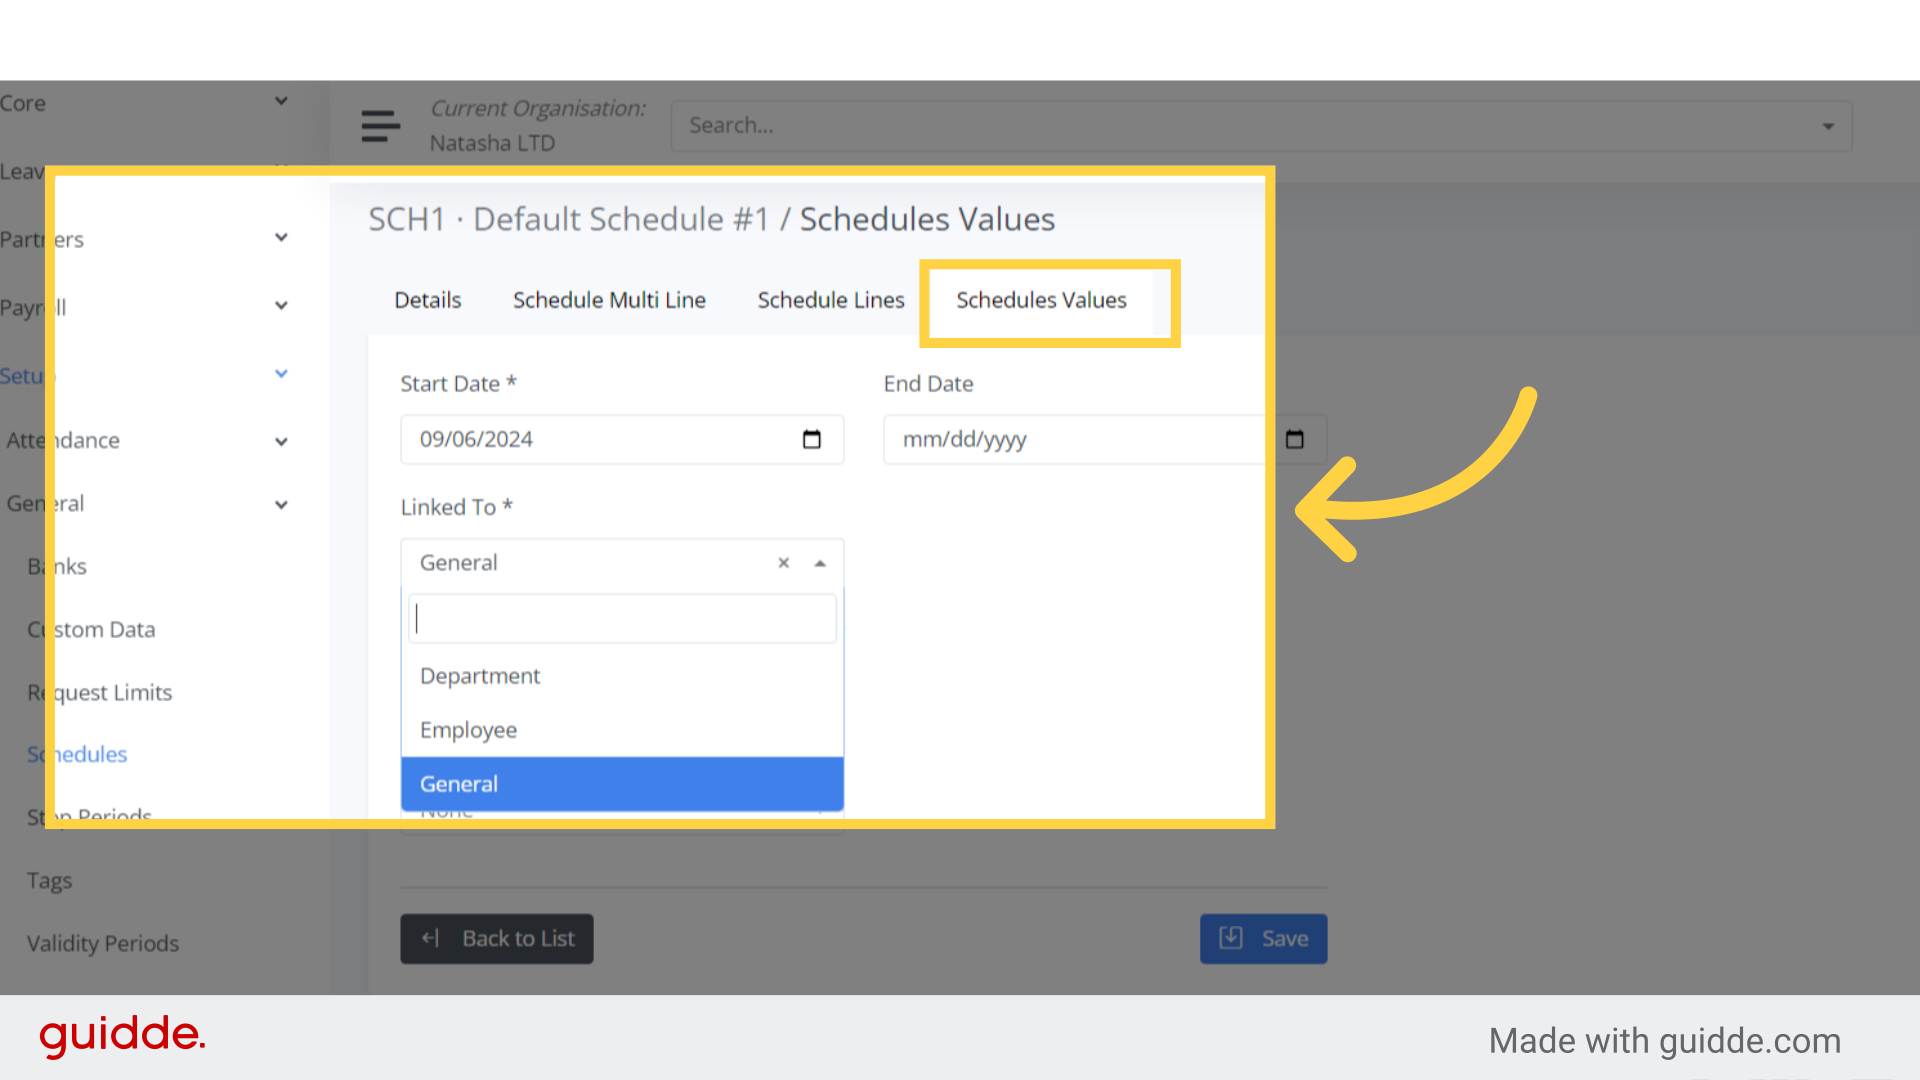
12. Schedules Values #
The Schedules Values: Once the working schedule is created, it can be assigned to an individual employee, a department, or to all employees, referred to as general.